One day your aim starts pulling left on its own. The next day your character is walking into a wall while your hands are off the controller. Controller stick drift repair becomes urgent fast, especially when the problem goes from occasional annoyance to constant input errors that make games harder to play and harder to enjoy.
Stick drift sounds simple, but the failure behind it is not always the same. Sometimes the analog module is worn out. Sometimes contamination has worked its way into the joystick assembly. Sometimes the issue is on the board itself, with damaged solder joints, liquid exposure, or circuit faults affecting how the controller reads movement. That difference matters, because a real repair starts with diagnosis, not guessing.
What causes stick drift in the first place?
Most modern controllers use compact analog stick modules with moving parts and internal sensors that measure position. Over time, those parts wear. The controller starts reading movement even when the stick is centered. That is the classic drift problem, and it becomes more common as a controller racks up hours of use.
Wear is only part of the story. Dust, skin oils, drink residue, and general contamination can interfere with smooth electrical readings inside the module. A controller that lives on a desk next to snacks and energy drinks sees a very different life than one kept clean and stored properly. Heavy play, hard clicks, and aggressive stick movement can speed up failure too.
Then there are the less obvious cases. We see controllers with impact damage after being dropped, broken stick caps that stress the module underneath, and board-level issues that look like drift but are actually signal problems. If someone replaces a joystick module without checking the board, they can waste time and money and still end up with the same symptoms.
Controller stick drift repair is not one-size-fits-all
A lot of online advice makes it sound like every drifting controller needs the same fix. Real life is messier than that. A temporary cleaning may help in mild cases, but it will not reverse physical wear inside a failing module. Recalibration can improve performance on some platforms, but calibration cannot fix damaged components. Replacing the entire controller works, but it is often the most expensive answer to a problem that may be repairable.
That is why proper controller stick drift repair should begin with inspection and testing. The goal is to confirm whether the issue is mechanical wear, contamination, solder failure, trace damage, power regulation trouble, or something else entirely. A shop that handles board-level electronics is better equipped to sort that out than a shop that only swaps parts.
When a DIY fix makes sense
If the drift is mild and the controller has not suffered physical damage or liquid exposure, basic DIY steps may be worth trying. Cleaning around the stick with the controller powered off can sometimes remove debris near the moving assembly. Recalibration through the console or system settings may also reduce minor input irregularities. In some cases, updating firmware helps if the controller has a communication or sensitivity issue rather than true drift.
The trade-off is simple. These steps are low cost, but they are also limited. If the internal potentiometers are worn or the soldered module is failing, no amount of surface cleaning will make the repair last. DIY disassembly is where risk goes up. Modern controllers are easy to damage if you force clips, tear ribbon cables, overheat pads, or install low-quality replacement parts.
For someone comfortable working on electronics, a joystick module replacement can be done at home with the right tools and experience. But this is not a battery swap. It usually requires controlled heat, proper solder removal, clean pad prep, accurate alignment, and post-repair testing. If the board is already compromised, the job gets harder fast.
When professional controller stick drift repair is the better move
If your controller is valuable, newer, or already showing signs beyond simple drift, professional repair usually makes more sense. That includes controllers with inconsistent behavior, charging problems, connection issues, liquid exposure, broken buttons, or physical damage around the stick area. Those symptoms can point to broader board trouble.
A professional repair shop should be able to test the controller, isolate the fault, and explain what is actually wrong before work begins. That matters because not every drifting controller needs the same level of repair. One may need a deep internal cleaning and recalibration. Another may need a full analog module replacement. Another may need trace repair or micro-soldering work after a failed prior repair attempt.
This is where technical depth matters. Shops that keep repairs in-house and work at the component level can often save hardware that other places write off. That is especially useful when replacement controllers are expensive, hard to match, or paired with custom setups.
What the repair process should look like
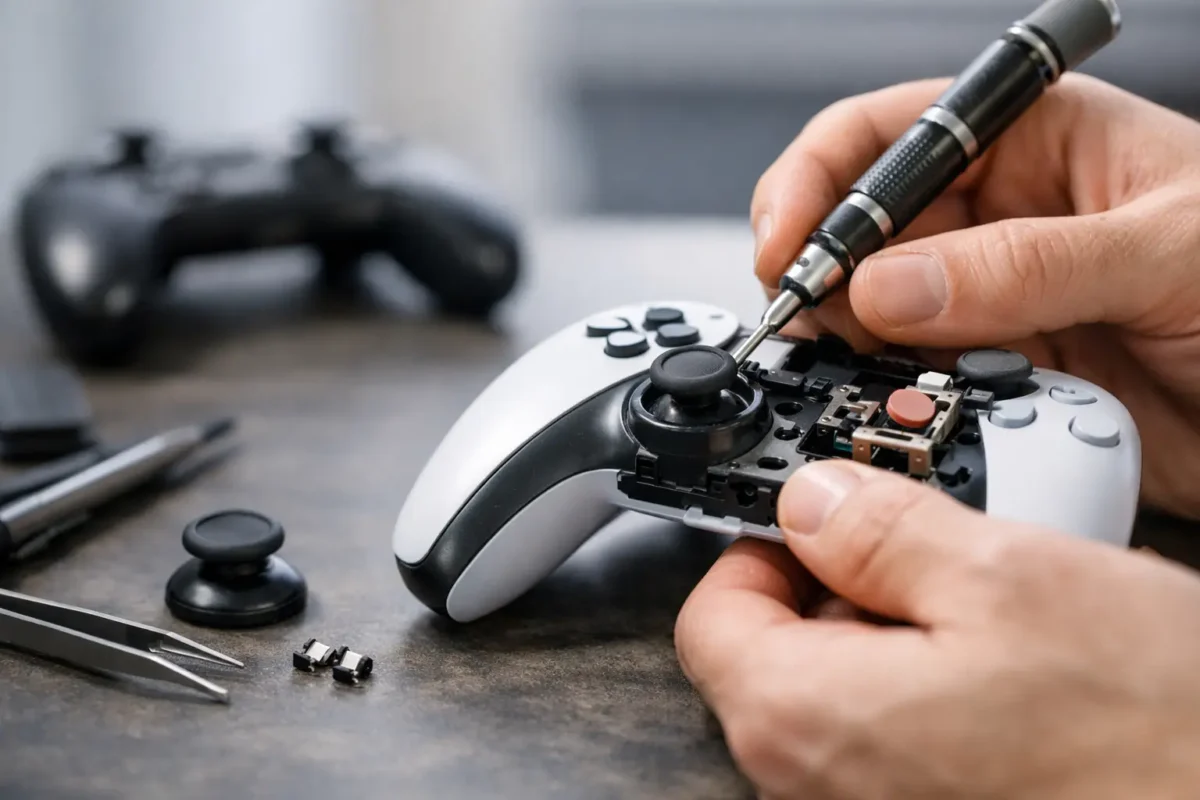
Good repair work is not just about swapping parts. It should follow a clear process. First comes symptom verification. The technician confirms the drift and checks whether the problem affects one axis, both axes, or appears alongside other faults. Then comes disassembly and internal inspection for contamination, wear, liquid damage, cracked joints, or damaged board areas.
If the analog module is the problem, the old component is removed carefully and the board is checked for pad condition and structural integrity. A quality replacement module is installed, soldered correctly, and tested for proper centering and movement response. If the board has damage, the repair may involve restoring solder pads, repairing traces, or addressing nearby components that affect signal readings.
After the hardware work is complete, the controller should be tested under real input conditions. That means checking centering, full-range movement, dead zone behavior, button response, charging if applicable, and wireless or wired communication. A controller is not repaired just because a new part is installed. It is repaired when it performs correctly.
How long will the fix last?
That depends on the root cause, the replacement parts used, and how the controller is treated afterward. If the repair addresses the actual failure and the work is done cleanly, a stick repair can restore a controller to solid everyday use. If someone uses cheap parts or rushes the soldering work, the controller may fail again sooner than expected.
Usage matters too. Competitive players and heavy daily users put far more stress on analog sticks than occasional weekend players. No stick module lasts forever. The goal is not magic. The goal is a correct repair with dependable results and no shortcuts.
It also helps to be realistic about age and condition. A newer premium controller with one failing stick is often a strong repair candidate. An older controller with drift, battery issues, charging trouble, and worn buttons may still be repairable, but the value depends on overall condition and replacement cost.
Is repair cheaper than replacement?
Often, yes, but not always. If the issue is limited to stick drift and the controller is otherwise healthy, repair is frequently the better value. That is especially true for premium controllers or hard-to-find models. If the controller has multiple failures or severe board damage, the economics can shift.
What customers usually want is a straight answer. Is this worth fixing, and will the fix hold up? A good repair shop should be able to give a realistic recommendation based on the controller’s condition, not push a repair that does not make financial sense.
For customers in Riverside County dealing with repeated drift or failed DIY attempts, working with a repair team that handles electronics at the board level can save a lot of frustration. Amazing Technology Group approaches these problems the right way – diagnose first, repair what actually failed, and keep the work in-house whenever possible.
How to reduce drift after repair
You cannot eliminate wear completely, but you can slow it down. Keep the controller clean, store it away from dust, and avoid eating or drinking over it. Do not force the sticks or toss the controller onto a couch, desk, or floor. Small impacts add up.
If drift starts mildly, do not ignore it for months. Early service can prevent added wear or collateral damage from repeated stress. The longer a failing component is used, the more likely the problem spreads from a simple module issue into a more involved repair.
A controller should do exactly what your hands tell it to do, nothing more and nothing less. When it stops doing that, the best next step is not guesswork. It is getting the problem diagnosed properly so the repair solves the actual fault and gets you back to playing without fighting your own hardware.