Computer Repair - Game Console Repair - Electronics Repair - Micro Soldering | !!! Now Open from 8am to 10pm Mon - Thurs =) !!!

Categories
Uncategorized

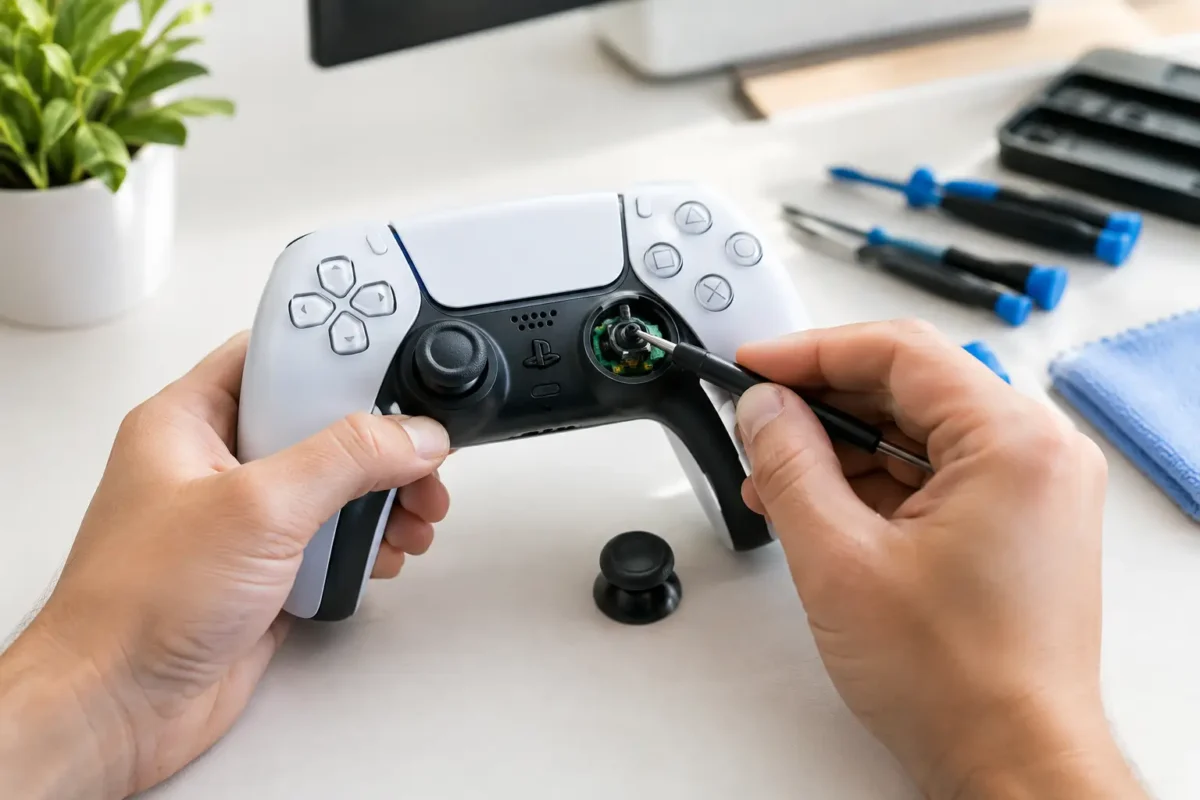
8 Best Ways to Fix Controller Drift Fast

Your character starts walking into traffic while your hands are off the sticks. Your aim drifts across the screen during a ranked match. That is controller drift, and the best ways to fix controller drift depend on what is actually failing – not on whichever quick fix happens to be trending.

Stick drift can come from surface contamination, a software setting, physical damage, or wear inside the analog stick module itself. Cleaning may solve one controller in five minutes. Another may need component-level replacement. The goal is to start with safe, low-cost checks and avoid turning a repairable controller into a bigger problem.

What Controller Drift Actually Means

An analog stick works by reading movement through two small potentiometers, one for the horizontal axis and one for the vertical axis. As the stick moves, internal contacts travel across a resistive track and send position data to the controller.

Over time, dust, skin oils, debris, moisture, or worn contact surfaces can cause unstable readings. The controller then reports movement even when the stick is centered. A damaged stick cap, weak centering spring, cracked solder joint, or fault in the controller board can also create symptoms that look like standard drift.

This is why a larger dead zone is not always a real fix. It can hide mild drift, but it also makes aiming less responsive and may keep getting worse as the worn part deteriorates.

Start With the Easiest Checks First

Before opening anything, rule out problems outside the stick assembly. Fully restart the console or PC, then test the controller in more than one game. Some games have aggressive sensitivity settings, poor dead-zone defaults, or their own calibration behavior.

Update the controller firmware if the manufacturer provides an update method. Then check the game and system settings for stick dead zones. If the drift only appears in one title, adjust that game first. If it appears in menus, across multiple games, and on another device, the controller hardware is the likely cause.

For PC players, test the controller input in the operating system or a trusted controller test utility. Watch the stick axes while the controller rests on a flat surface. A small, stable off-center reading may be manageable with calibration. Rapid movement, jitter, or a reading that grows over time usually points to contamination or internal wear.

Clean Around the Stick Without Soaking It

For mild drift, careful external cleaning is one of the best first repairs. Disconnect or power off the controller. Move the stick slowly in a circle while using short bursts of compressed air around the base of the stick. Keep the can upright and do not hold the trigger down long enough to spray propellant into the controller.

Next, use a small amount of high-percentage isopropyl alcohol on a lint-free swab. Work around the gap between the stick shaft and housing while moving the stick through its full range. Let the controller dry completely before powering it back on.

This method can clear loose debris near the stick mechanism. It cannot rebuild an eroded potentiometer track or repair broken internal hardware. If cleaning produces a short-lived improvement and drift returns days later, that is useful diagnostic information: the module is probably worn rather than merely dirty.

Do not flood the stick with household cleaners, lubricants, or water-displacing sprays. Products not designed for sensitive electronics can leave residue, damage plastic, attract more dirt, or migrate onto the circuit board. A controller may seem better for an hour and fail worse afterward.

Recalibrate Only When Calibration Makes Sense

Calibration is worth trying when the controller was recently dropped, paired with a new device, or shows a consistent but minor center-point error. Some controller ecosystems offer a built-in calibration process; others rely on console settings, PC software, or game-level dead-zone controls.

Follow the on-screen instructions exactly. Keep the controller still when the process asks for a neutral position, and do not force the stick against its edge during a range test. A bad calibration can teach the system the wrong center point.

If the stick jitters during calibration or cannot hold a stable center reading, stop trying to tune around it. Software cannot correct a sensor whose internal signal is jumping around. At that point, increasing the dead zone is a temporary workaround for casual play, not a repair.

Know When the Stick Module Is Worn Out

Modern controllers are built compactly, but their analog sticks are still mechanical parts that wear. Heavy use, fast repeated inputs, dirt, impacts, and years of use can all shorten their service life. Drift that is severe, intermittent, or paired with a loose-feeling stick generally needs more than cleaning.

Common signs of a worn module include:

  • Drift that returns immediately after cleaning or calibration
  • Jittering movement that changes without touching the stick
  • A stick that feels loose, catches, grinds, or fails to spring back cleanly
  • Drift after a drop, liquid exposure, or impact
  • Movement on one axis that remains even with a large dead zone

In many PlayStation, Xbox, and third-party controllers, the analog module is soldered directly to the main board. Replacing it means opening the controller, removing the board safely, desoldering multiple anchor points and signal pins, installing the correct replacement part, and verifying every function afterward. This is board-level work, not a simple snap-in swap.

Be Honest About DIY Repair Risk

There is nothing wrong with a careful DIY repair when you have the correct tools, experience, and a controller that is already out of warranty. But opening a modern controller without a plan can damage ribbon cables, strip case screws, tear battery connectors, lift circuit-board pads, or create trigger and button problems that were not there before.

Stick replacement requires controlled heat, quality flux, proper solder removal, magnification, and the ability to inspect the board after the work is done. Cheap replacement modules are also inconsistent. A low-quality part may fit physically but have poor center accuracy, uneven resistance, or a short service life.

If you do attempt a repair, document screw locations, use the exact driver bit, disconnect the battery before board work, and test the controller before fully reassembling it. Never pry aggressively around a battery or apply heat near it. The cost of a professional repair often makes more sense than replacing a damaged board after an unsuccessful attempt.

Professional Repair Solves the Cause, Not Just the Symptom

A proper controller drift repair begins with diagnosis. A technician should confirm the drifting axis, check for liquid or impact damage, inspect the stick module and solder joints, and determine whether cleaning, recalibration, module replacement, or board repair is appropriate.

For a controller with worn potentiometers, replacing the analog stick module is usually the dependable answer. For a unit with damaged pads or lifted traces from a previous repair attempt, the job may require micro-soldering and PCB trace restoration. That difference matters because a shop that only swaps parts may miss the underlying board damage.

Amazing Technology Group handles controller repairs in-house with the same diagnostic mindset used for consoles and complex electronics. For Riverside County customers, that means a technician can assess the actual failure instead of selling a generic fix or writing off a controller that may still be worth saving.

Prevent Drift From Coming Back So Soon

No analog stick lasts forever, but better habits reduce contamination and unnecessary stress. Store controllers away from food, drinks, dust, and extreme heat. Wash or dry your hands before long sessions, especially if you use grip products or snacks. A case or covered storage area helps keep debris out of the stick openings.

Avoid forcing sticks hard against their limits when it is not needed. Racing games, fighting games, and competitive shooters can demand intense inputs, so wear is not always avoidable. Still, a lighter touch during menus and everyday use helps. If one game lets you reduce excessive stick sensitivity, that can also make minor drift less noticeable without pushing the hardware harder.

When drift first appears, address it early. A quick cleaning or calibration check may be enough while the issue is still mild. If the controller is already moving on its own after those checks, the most reliable next step is a real repair that restores accurate input instead of asking you to play around a failing part.
Categories
Uncategorized

How to Repair Broken DJ Controllers Safely

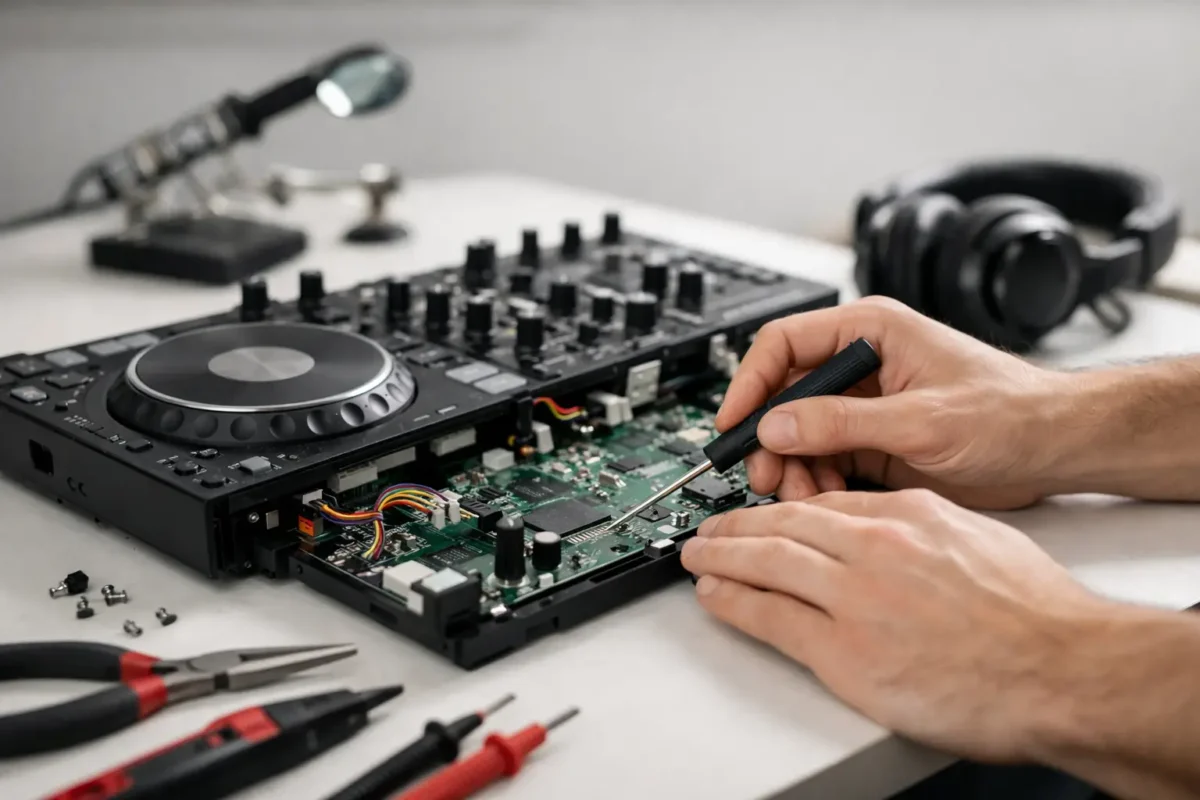
A DJ controller can fail five minutes before a set, then work perfectly at the repair bench. That is why knowing how to repair broken DJ controller hardware starts with isolating the failure instead of guessing at parts. A dead USB connection, scratchy channel fader, unresponsive jog wheel, or missing master output can come from very different faults – and the wrong repair can turn a fixable controller into a board-level problem.

Professional controllers from Pioneer, Denon, Rane, Vestax, and similar brands are packed tightly with digital control circuits, audio paths, power regulation, and mechanical components. Treat them like the specialized equipment they are. Start with the simple checks, document the symptoms, and know where hands-on troubleshooting should stop.

Start With the Symptom, Not the Screwdriver

Before opening the controller, confirm the problem is actually inside the unit. Test it with a known-good USB cable, the correct power supply, working speakers or headphones, and another computer if possible. A damaged cable, weak laptop USB port, incorrect driver, or bad power brick can produce the same symptoms as a failed controller.

Write down exactly what happens. Does the controller fail to power on completely? Do the LEDs light but the computer cannot see it? Is only one deck, output, button bank, or jog wheel affected? Does the problem change after the controller warms up or when you touch the chassis? Those details point a technician toward the right circuit and prevent wasted time.

Also separate software issues from hardware failures. Update or reinstall the approved driver and DJ software, then test the unit on a second compatible system. If the controller is recognized elsewhere, its USB hardware may be fine. If the failure follows the controller everywhere, physical diagnosis becomes more likely.

How to Repair Broken DJ Controller Power Problems

A controller that will not turn on is not automatically a dead main board. First inspect the power adapter label and verify its voltage, polarity, connector size, and current rating match the manufacturer requirement. Never substitute an adapter just because the plug fits. Reversed polarity or excessive voltage can destroy power-management components in seconds.

If the correct adapter tests good but the controller stays dead, inspect the DC jack. Loose jacks, cracked solder joints, bent center pins, and broken internal contacts are common, especially on gear that has traveled in flight cases. A controller that powers on only when the plug is held at an angle is giving you a strong clue.

Inside the unit, power faults can involve a blown fuse, damaged protection diode, failed voltage regulator, shorted capacitor, or liquid-related corrosion. These are board-level repairs. Finding the bad component requires meter readings, an understanding of the power rail sequence, and often thermal inspection. Replacing parts at random can create additional shorts or damage nearby traces.

Do not bypass a fuse with wire or foil. A fuse is there to limit damage when something downstream fails. If it opens again after replacement, the controller has an unresolved fault.

Fixing Faders, Knobs, Buttons, and Jog Wheels

Mechanical controls take the hardest abuse. Faders collect dust, drink residue, and smoke film. Knobs can crack or slip on their shafts. Tactile switches wear down after thousands of cue presses. Jog wheels can lose calibration, develop physical drag, or stop responding to touch.

For a fader that crackles or jumps in software, begin with a proper electronics-safe fader cleaner used sparingly. Do not soak the assembly, spray household lubricant into the controller, or use products that leave an oily film. Move the fader through its full travel after cleaning, then allow it to dry before powering the unit.

Cleaning helps only when contamination is the issue. If the fader has dead spots, inconsistent values, a broken stem, or severe physical wear, it needs replacement. The same rule applies to rotary potentiometers and encoders. A loose knob may be cosmetic; an encoder that skips values or changes settings without being touched is usually a worn component or damaged solder connection.

Jog wheel failures need closer attention. On some models, the problem is mechanical alignment. On others, it involves a touch sensor, optical encoder, conductive plate, ribbon cable, or calibration setting. Avoid forcing a sticking platter or bending sensor parts. A jog wheel that responds erratically may have a contaminated surface, a failing sensor board, or a cracked connection underneath.

Track Down USB and Audio Failures Methodically

A controller that powers up but is not recognized by a computer often has a damaged USB port or cable-related strain at the connector. Inspect the port for bent pins, looseness, or debris. If the port moves on the board, the solder pads may be cracked. Re-soldering a USB connector correctly requires controlled heat, magnification, and verification that the data lines are not bridged.

Not every USB failure is at the port. Electrostatic discharge can damage USB protection circuitry, interface chips, or power regulation on the board. This is one of the reasons a controller may light up normally while remaining invisible to every computer.

Audio failures require the same discipline. Test each output independently: master, booth, headphones, and individual channels if the model supports them. Confirm levels, cue routing, trim controls, crossfader assignment, and software output mapping before assuming hardware has failed.

If one output remains dead across different cables and speakers, likely causes include a worn jack, broken jack solder joint, failed muting circuit, damaged op-amp, or corrosion around the audio section. Intermittent sound when a cable is moved usually points to the jack or its board connection. Distortion on every output can indicate power-rail trouble or a deeper analog-stage fault.

Open the Controller Only When You Have a Plan

If basic external testing points to an internal problem, disconnect all power and USB cables before disassembly. Photograph the controller from multiple angles and take pictures at each stage. Use labeled containers for screws because many units use several lengths, and one long screw in the wrong location can damage a board or faceplate.

At minimum, the job calls for the following:

  • Precision screwdrivers and plastic pry tools
  • A multimeter capable of continuity, voltage, and resistance checks
  • Good lighting and magnification
  • ESD protection and electronics-safe cleaning materials
  • Soldering and hot-air equipment only if you are trained to use them

Look for obvious evidence first: liquid residue, green or white corrosion, burnt components, torn ribbon cables, disconnected plugs, and fractured solder joints. Reseat internal connectors carefully, but do not pull on ribbon cables by the conductors. Use the locking tab or connector body.

Liquid damage deserves special caution. Residue can continue corroding copper and components long after the spill. Simply drying the controller may get it working temporarily, then the failure returns weeks later. Proper recovery involves disassembly, contamination removal, inspection under magnification, and repair of damaged traces or components where needed.

Know When Board-Level Repair Is the Smart Move

Replacing a worn fader, button, or DC jack is often straightforward when the correct part is available. Main-board faults are different. Controllers may use multi-layer PCBs, fine-pitch integrated circuits, custom firmware-dependent chips, and surface-mount components smaller than a grain of rice. The repair is possible in many cases, but it is not a job for a high-wattage hardware-store iron and guesswork.

This is where in-house diagnosis matters. A real repair process identifies the failed rail, component, trace, or connector before work begins. It may involve micro-soldering, trace reconstruction, USB-port replacement, corrosion repair, or testing the audio path component by component. That approach is often more cost-effective than replacing an otherwise valuable controller, particularly when a manufacturer no longer supports the model.

Amazing Technology Group handles complex DJ equipment repairs with that level of diagnostic work. For Riverside County customers and mail-in clients, a detailed symptom description, model number, power adapter, and notes about spills or drops can shorten the path to an accurate diagnosis.

Protect the Repair After It Works

Once the controller is restored, use a surge-protected power source, avoid leaving cables under tension, and transport it in a case that protects the knobs and jog wheels. Keep drinks away from the booth side of the setup, not merely away from the front edge. Most repeat failures come from strain, contamination, heat, or power problems rather than normal operation.

The best repair is the one that restores confidence before the next gig. Test every deck, control, output, and USB connection at home, then give the controller a full practice session before trusting it in front of a crowd.

Categories
Uncategorized

Riverside Xbox Controller Repair That Gets It Right

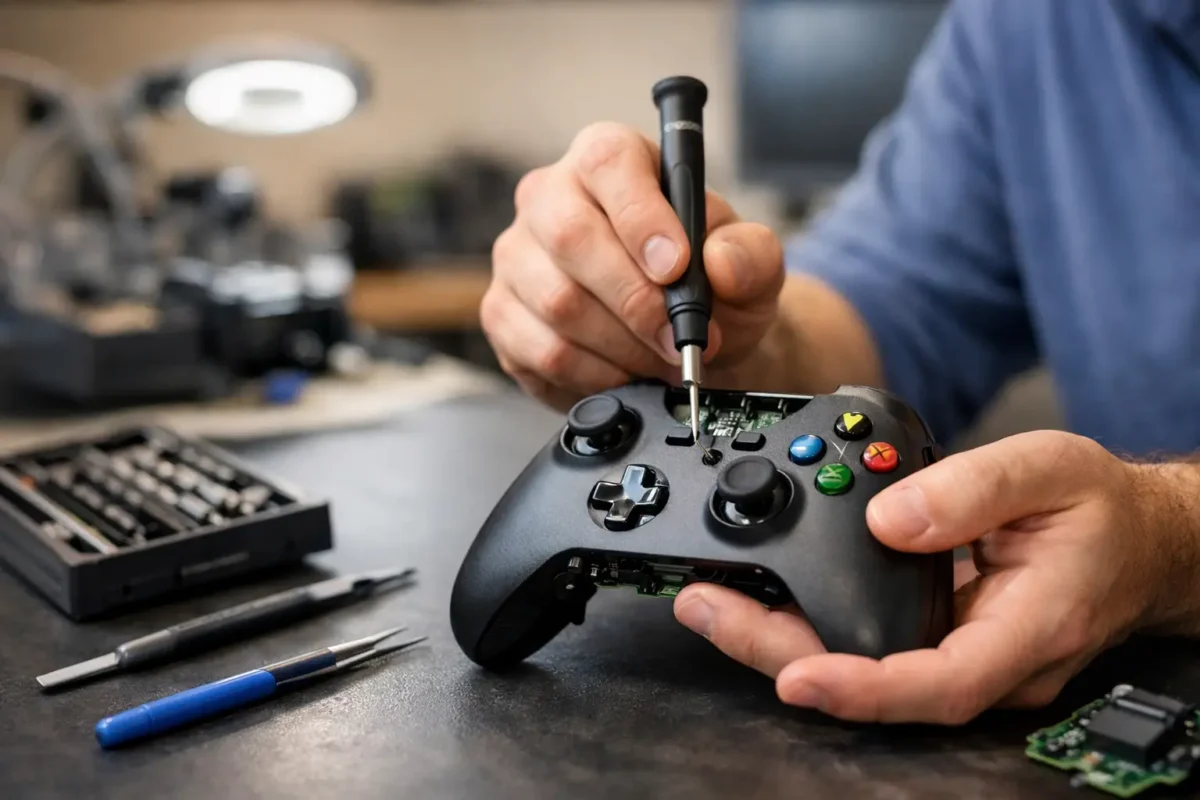
A controller that randomly disconnects in the final round, drifts across the screen, or refuses to charge is not a minor annoyance. It can make an otherwise healthy Xbox feel unusable. Riverside Xbox controller repair should start with finding the actual failure, not guessing at a quick replacement part and hoping it holds up.

At Amazing Technology Group Inc., difficult electronics failures are handled with the same practical approach used for consoles, computers, and professional equipment: inspect the device, test the fault, isolate the cause, and repair what makes sense. That matters because Xbox controllers can fail for several reasons that produce nearly identical symptoms.

When an Xbox Controller Needs Professional Repair

Stick drift is the issue most players recognize. Your character moves without input, a menu scrolls by itself, or aiming feels inconsistent even after adjusting dead zones. In many cases, the analog stick module has worn internal contact surfaces or developed contamination. Replacing the stick assembly may solve it, but the work needs to be clean, mechanically sound, and properly tested afterward.

Not every drifting controller has a worn stick module, though. Damage to the board, poor prior repair work, liquid exposure, or a problem in the controller’s signal path can also affect input behavior. A real diagnosis prevents spending money on a repair that does not address the root cause.

Buttons are another common failure point. An A, B, X, Y, bumper, trigger, D-pad direction, or menu button may become intermittent, mushy, unresponsive, or stuck. Sometimes the issue is a worn conductive pad or damaged plastic actuator. Other times, it is a failed tactile switch, torn trace, cracked solder joint, or contamination on the circuit board. The right repair depends on what failed and how far the damage extends.

Charging and power problems deserve the same attention. A controller that only works when plugged in, will not charge a battery pack, shuts off unexpectedly, or does not power on may have a bad USB-C or micro-USB port, damaged battery contacts, corrosion, a faulty cable, or a board-level power issue. Replacing a cable is easy. Repairing a damaged port or power circuit correctly takes the right equipment and hands-on electronics experience.

Why Riverside Xbox Controller Repair Is Not Always a Simple Swap

Controllers are compact devices, but there is a lot happening inside them. Modern Xbox controllers contain analog input systems, trigger mechanisms, wireless hardware, charging circuits, vibration motors, flexible contacts, and a densely populated circuit board. A rushed disassembly can tear a ribbon cable, misalign a trigger assembly, strip a housing screw, or create a new problem while trying to fix the first one.

Part swapping has its place. If a worn module or damaged bumper assembly is clearly the problem, replacing it can be the most efficient path. But a professional repair shop should not stop there. The controller should be checked for related damage, tested through its full range of inputs, and reassembled so it feels right in actual gameplay.

Board-level capability also changes what is repairable. If a charging port has lifted pads, a trace has been damaged, or corrosion has reached components near the port, a basic replacement may not be enough. Micro-soldering and PCB repair can make the difference between restoring a valuable controller and writing it off unnecessarily.

That does not mean every controller is worth repairing. A heavily liquid-damaged unit, severe internal corrosion, multiple broken assemblies, or a low-value older model may cost more to repair than replacement makes sense. Honest service means explaining that trade-off before work moves forward.

Common Xbox Controller Problems We Diagnose

A controller can look nearly perfect on the outside while hiding a real hardware failure. The most common issues include stick drift, dead buttons, weak or broken bumpers, trigger problems, charging port damage, battery contact failures, wireless disconnects, and damage caused by drops or liquid spills.

Wireless issues can be especially frustrating because they are not always caused by the controller. Interference, a console pairing problem, outdated firmware, weak batteries, and a failing internal wireless component can all lead to disconnects. Testing helps separate a controller fault from a console or environment issue.

Trigger problems also vary by model. A trigger may feel loose, fail to return, register constantly, or stop registering altogether. The cause could be a broken internal bracket, spring issue, worn sensor, or damage after a drop. The correct fix is based on the exact controller version and condition, not a one-size-fits-all assumption.

Elite controllers deserve special attention because of their higher cost and added components. Adjustable sticks, paddles, trigger locks, and removable accessories create more possible failure points. They are often worth diagnosing before replacing, especially when the rest of the controller is in good condition.

What a Proper Repair Process Looks Like

A dependable repair process begins with the symptom you are experiencing, but it does not end there. If your left stick drifts, the technician should verify it. If a bumper only works when pressed at an angle, that behavior should be tested before the controller is opened.

After inspection, the controller is disassembled carefully and the affected components, board connections, and surrounding areas are examined. For liquid exposure, corrosion must be assessed before quoting a simple part replacement. For charging faults, the port and its solder connections need to be checked, along with the battery and power path.

Once the fault is identified, you should know what repair is recommended, why it is needed, and whether there are any practical alternatives. Authorization comes before repair work proceeds. That keeps the process transparent and gives you control over the decision.

After the repair, testing matters. Analog sticks should be checked for proper movement and input response. Buttons, bumpers, triggers, D-pad directions, charging function, vibration, wired operation, and wireless connectivity should be verified as applicable to the original issue. A controller is not fixed just because it turns on at the bench.

What You Can Do Before Bringing It In

There are a few safe checks worth trying before scheduling a repair. Update the controller firmware through the Xbox Accessories app, test with a known-good cable or fresh batteries, and try the controller on another compatible Xbox or PC if available. This can rule out a simple software, cable, or console pairing issue.

Avoid spraying cleaners into the stick assembly, forcing a damaged USB port, or repeatedly bending a cable to get intermittent charging to work. Those attempts can turn a repairable issue into board damage. Opening the controller without the proper tools is also risky, particularly when a problem involves stick modules, trigger assemblies, or soldered charging ports.

If the controller was exposed to liquid, disconnect power and remove batteries or battery packs as soon as possible. Do not charge it to “see if it still works.” Power running through moisture or corrosion can damage components that might otherwise have been saved.

Repair or Replacement: Make the Call With Real Information

The best choice depends on the controller model, the failure, and the unit’s overall condition. A newer Xbox Series controller with a failed USB-C port, stick drift, or a broken bumper can often be a strong repair candidate. An Elite controller is frequently worth evaluating because replacement is more expensive. A controller with major corrosion, extensive physical damage, or several unrelated failures may be better replaced.

The goal is not to sell a repair at any cost. It is to give you a technically sound answer and a practical path forward. For Riverside County gamers, that means having access to technicians who can handle more than cosmetic fixes and basic part swaps.

Your controller is the connection between you and the game. When it starts failing, get the fault diagnosed properly, weigh the repair against replacement, and put reliable hardware back in your hands.