

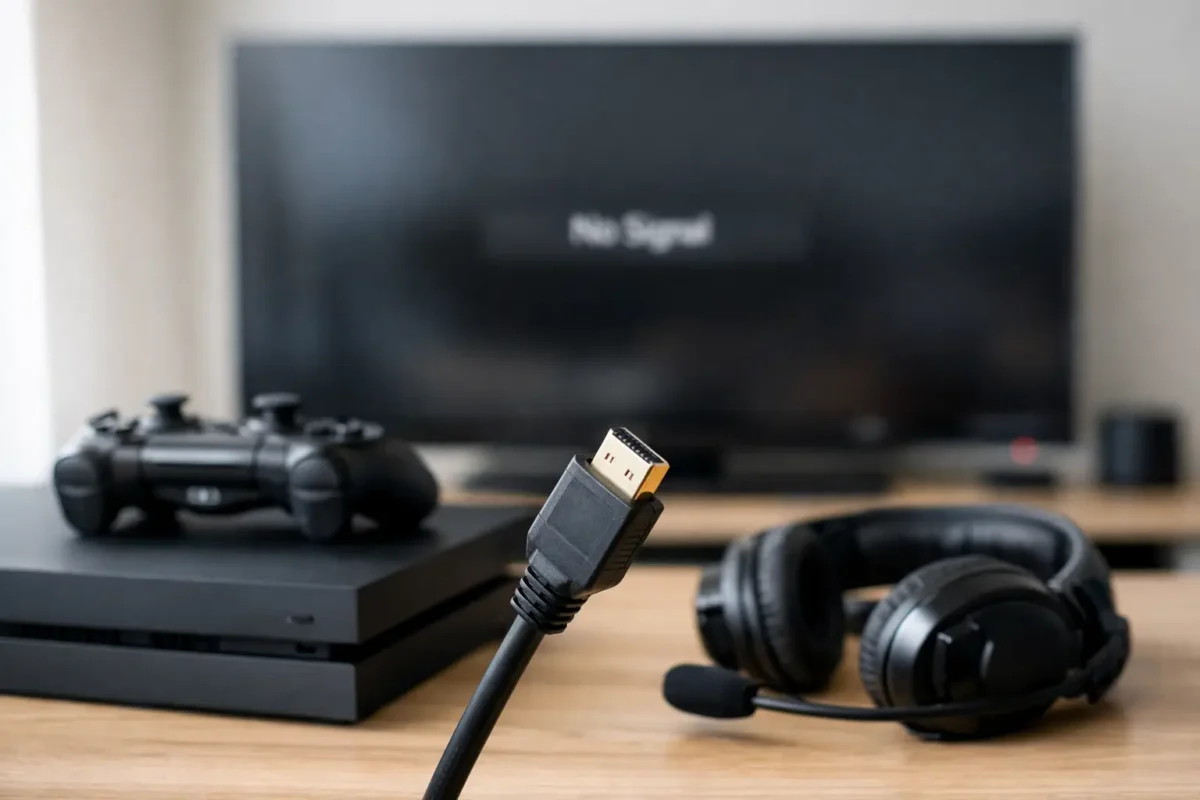
A console that powers on but shows a black screen can stop a game night cold. The frustrating part is that “No Signal” does not identify the failed part. It could be the TV input, HDMI cable, display setting, HDMI port, or a damaged circuit on the console’s motherboard. This console HDMI signal failure guide helps you separate the quick fixes from failures that need real diagnostic work.
Start With the Display Chain, Not the Console
Before opening anything or assuming the HDMI port is bad, test the complete signal path. HDMI problems often look like console failures when the actual issue is a weak cable, the wrong TV input, or a display device that is not completing the HDMI handshake correctly.
First, confirm the TV or monitor is set to the exact HDMI input the console is using. It sounds basic, but modern TVs may have several ports with similar labels, and some switch inputs automatically in inconsistent ways. Manually select the input from the remote or display menu.
Then try the console on another known-working TV or monitor. If the picture appears on the second display, the console is likely working. The issue may be a damaged HDMI port on the original TV, a resolution compatibility problem, or a TV setting such as enhanced HDMI mode, deep color, or an AV receiver configuration.
Test with a short, known-good HDMI cable as well. Do not use the cable currently connected to the console as your only test. HDMI cables can fail internally without visible damage, especially after being sharply bent, pulled from behind an entertainment center, or repeatedly plugged and unplugged. A cable that works at 1080p may also fail when a console attempts 4K, HDR, or high-refresh-rate output.
If your console runs through a soundbar, receiver, HDMI switch, capture card, or splitter, remove that equipment temporarily. Connect the console directly to the TV. Those devices add more handshake points and can create a black screen even when the console itself is healthy.
Console HDMI Signal Failure Guide: Read the Symptoms
The symptoms provide useful clues. A completely blank display with a “No Signal” message is different from a picture that cuts in and out, shows colored sparkles, displays at low resolution, or works only when the cable is held at a certain angle.
An intermittent picture commonly points to a worn cable, loose HDMI port, cracked solder joints beneath the port, or damaged traces on the board. If touching the cable causes the image to flicker, do not keep forcing it into position. That movement can turn a repairable port issue into lifted pads or more extensive motherboard damage.
A picture with static, random colored dots, flashing, or distorted blocks may indicate a poor connection, but it can also be tied to signal integrity issues, retimer or encoder failures, and HDMI circuitry damage. On newer consoles, the HDMI port is only one part of the output system. Replacing the port without checking the surrounding components can waste time and money.
If the console displays a safe-mode screen but goes black during normal startup, the system may be trying to output a resolution, refresh rate, or HDR mode your display cannot accept. This is more likely after moving the console to a different TV, changing monitor settings, or using a receiver that does not support the same video standards.
Reset Video Output Settings Safely
When a console appears to boot normally but the screen remains black, start it in its low-resolution or safe-mode startup option. The exact button timing differs by platform, so follow the instructions for your specific PlayStation or Xbox model. The goal is to force a basic video mode that most displays can handle.
Once the screen returns, set the output to Automatic or a conservative resolution such as 1080p, then test again. Temporarily disable features such as HDR, 120 Hz output, VRR, or deep color if your display or receiver may not support them. This does not mean those features are defective. It simply isolates whether the failure is caused by a compatibility issue.
If safe mode will not display on multiple known-good screens with multiple tested cables, the odds shift toward a hardware problem inside the console. That is the point where repeated factory resets and menu troubleshooting usually stop being productive.
Inspect the HDMI Port Without Making Damage Worse
Power the console off completely and disconnect it before inspecting the port. Use a flashlight and look straight into the HDMI opening. The inner plastic tongue should sit centered and intact. The metal shell should not be pushed inward, bent, loose, or separated from the case.
Look for bent pins, missing pins, packed debris, corrosion, or a port that moves when the cable is inserted. A healthy HDMI cable should fit firmly but should not require force. If it feels unusually tight, stop. Forcing a cable into a damaged or misaligned port can bend additional pins and rip solder pads from the motherboard.
Avoid scraping the port with metal tools, needles, or tweezers. Compressed air used carefully can remove loose dust, but it will not correct bent pins or a broken connector. Contact cleaner can also create problems if it is applied heavily or reaches areas where it should not be. Physical port damage requires proper disassembly, microscope inspection, and controlled soldering work.
Why HDMI Port Swaps Are Not Always the Answer
An HDMI port can be visibly damaged and still not be the only failure. The port connects to delicate data lines and supporting HDMI components on the board. A hard impact, liquid exposure, electrical surge, or repeated cable stress can damage more than the connector itself.
A proper repair starts with diagnosis. A technician should inspect the port under magnification, test for shorts, check continuity on relevant lines, and evaluate the nearby filters, protection components, retimer circuits, and HDMI encoder path where applicable. The exact board design differs across PS4, PS5, Xbox One, Xbox Series consoles, and model revisions.
This is why low-cost “HDMI repair” can become expensive when it is treated as a blind connector replacement. A shop may install a new port, see that no picture appears, and declare the board unrepairable. A board-level repair team looks further. Sometimes the port is the failure. Sometimes it is a protection diode, a missing filter, a damaged trace, or an IC that needs testing and replacement.
There is also a trade-off. Component-level work takes more diagnostic skill and can take longer than swapping a cable or connector. But when the console is valuable and the board is otherwise healthy, the right repair can preserve the original device instead of pushing you toward an unnecessary replacement.
Do Not Overlook Power and Startup Issues
Not every black screen is an HDMI failure. Watch the console itself during startup. Does it stay powered on? Do you hear the normal startup sound? Does the controller connect? Does the fan spin briefly and then the console shuts down? Does the power light change color or flash an error pattern?
A console that turns on and immediately powers off may have a power, overheating, storage, or motherboard issue rather than a video-output problem. A console that stays on, responds to the controller, and appears to boot normally is more likely to have an HDMI-path or display-setting failure. These details help narrow the diagnosis before any repair begins.
When Professional Diagnostics Make Sense
It is time for professional service when the console has no signal on multiple displays and cables, the HDMI port is loose or visibly damaged, the screen cuts out when the cable moves, or a safe-mode reset does not restore video. It is also worth bringing in after liquid damage, a lightning or power event, or a console drop.
At Amazing Technology Group, complex console issues are diagnosed in-house rather than treated as a simple parts-swap job. That matters when a damaged connector is only the visible part of a deeper board-level fault. For Riverside County gamers and mail-in customers, real testing helps determine whether a repair is practical before unnecessary work is authorized.
Protect the repair by leaving the damaged port alone once you have confirmed the basic tests. A clear record of what cable, display, and startup mode you tried gives a technician a strong starting point – and gives your console the best chance of getting back to the screen where it belongs.