

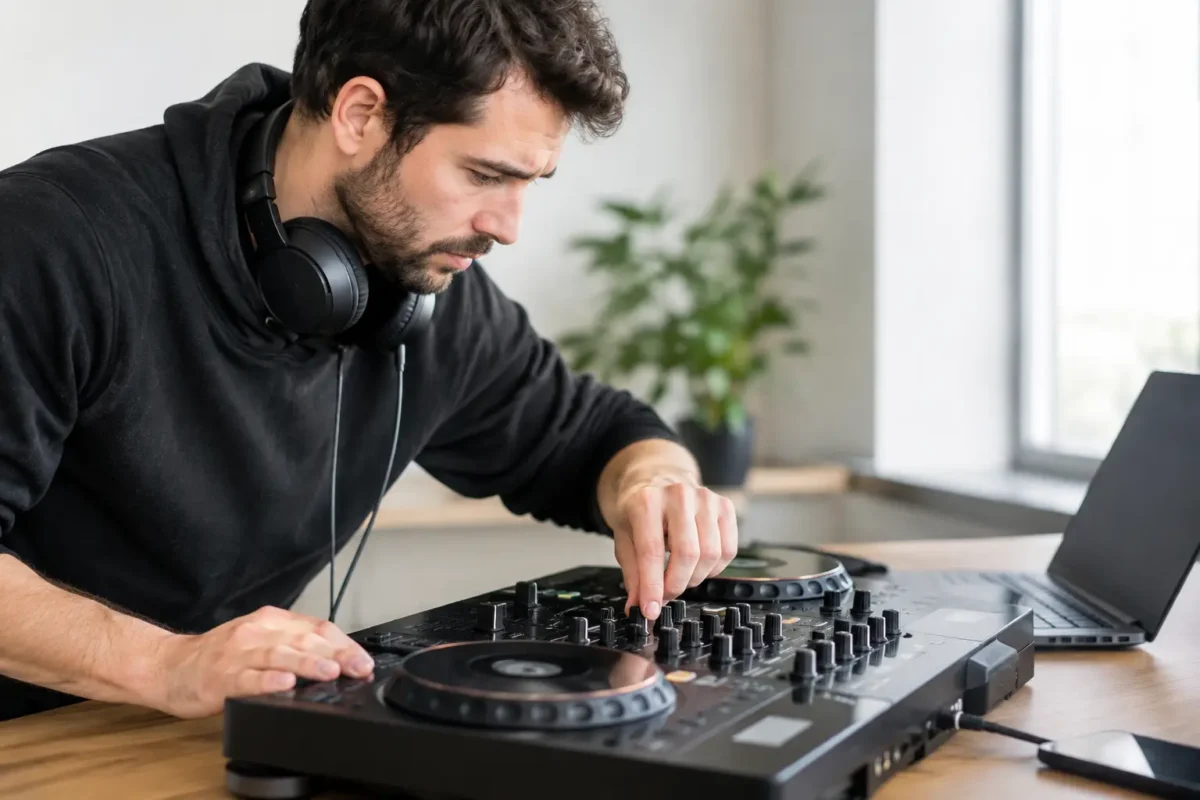
A DJ controller can fail at the worst possible time: minutes before a set, during soundcheck, or halfway through a mix when the audio cuts out. Knowing how to troubleshoot DJ controller problems methodically keeps a small issue from turning into a missed booking, a damaged port, or an unnecessary replacement.
The key is to separate software, connection, power, audio, and hardware faults before you start buying parts or taking the unit apart. A controller that does not connect is not automatically dead. A jog wheel that skips is not always a bad jog assembly. Start with the basics, test one variable at a time, and stop before a simple diagnosis becomes a costly repair.
Start With the Failure You Can Actually Describe
Do not begin with a vague conclusion such as “the controller is broken.” Identify exactly what is and is not working. Does it power on but fail to appear in DJ software? Does the computer see it while the audio interface does not? Are only certain pads, faders, lights, or channels affected? Does the failure happen all the time, only after the unit warms up, or only when a cable gets bumped?
That description matters because each symptom points to a different part of the system. Complete loss of power can involve the power supply, DC input jack, internal protection circuitry, or a damaged board. A controller that powers up but will not communicate is more likely dealing with USB cable damage, a port problem, driver issues, firmware, or USB controller failure. One dead channel may be a fader, switch, audio circuit, or a cracked solder connection rather than a whole-board failure.
Before changing anything, take a photo of cable routing and note your current DJ software version, firmware version, computer operating system, and any error message. This gives you a clean baseline if a setting changes during testing.
Check Power, Cables, and Ports First
Physical connections cause a surprising number of controller failures, especially on equipment that travels between venues. Start with the external gear before blaming the controller.
Use the original power adapter whenever possible. A replacement adapter may fit the jack yet deliver the wrong voltage, polarity, current capacity, or power quality. An underpowered supply can cause random resets, dim LEDs, frozen controls, noisy outputs, or a controller that works briefly and shuts down. Never force an adapter just because the connector fits.
Next, test a known-good USB cable. USB cables fail internally, particularly near the ends, and some cables provide power but cannot reliably transfer data. Keep the cable short for testing and connect directly to the computer instead of through an unpowered hub, monitor, keyboard, or extension. Then try a different USB port.
Inspect the controller’s USB and power ports under good light. A loose connector, bent internal pin, cracked solder joint, or port that moves with light pressure needs attention. Repeatedly wiggling a damaged port can tear pads from the circuit board and make a repair more involved. If the connection cuts in and out when the cable moves, stop there and have the port professionally inspected.
Troubleshoot DJ Controller Software and Computer Issues
If the controller powers on but does not show up in your DJ application, determine whether the computer can see it at all. Check the operating system’s device list or audio settings before reinstalling anything. If the computer does not detect the controller, test it with another known-good cable and, if available, another computer.
When it appears in the operating system but not in the DJ software, confirm that the correct controller is selected in the software’s audio and MIDI settings. Some applications can default to a built-in sound device after an update, restart, or disconnected cable. Also verify that the controller is supported by your installed version of the software.
Driver and firmware updates can solve legitimate compatibility problems, but they are not a cure-all. Update only when the controller has stable power, the correct cable is connected, and the manufacturer specifically supports that firmware for your model. Interrupting firmware programming can leave equipment unable to boot normally.
On Windows computers, USB power-saving settings and outdated chipset or audio drivers can interfere with DJ hardware. On Macs, operating system updates may change permissions or compatibility with older software and drivers. If the problem began immediately after an update, test with the prior stable software configuration if possible rather than changing five settings at once.
Audio dropouts require a slightly different approach. Close background programs, disconnect unnecessary USB devices, and test with a conservative audio buffer setting. Very low latency can feel great in a controlled setup, but a computer that cannot maintain it will produce clicks, pops, distortion, or dropouts. The right buffer size depends on the computer, software, sample rate, and the rest of your setup.
Isolate Audio Problems From Control Problems
A controller can send MIDI commands correctly while its built-in audio interface has a separate failure. Test the software controls and the audio signal path independently.
Confirm that the master and booth outputs are routed correctly in software, then test a known-good set of RCA, XLR, or TRS cables. Try another speaker, amplifier input, or mixer channel. Make sure the channel trim, master level, headphone cue, crossfader assignment, and booth controls are set intentionally. A fader set to a different assignment can look like a dead channel.
If one deck has no sound, swap the output cables left to right. If the failure moves with the cable or speaker, the controller is likely not the issue. If it stays on the same controller output, test with headphones and another source configuration. Crackling, low volume, or audio on only one side may indicate a worn jack, contaminated connector, failed output component, or board-level fault.
Avoid spraying cleaner into every opening. The wrong chemical can damage plastics, conductive membranes, faders, coatings, or sensitive electronics. Cleaning has a place, but it needs the correct product, the right amount, and a clear reason for using it.
Test Buttons, Faders, Jog Wheels, and Pads Methodically
A single bad control is usually easier to diagnose than an intermittent whole-unit problem. Use your DJ software’s MIDI mapping or controller display function, when available, to see whether the control sends a signal. Test each control slowly and compare its behavior with the matching control on the other deck.
For faders and knobs, look for jumping values, dead spots, or values that move without being touched. Those symptoms can come from wear, liquid residue, contamination, broken shafts, damaged solder joints, or a failing analog circuit. A noisy fader is not automatically repairable with cleaner, and flooding it with cleaner can make residue-related problems worse.
For jog wheels, identify whether the problem affects mechanical movement, touch detection, position tracking, or only one software function. A jog wheel may spin freely but fail to register touch because of grounding, sensor, ribbon cable, or board issues. If it rubs, binds, clicks, or has uneven resistance, do not force it. Mechanical damage can spread to encoder assemblies and surrounding mounts.
Pads and buttons that work only sometimes often point to worn tact switches, conductive contacts, damaged flex cables, or liquid damage. If multiple controls fail in the same area, the common cause may be a shared ribbon cable or control board rather than several unrelated switches.
Use a Controlled Troubleshooting Checklist
When time is limited, work through the same sequence instead of guessing:
- Shut down the controller and computer, then reconnect with a known-good power supply and USB cable.
- Test direct connection to another USB port, then test a second computer if one is available.
- Confirm operating system detection before changing DJ software settings or reinstalling drivers.
- Test alternate audio cables, speakers, headphones, and output routing to isolate the signal path.
- Check individual controls in software and note whether failures are isolated, grouped, or intermittent.
- Stop testing if you smell burning, see corrosion, find liquid residue, hear arcing, or feel excessive heat.
This process is not glamorous, but it prevents the most common mistake: replacing a controller when the real issue was a cable, adapter, software setting, or external audio connection.
Know When the Problem Needs Real Repair
Some failures are not safe or practical to solve from the outside. Internal liquid damage, dead USB ports, broken DC jacks, intermittent power, nonresponsive sections of the control surface, and distorted outputs may require disassembly, meter testing, microscope inspection, soldering, or board-level work.
This is where parts-swapping can waste money. A technician should verify power rails, data lines, connectors, fuses, regulators, audio circuitry, and board damage before recommending a repair. On premium Pioneer, Denon, Rane, Vestax, and similar professional gear, a targeted repair can be far more sensible than replacing the entire unit.
For DJs in Riverside County or those using mail-in service, Amazing Technology Group can diagnose difficult controller faults in-house, including port damage, PCB issues, micro-soldering work, and failures many basic repair shops will not touch.
Your controller is part of your instrument, not just another USB accessory. Give it a disciplined test before the next set, keep proven spare cables in your bag, and get expert help when the fault points beyond the outside of the unit.