

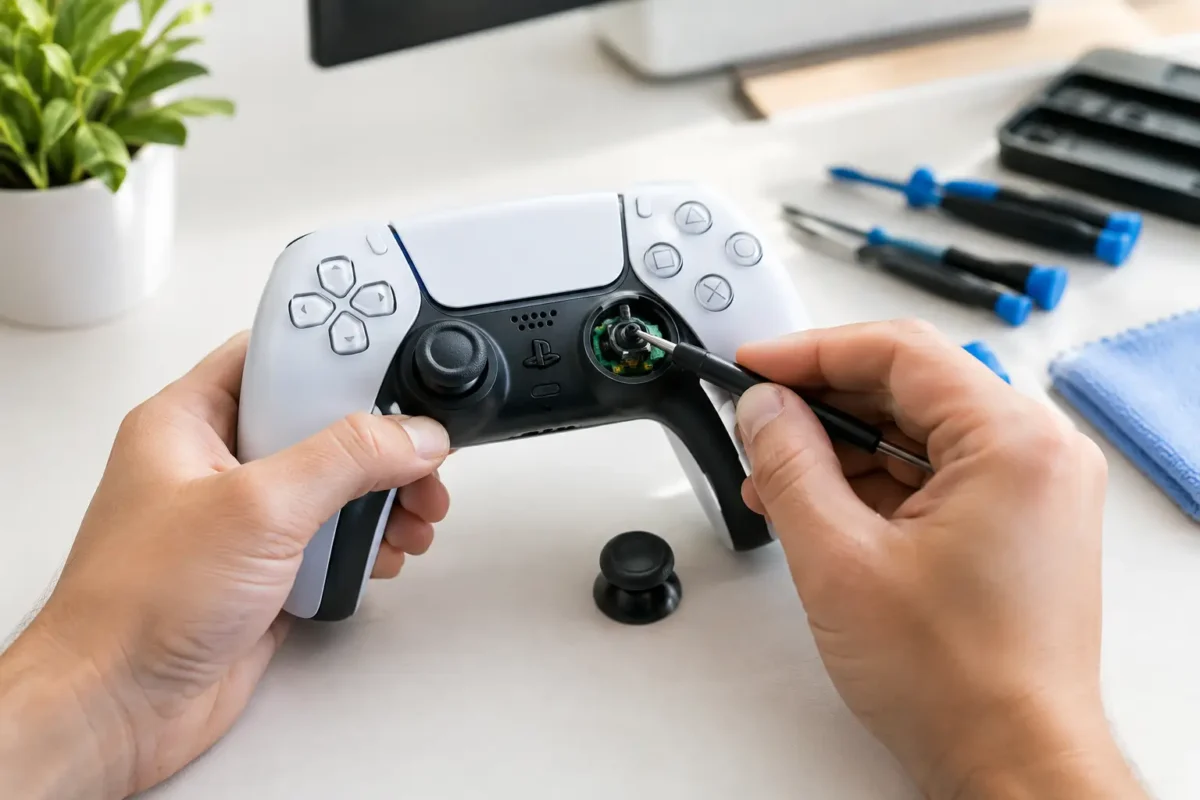
Your character starts walking into traffic while your hands are off the sticks. Your aim drifts across the screen during a ranked match. That is controller drift, and the best ways to fix controller drift depend on what is actually failing – not on whichever quick fix happens to be trending.
Stick drift can come from surface contamination, a software setting, physical damage, or wear inside the analog stick module itself. Cleaning may solve one controller in five minutes. Another may need component-level replacement. The goal is to start with safe, low-cost checks and avoid turning a repairable controller into a bigger problem.
What Controller Drift Actually Means
An analog stick works by reading movement through two small potentiometers, one for the horizontal axis and one for the vertical axis. As the stick moves, internal contacts travel across a resistive track and send position data to the controller.
Over time, dust, skin oils, debris, moisture, or worn contact surfaces can cause unstable readings. The controller then reports movement even when the stick is centered. A damaged stick cap, weak centering spring, cracked solder joint, or fault in the controller board can also create symptoms that look like standard drift.
This is why a larger dead zone is not always a real fix. It can hide mild drift, but it also makes aiming less responsive and may keep getting worse as the worn part deteriorates.
Start With the Easiest Checks First
Before opening anything, rule out problems outside the stick assembly. Fully restart the console or PC, then test the controller in more than one game. Some games have aggressive sensitivity settings, poor dead-zone defaults, or their own calibration behavior.
Update the controller firmware if the manufacturer provides an update method. Then check the game and system settings for stick dead zones. If the drift only appears in one title, adjust that game first. If it appears in menus, across multiple games, and on another device, the controller hardware is the likely cause.
For PC players, test the controller input in the operating system or a trusted controller test utility. Watch the stick axes while the controller rests on a flat surface. A small, stable off-center reading may be manageable with calibration. Rapid movement, jitter, or a reading that grows over time usually points to contamination or internal wear.
Clean Around the Stick Without Soaking It
For mild drift, careful external cleaning is one of the best first repairs. Disconnect or power off the controller. Move the stick slowly in a circle while using short bursts of compressed air around the base of the stick. Keep the can upright and do not hold the trigger down long enough to spray propellant into the controller.
Next, use a small amount of high-percentage isopropyl alcohol on a lint-free swab. Work around the gap between the stick shaft and housing while moving the stick through its full range. Let the controller dry completely before powering it back on.
This method can clear loose debris near the stick mechanism. It cannot rebuild an eroded potentiometer track or repair broken internal hardware. If cleaning produces a short-lived improvement and drift returns days later, that is useful diagnostic information: the module is probably worn rather than merely dirty.
Do not flood the stick with household cleaners, lubricants, or water-displacing sprays. Products not designed for sensitive electronics can leave residue, damage plastic, attract more dirt, or migrate onto the circuit board. A controller may seem better for an hour and fail worse afterward.
Recalibrate Only When Calibration Makes Sense
Calibration is worth trying when the controller was recently dropped, paired with a new device, or shows a consistent but minor center-point error. Some controller ecosystems offer a built-in calibration process; others rely on console settings, PC software, or game-level dead-zone controls.
Follow the on-screen instructions exactly. Keep the controller still when the process asks for a neutral position, and do not force the stick against its edge during a range test. A bad calibration can teach the system the wrong center point.
If the stick jitters during calibration or cannot hold a stable center reading, stop trying to tune around it. Software cannot correct a sensor whose internal signal is jumping around. At that point, increasing the dead zone is a temporary workaround for casual play, not a repair.
Know When the Stick Module Is Worn Out
Modern controllers are built compactly, but their analog sticks are still mechanical parts that wear. Heavy use, fast repeated inputs, dirt, impacts, and years of use can all shorten their service life. Drift that is severe, intermittent, or paired with a loose-feeling stick generally needs more than cleaning.
Common signs of a worn module include:
- Drift that returns immediately after cleaning or calibration
- Jittering movement that changes without touching the stick
- A stick that feels loose, catches, grinds, or fails to spring back cleanly
- Drift after a drop, liquid exposure, or impact
- Movement on one axis that remains even with a large dead zone
In many PlayStation, Xbox, and third-party controllers, the analog module is soldered directly to the main board. Replacing it means opening the controller, removing the board safely, desoldering multiple anchor points and signal pins, installing the correct replacement part, and verifying every function afterward. This is board-level work, not a simple snap-in swap.
Be Honest About DIY Repair Risk
There is nothing wrong with a careful DIY repair when you have the correct tools, experience, and a controller that is already out of warranty. But opening a modern controller without a plan can damage ribbon cables, strip case screws, tear battery connectors, lift circuit-board pads, or create trigger and button problems that were not there before.
Stick replacement requires controlled heat, quality flux, proper solder removal, magnification, and the ability to inspect the board after the work is done. Cheap replacement modules are also inconsistent. A low-quality part may fit physically but have poor center accuracy, uneven resistance, or a short service life.
If you do attempt a repair, document screw locations, use the exact driver bit, disconnect the battery before board work, and test the controller before fully reassembling it. Never pry aggressively around a battery or apply heat near it. The cost of a professional repair often makes more sense than replacing a damaged board after an unsuccessful attempt.
Professional Repair Solves the Cause, Not Just the Symptom
A proper controller drift repair begins with diagnosis. A technician should confirm the drifting axis, check for liquid or impact damage, inspect the stick module and solder joints, and determine whether cleaning, recalibration, module replacement, or board repair is appropriate.
For a controller with worn potentiometers, replacing the analog stick module is usually the dependable answer. For a unit with damaged pads or lifted traces from a previous repair attempt, the job may require micro-soldering and PCB trace restoration. That difference matters because a shop that only swaps parts may miss the underlying board damage.
Amazing Technology Group handles controller repairs in-house with the same diagnostic mindset used for consoles and complex electronics. For Riverside County customers, that means a technician can assess the actual failure instead of selling a generic fix or writing off a controller that may still be worth saving.
Prevent Drift From Coming Back So Soon
No analog stick lasts forever, but better habits reduce contamination and unnecessary stress. Store controllers away from food, drinks, dust, and extreme heat. Wash or dry your hands before long sessions, especially if you use grip products or snacks. A case or covered storage area helps keep debris out of the stick openings.
Avoid forcing sticks hard against their limits when it is not needed. Racing games, fighting games, and competitive shooters can demand intense inputs, so wear is not always avoidable. Still, a lighter touch during menus and everyday use helps. If one game lets you reduce excessive stick sensitivity, that can also make minor drift less noticeable without pushing the hardware harder.
When drift first appears, address it early. A quick cleaning or calibration check may be enough while the issue is still mild. If the controller is already moving on its own after those checks, the most reliable next step is a real repair that restores accurate input instead of asking you to play around a failing part.