Computer Repair - Game Console Repair - Electronics Repair - Micro Soldering

Categories
Uncategorized

Advanced Diagnostics for Laptop Motherboards

A laptop comes in stone dead, no charging light, no fan spin, no display. Another shop already tried a battery, a charger, and even a screen. Nothing changed. That is exactly where advanced diagnostics for laptop motherboards matters. When a machine has a board-level fault, guessing gets expensive fast. Real repair starts when someone stops swapping parts and starts measuring what the board is actually doing.

What advanced diagnostics for laptop motherboards really means

At the customer level, motherboard diagnostics can sound vague. In practice, it means tracing the fault through the board’s power, charging, communication, and startup systems until the actual failed area is identified. Not the symptom. Not the most common replacement part. The failed circuit.

A laptop motherboard is not one simple part. It is a network of power rails, embedded controllers, BIOS storage, charging circuits, CPU and GPU power stages, memory lines, data buses, clock signals, and protection components. If one section fails, the entire system can act dead or behave in strange ways. That is why a laptop can show the same symptom for very different reasons.

For example, “won’t turn on” might be caused by a shorted main power rail, a failed charging IC, corrupt firmware, a bad power button circuit, damaged MOSFETs, liquid damage around the embedded controller, or a CPU core voltage issue. A parts-only approach treats all of those as the same problem. They are not.

Why basic troubleshooting often misses the real fault

Basic troubleshooting has its place. Checking the adapter, battery, RAM, storage, and display can rule out common failures. But once those obvious items are cleared, many shops hit a wall because they are not set up for component-level work.

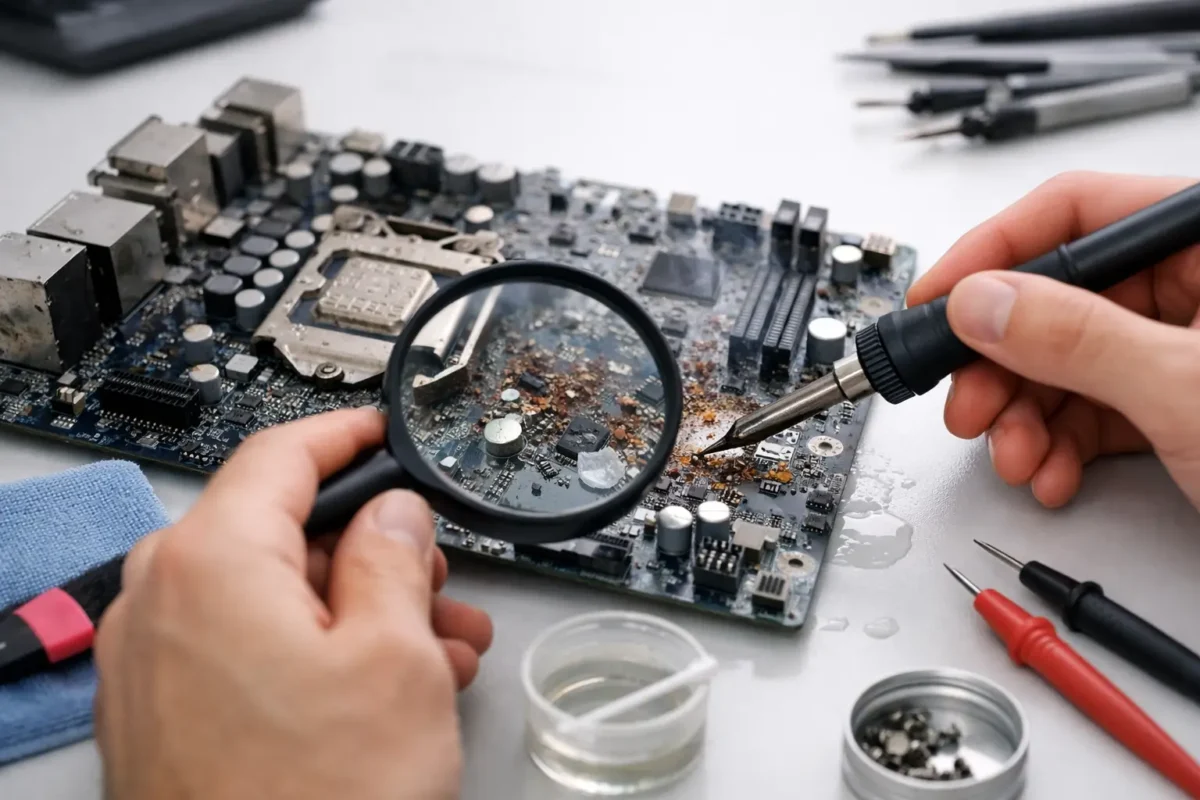
That is where advanced diagnostics separates a real board repair operation from a replacement shop. The process usually involves board inspection under magnification, thermal analysis, voltage injection on shorted rails, resistance-to-ground testing, schematic and boardview reference, BIOS and EC firmware checks, and live power sequence testing. These are not flashy steps. They are disciplined ones.

The value for the customer is simple. You are no longer paying for a chain of guesses. You are paying for someone to isolate the fault before a repair is approved.

The failures that board-level diagnostics is built to find

Laptop motherboards fail in patterns, but no two cases are exactly alike. Some failures are dramatic, like liquid exposure or physical impact. Others build slowly through heat stress, worn solder joints, power surges, or component fatigue.

No-power faults are one of the most common cases. A board may be shorted on the main input, blocked at the charging stage, or missing one of the always-on rails needed to wake the rest of the system. In those cases, the board has to be read like a map. You check where voltage enters, where it stops, and what component is responsible.

Intermittent faults are harder. Maybe the laptop starts cold but shuts off warm. Maybe it charges only when the cable is held a certain way. Maybe it boots three times out of ten. These jobs take patience because the failure may not be visible during a quick bench check. Heat, pressure, flexing, and current draw all change the behavior.

Liquid damage is a separate category because corrosion spreads. A laptop can appear to recover after drying out, then fail weeks later when corrosion eats through signal lines or power components. On these jobs, advanced diagnostics is not just about finding the first bad part. It is about checking how far the damage traveled and whether the board is still a solid candidate for repair.

How technicians isolate a motherboard fault

A proper diagnostic flow starts with the basics, but it does not stay there for long. Visual inspection comes first because burned components, corrosion, cracked solder joints, and impact damage can immediately narrow the search. After that, meter work begins.

One of the first questions is whether the main power rails are present and healthy. If they are missing, the next step is finding out whether power is being blocked, shorted, or never commanded on. Resistance readings help locate short circuits. Voltage readings show where the startup sequence stops. Thermal tools can reveal a component heating up abnormally under injection current.

Firmware also matters more than many people realize. BIOS corruption can mimic major hardware failure. Embedded controller issues can prevent proper startup even when the board looks electrically alive. That is why advanced diagnostics for laptop motherboards is not only soldering work. It is also firmware validation, power-sequence analysis, and logic-level troubleshooting.

Then there is context. A board from a gaming laptop under heavy thermal load fails differently from an office ultrabook with charger-port damage. A business machine that has seen docking station wear may show different patterns from a student laptop that took a spill. Experienced technicians do not just test the board. They read the history of the machine.

Why board repair can be better than motherboard replacement

Many customers assume a bad motherboard means full replacement. Sometimes that is true. If the board is badly burned, heavily corroded, or the economics do not make sense, replacement may be the smarter route. But that is not always the case.

A board-level repair can cost significantly less than replacing the entire motherboard, especially on premium laptops, gaming systems, and business models where replacement boards are expensive, unavailable, or unreliable from third-party sources. It also preserves original hardware, which can matter for compatibility, licensing, or data access.

There is a trade-off, though. Component-level repair is precise work, and the time required depends on the fault. A dead short near the DC input may be located quickly. An intermittent shutdown tied to heat or firmware may take much longer. Honest diagnostics includes that reality. Good repair work is not about rushing to the cheapest answer. It is about getting to the right one.

What customers should expect from a real diagnostic process

If you are bringing in a laptop with a suspected motherboard issue, a real shop should be able to explain the process in plain English. First comes intake and symptom review. Then the device is tested to confirm the failure condition. After that, the board is inspected and measured to determine whether the fault is at the component level, tied to another subsystem, or severe enough that repair may not be practical.

Once the fault is identified or narrowed to a repairable area, you should get a clear recommendation. That may be a board repair, a port repair, firmware recovery, replacement of a failed power circuit, or in some cases a recommendation not to invest further. Straight answers matter here.

This is also where in-house capability matters. If a shop advertises repair but outsources the hard cases, turnaround, quality control, and accountability can all get weaker. A team that handles advanced board work in-house has direct control over diagnosis, rework quality, testing, and final verification. That usually leads to better outcomes on difficult jobs.

Advanced diagnostics for laptop motherboards is about accuracy

Customers usually come in focused on the symptom. No power. No display. Not charging. Random shutdowns. That makes sense. But symptoms are just the surface. The job is to figure out what failed underneath and whether it can be repaired reliably.

That accuracy saves money and frustration. It prevents replacing good parts. It gives realistic expectations. And it opens repair paths that many standard shops never even check. For businesses, that can mean keeping an expensive machine in service instead of replacing it early. For individual customers, it can mean recovering a laptop that looked finished.

At Amazing Technology Group, that kind of work fits the whole point of the bench – solve the real problem, keep the repair in-house, and do the hard jobs correctly.

When a laptop motherboard fails, the smartest next step is not a guess. It is a measured diagnosis from technicians who know how to follow the fault all the way to the source.

Categories
Uncategorized

Board Repair vs Replacement: What Pays Off?

A dead motherboard in a gaming PC, a no-power PS5, a DJ controller with a burned section on the PCB – these are the moments when board repair vs replacement stops being a theory and becomes a money decision. Most people are not asking for the perfect technical answer. They want to know what gets the device working again without wasting time or paying for the wrong fix.

That decision is not as simple as repair is cheaper and replacement is safer. Sometimes board-level repair saves a device that would otherwise be scrapped. Sometimes replacing the board is the only responsible move. The right call depends on the failure itself, the value of the device, parts availability, data or configuration tied to the board, and whether the person doing the work can actually diagnose at the component level instead of guessing.

Board repair vs replacement starts with diagnosis

If nobody has identified the actual fault, any quote is just a rough opinion. A board can fail because of a shorted capacitor, a bad MOSFET, damaged traces, liquid corrosion, a failed port, a cracked connector, a blown fuse, or a larger chipset issue. Those are very different repair paths, even though the symptom may look the same from the outside.

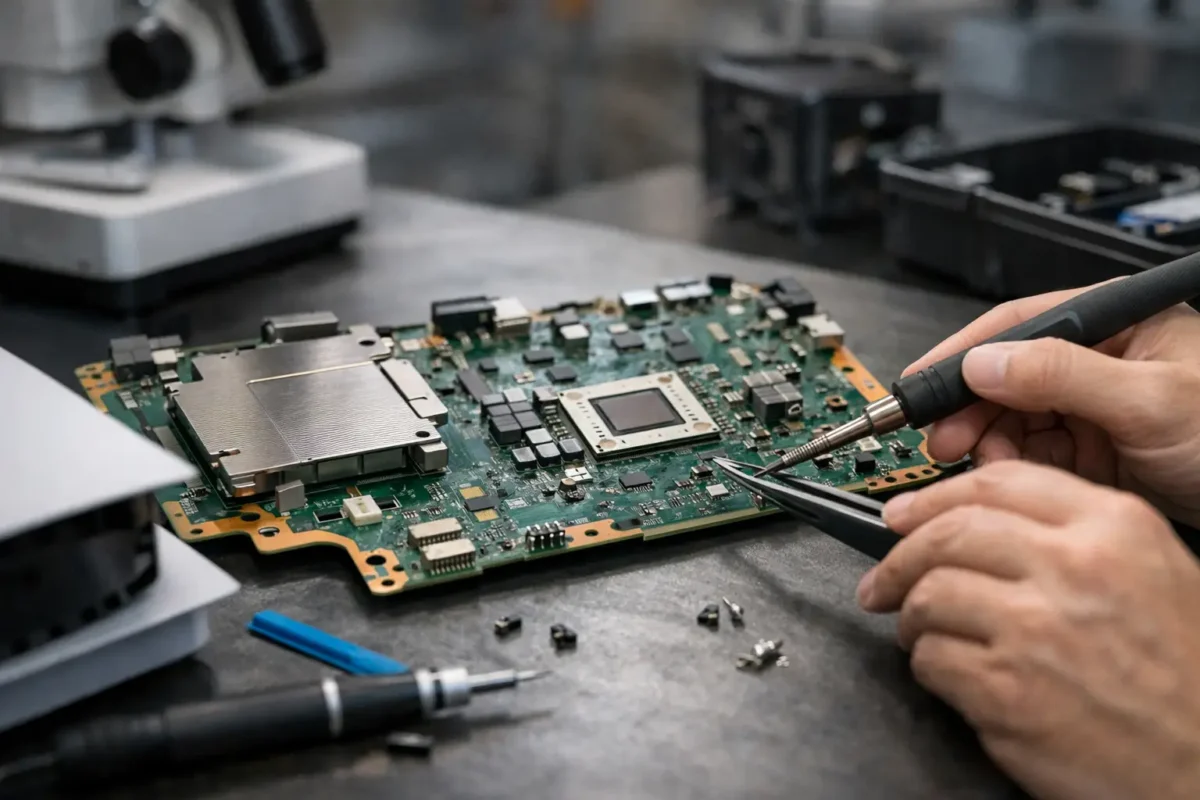
This is where a lot of bad decisions get made. Some shops jump straight to replacement because that is faster for them if a whole board is available. Others promise repair without confirming whether the failure is localized or spread across multiple circuits. Good board work starts with real testing – voltage rail checks, short detection, visual inspection under magnification, continuity testing, thermal checks, and when needed, schematic-based tracing.

If the fault is isolated and accessible, repair often makes strong financial sense. If the board has widespread liquid damage, multilayer internal damage, severe heat damage, or a failed chip that is not realistically replaceable, replacement may be the better route.

When board repair is usually the better value

Board repair tends to make the most sense when the device itself is worth preserving and the failure is limited to specific components or circuits. That is common with laptops, custom PCs, consoles, DJ gear, and other electronics where replacing the full board is expensive, hard to source, or introduces other problems.

A simple example is a damaged charging circuit on a laptop motherboard. Replacing a few failed components can cost far less than sourcing a whole replacement board. The same goes for HDMI port damage on a game console, power section failures on pro audio gear, or broken controller board connections. In these cases, the board is not beyond saving. It just needs skilled component-level work.

Repair also has an advantage when replacement boards are used, pulled, or of uncertain quality. A replacement board might solve one issue while bringing in another, especially with donor parts from salvage stock. On older equipment, replacement boards may already be living on borrowed time. A clean repair to the original board can be more predictable because you are fixing a known failure instead of gambling on an unknown board.

There is also the issue of compatibility. Some boards are tied to serials, firmware, calibration data, security chips, or hardware matching. Swapping the board can create extra steps or leave certain functions broken. That matters on some laptops, consoles, DJ hardware, and business equipment where the board is not just a generic part.

When replacement is the smarter move

There are times when replacing the board is the practical answer, and pretending otherwise does not help the customer. If the board has extensive corrosion across multiple zones, severe physical damage, or internal layer failure from impact or electrical events, repair can become too time-consuming and too uncertain.

Replacement also makes sense when the cost of labor needed for advanced repair gets too close to the price of a good replacement board. This can happen on certain consumer devices where boards are common and affordable. If a tested, reliable replacement is available quickly and installs cleanly, that may reduce downtime and lower overall risk.

Business clients often care about turnaround as much as repair cost. If a workstation or network appliance is mission-critical, the fastest dependable path may be replacement first, especially if every day offline costs real money. In that situation, repair is not always the wrong answer, but the value calculation changes.

Another factor is repeat reliability. If one section of the board failed because of a larger design weakness or because multiple surrounding components have already been stressed, a single repair may not restore long-term confidence. A replacement board, if known good and properly sourced, can sometimes offer a cleaner reset.

Cost is more than the invoice

People usually compare repair and replacement by asking which quote is lower. That matters, but it is only part of the picture. The better question is total cost.

A replacement may cost more upfront but reduce downtime. A repair may cost less upfront and preserve data, firmware matching, or existing configuration. On the other hand, a cheap replacement from an unverified source can turn into a second repair bill later. The lowest number on day one is not always the least expensive outcome.

For gaming systems and custom computers, there is also the issue of preserving the rest of the build. If a board-level fault can be repaired cleanly, you may avoid unnecessary replacement of paired parts or the headache of rebuilding around a different board revision. For professional gear, especially DJ equipment, keeping the original board can protect fit, feature behavior, and equipment consistency.

This is why experienced shops do not treat every dead board like a parts catalog problem. They look at the repair path, the replacement path, the time involved, the source quality of parts, and the realistic life expectancy after the work is done.

Board repair vs replacement for different devices

The type of device changes the answer.

For laptops and desktops, board repair is often attractive when the fault is in the power circuit, charging section, backlight circuit, or a physically damaged port area. Replacement becomes more appealing when the board is common, affordable, and not tied to critical data or unique configuration.

For consoles like PS4, PS5, and Xbox systems, board repair is often the preferred path for HDMI damage, power faults, and certain no-boot conditions. Full board replacement can be harder than it sounds because of pairing, availability, and donor board quality.

For controllers, repair usually wins when damage is isolated to charging ports, broken pads, stick circuit issues, or trace damage. Replacement may make more sense if the board is heavily corroded or if the controller itself is low enough in value that labor outweighs the benefit.

For DJ equipment and other pro electronics, repair has a strong case because replacement boards can be expensive, unavailable, or discontinued. On specialized gear, component-level repair is often what keeps the equipment in service at all.

The skill of the shop changes the answer

This part gets overlooked all the time. Board repair vs replacement is not just about the device. It is also about who is doing the work.

A shop that mainly swaps assemblies will naturally lean toward replacement. A shop that performs real board-level diagnostics, micro-soldering, PCB trace repair, and BGA rework can see repair opportunities others miss. That does not mean every board should be repaired. It means the customer gets a real evaluation instead of a default answer.

That distinction matters because poor diagnosis creates false choices. If someone cannot find the failed component, they may say the whole board is dead. If someone lacks the tools or experience to rebuild pads, replace fine-pitch parts, or correct prior failed repair attempts, they may recommend replacement even when repair is fully viable.

A serious repair process should be transparent. What failed, what is being tested, what parts are needed, what the risks are, and whether repair or replacement offers the better outcome – that should all be explained in plain language.

How to make the right call

If you are deciding between repair and replacement, start with four questions. Is the fault isolated or widespread? Is a reliable replacement board actually available? Will a board swap create compatibility, pairing, or data issues? And does the shop have proven board-level capability, not just part-swapping experience?

If the failure is localized, the original board has value, and the repair is being handled by technicians who do this work in-house, repair is often the smarter investment. If the damage is extensive, the replacement is tested and cost-effective, and downtime is the bigger concern, replacement may be the better move.

At Amazing Technology Group Inc., this is exactly why real diagnosis comes first. Customers do better when the answer is based on the board in front of us, not on a shortcut.

The best repair decision is usually the one that respects both the hardware and your budget. Not every board should be saved, but plenty of boards get replaced every day when they could have been repaired correctly.

Categories
Uncategorized

Pioneer DJ Mixer Repair That Makes Sense

A Pioneer mixer usually does not fail all at once. It starts with a noisy channel fader, a cue button that works when it feels like it, an effects section that drops out, or a power issue that makes setup stressful right before a set. That is where proper pioneer dj mixer repair matters. If the problem is treated like a simple parts swap when the real fault is deeper on the board, the mixer may come back with the same issue or a new one.

For DJs, venues, and working audio professionals, a mixer is not just another piece of gear. It is the center of the rig. When it goes down, the question is not only whether it can be fixed. The real question is whether it can be fixed correctly, without wasted time, unnecessary replacement, or guesswork.

What goes wrong in a Pioneer DJ mixer

Most Pioneer mixer failures fall into a few categories, but the cause is not always obvious from the symptom. A dead unit might have a power supply problem, a shorted component, liquid damage, or damage that started after a bad cable event. A channel cutting in and out could be a worn fader, but it could also be a cracked solder joint, damaged board trace, or oxidation affecting the signal path.

Buttons and knobs are another common complaint. Some fail from normal wear. Others fail because the mechanical part is fine, but the board underneath has taken stress over time. On mixers that see heavy club use, impact damage, heat, liquid exposure, and rushed transport all add up. Even a mixer that looks clean on the outside can have serious internal damage.

Audio distortion is where basic repair shops often get stuck. Distorted output, weak headphone signal, missing channels, or noisy booth output can come from op-amp failure, damaged capacitors, connector issues, power rail instability, or board-level corrosion. Replacing one obvious part without tracing the full circuit is how bad repairs happen.

Pioneer DJ mixer repair is not just part replacement

This is the part many customers never get told clearly enough. Good pioneer dj mixer repair starts with diagnosis, not ordering parts and hoping for the best. If the mixer has a failed fader, that may be the only issue. But if the fader failed because liquid got into the assembly and onto the board, replacing the fader alone does not solve the whole problem.

That is why board-level service matters. Real diagnosis means checking power rails, testing signal flow, inspecting for damaged pads and traces, evaluating connectors, and verifying whether the control surface fault is isolated or tied to a larger issue. On some models, a symptom that looks simple on the front end can trace back to a much more specific fault deeper in the unit.

There is also a cost factor here. Full board replacement can be expensive, and on some older or professional models, replacement boards are hard to source or not practical at all. Component-level repair often gives customers a better option. Instead of writing off an otherwise solid mixer, the damaged section can sometimes be repaired directly, saving money and preserving the original unit.

Common symptoms that need a real bench diagnosis

If your mixer powers on but has no output, do not assume the master section is bad. If a cue light works but audio does not route correctly, do not assume it is only a button problem. And if the unit is fully dead, do not assume it is beyond repair.

The most common issues we see in pro DJ equipment include intermittent channels, failed crossfaders, non-responsive EQ controls, dead USB or digital sections, headphone jack problems, damaged input connectors, blown power sections, and liquid intrusion. Some of these are straightforward. Some are not. It depends on what failed first, how long the damage was left in place, and whether anyone already tried to repair it.

Previous repair attempts matter more than people think. Lifted pads, broken connectors, missing screws, incorrect parts, and poor solder work can turn a repairable unit into a more complex job. That does not always mean the mixer is done, but it does change the path forward. A serious shop should tell you that up front.

What a proper Pioneer DJ mixer repair process looks like

A professional repair process should be clear, not mysterious. First comes intake and symptom review. That includes the obvious complaint, but also usage history. Was there liquid exposure? Was the mixer dropped? Did the issue start after a power event? Did one channel fail before the rest? That context helps narrow the failure path.

Next comes internal inspection and electrical diagnosis. This is where experience matters. A technician should not only look for burned parts. They should check for corrosion, trace damage, loose connectors, mechanical wear, cracked solder joints, and unstable rails. On digital-capable mixers, they may also need to verify communication behavior between sections.

After diagnosis, the customer should get a clear explanation of what failed, what can be repaired, and whether the fix makes economic sense. That last part matters. Not every repair is worth doing, and a trustworthy shop says so when needed. But many mixers that get rejected elsewhere are still viable when the technician has the tools and skill to work at component level.

Then comes the actual repair, followed by testing under real use conditions. It is not enough to power the unit on and call it done. The mixer needs channel verification, control testing, output testing, and enough bench time to catch intermittent behavior. A rushed repair is how gear fails again when it is back in service.

When repair beats replacement

For entry-level gear, replacement can sometimes make sense. For higher-end Pioneer mixers, that calculation changes fast. These units are expensive, and many owners already know exactly how their mixer feels and responds. Replacing it may cost far more than repairing a localized failure.

There is also the issue of availability and setup continuity. A venue or working DJ may not want to reconfigure around another model. Even if a replacement is possible, keeping a known, preferred mixer in service often makes more sense than starting over.

That said, not every unit should be repaired at any cost. Severe liquid damage across multiple sections, major board destruction, or extensive failed prior work can push a mixer past reasonable economics. The right answer is not always yes. The right answer is an honest diagnosis.

Choosing a shop for Pioneer DJ mixer repair

If a shop handles DJ equipment, ask how they diagnose faults. Ask whether they do board-level repair in-house or send everything out. Ask what happens if the problem turns out to be more than a bad fader or jack. These are not small details. They tell you whether the shop is actually built for complex electronics work or just basic replacement tasks.

This is where companies like Amazing Technology Group stand apart. When a repair stays in-house and is handled by technicians who are comfortable with advanced diagnostics, micro-soldering, and PCB repair, customers get a better shot at a real fix. That matters for gear other shops refuse, misdiagnose, or treat as disposable.

Turnaround also matters, but speed should not come at the expense of accuracy. If the mixer is mission-critical, you want updates, a real diagnosis, and work that holds up after the first event back. Fast is good. Fixed is better.

How to protect your mixer after repair

Once the unit is back in service, a little discipline goes a long way. Use proper cases, avoid pressure on knobs and shafts during transport, and keep drinks away from the booth whenever possible. Clean external surfaces carefully and avoid spraying anything directly into controls unless the service method is correct for that component.

Power quality also matters. Dirty power and bad adapters create problems that look random until they are not. If your setup moves between venues, protect the gear accordingly. A repaired mixer can run for years, but only if the same failure conditions are not repeated every weekend.

If your Pioneer mixer is acting up, do not wait for a total failure before getting it checked. Small faults tend to grow, and the earlier a technician sees the problem, the better the odds of a clean, cost-effective repair.