Computer Repair - Game Console Repair - Electronics Repair - Micro Soldering | !!! Now Open from 8am to 10pm Mon - Thurs =) !!!

Categories
Uncategorized

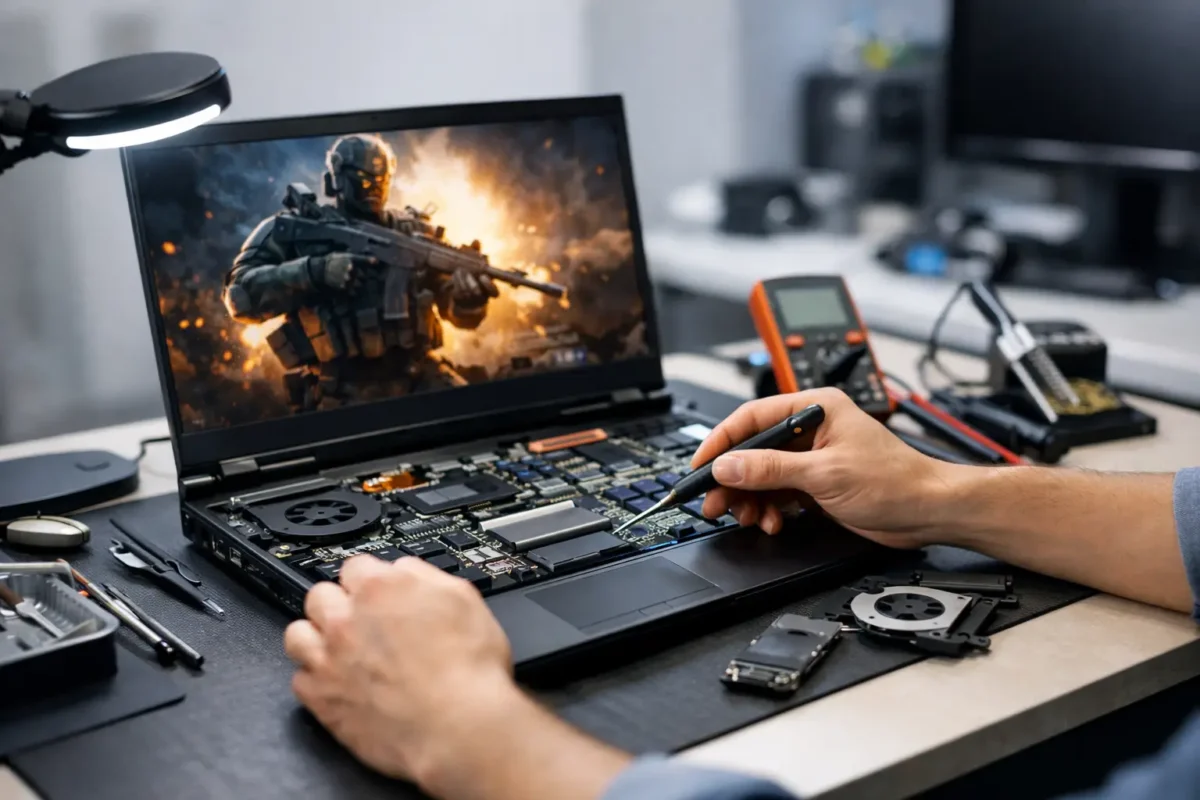
Best Repair Options for Gaming Laptops Explained

A gaming laptop that suddenly throttles, crashes under load, shows no display, or refuses to charge is not just a minor inconvenience. It can take out your work machine, your school system, and your weekend setup at the same time. The best repair options for gaming laptops depend on the failure, the laptop’s age, its warranty status, and whether the shop can diagnose the real cause instead of guessing with replacement parts.

Gaming laptops pack desktop-class power into a tight chassis. That means heat, power delivery, liquid damage, worn fans, broken charging ports, and failed graphics circuitry can create symptoms that look similar from the outside. A reliable repair starts by separating a simple maintenance problem from a component-level failure.

Start With the Failure, Not the Part

Many repair decisions go wrong when someone starts with a presumed bad part. A laptop that turns on but has no picture may have a damaged display panel, a loose display cable, failed memory, corrupted firmware, a graphics problem, or a board-level power issue. Replacing the screen first may be quick, but it is not a diagnosis.

The same is true for overheating. High temperatures can come from blocked vents and dried thermal compound, but they can also point to a failing fan, warped heatsink contact, damaged heat pipes, an improperly installed upgrade, or firmware settings that keep the system overpowered. A good technician tests the machine under controlled load, checks temperatures and power behavior, and inspects the physical cooling system before recommending work.

Ask any repair provider what they actually test before quoting a major repair. If the answer is only “we’ll try a new part,” you may be paying for trial and error. On an expensive gaming machine, that approach gets costly fast.

Best Repair Options for Gaming Laptops by Problem

Manufacturer warranty or extended coverage

Warranty service is usually the right first move when the laptop is still covered and the issue is clearly a manufacturing defect. It can protect you from paying for a motherboard, display, or GPU-related repair out of pocket. Check the terms carefully, especially if the laptop has been opened for storage or memory upgrades, repasted, overclocked, or damaged by a spill.

The trade-off is control. Manufacturer service may require shipping, wait times, and a full board replacement rather than repair. You may also be asked to back up or erase the system. For a newer laptop with valid coverage, that inconvenience is often worth it. For an older machine or one with accidental damage exclusions, it may not be.

A qualified independent repair shop

An independent shop is often the strongest option for out-of-warranty laptops, physical damage, cooling problems, charging failures, and performance issues. The right shop can inspect the device in person, explain the findings, and give you a repair path based on condition and value rather than a one-size-fits-all service policy.

This route is especially useful when you need more than a replacement component. For example, a damaged DC-in jack may require soldered port replacement. A broken hinge can also damage the display cable, lid, or chassis mounting points. A laptop with random shutdowns may need thermal service, power testing, BIOS recovery, and inspection for prior liquid residue.

Choose a shop that is comfortable working on gaming hardware from brands such as ASUS ROG, MSI, Alienware, Lenovo Legion, Acer Predator, HP Omen, and Razer. These systems use different cooling layouts, board designs, firmware controls, and parts availability. Familiarity matters.

Board-level and micro-soldering repair

Board-level repair is the option many standard shops do not offer, but it can be the difference between restoring a laptop and replacing it. Instead of swapping the entire motherboard, a technician traces the failed circuit and repairs or replaces the affected component. That may include charging ICs, power MOSFETs, USB-C power circuitry, fuses, capacitors, display connectors, and damaged pads or traces.

This option makes sense when the motherboard is expensive, unavailable, or contains a configuration that would be difficult to replace. It is also valuable after liquid damage, charging-port damage, power surges, and no-power conditions. Not every board is economically repairable, and a severe GPU or CPU failure can change the calculation. Still, proper diagnostics should happen before anyone declares a motherboard “dead.”

Amazing Technology Group handles advanced diagnostics and in-house board-level work because difficult failures deserve more than an automatic replacement recommendation. A repairable circuit should be evaluated as a repairable circuit.

Cooling restoration and preventative service

If your laptop runs hot, sounds like a small turbine, loses clock speed, or shuts down during games, cooling service may be the most cost-effective repair available. A proper service includes internal dust removal, fan inspection, heatsink removal when appropriate, fresh thermal compound, and replacement of worn thermal pads with the correct thickness and placement.

Do not treat thermal service as cosmetic maintenance. On a gaming laptop, sustained heat can shorten the life of fans, batteries, storage devices, and power components. It can also cause the CPU and GPU to throttle, making a powerful laptop perform like a lower-tier system.

Be cautious with shops that use generic pads or apply too much paste. Gaming laptop heatsinks are designed around precise contact pressure and component clearances. Poor materials or rushed reassembly can make temperatures worse.

Screen, keyboard, hinge, and chassis repair

Physical repairs can be straightforward, but they still require careful parts matching. A cracked screen needs the correct size, connector type, refresh rate, resolution, and mounting arrangement. Replacing a 165 Hz panel with a basic 60 Hz panel may restore an image, but it does not restore the gaming experience you paid for.

Hinge repair needs special attention. A stiff or broken hinge can tear mounting points from the lid, pull on the display cable, or crack the palm rest. Simply gluing the area may not hold. The right repair addresses the hinge tension, damaged mounts, and any related cable or panel damage.

Keyboard replacement can range from manageable to labor-intensive. On some laptops, the keyboard is integrated into the top case or requires a near-complete teardown. Get a clear quote that distinguishes the part cost from the labor required to access it.

Storage, memory, battery, and software recovery

Not every problem is a motherboard problem. Failed SSDs, corrupted Windows installations, unstable memory, swollen batteries, and damaged charging adapters can all cause crashes, boot loops, poor performance, or unexpected shutdowns.

An experienced technician should test these areas before recommending expensive work. Storage replacement may also require data recovery or system migration. If your files matter, say so before authorizing an operating system reinstall. A clean install can solve software corruption, but it can also overwrite the opportunity for easier recovery.

How to Decide Whether Repair Is Worth It

Start with the laptop’s replacement cost and real performance value. A two-year-old gaming laptop with a high-refresh display and a current-generation GPU may justify a significant repair. A seven-year-old model with weak battery life, obsolete graphics, and multiple issues may be better repaired only if the fix is modest or the machine has a specific role.

Then consider the scope. A fan replacement, charging port repair, screen replacement, SSD upgrade, or thermal service is often easy to justify. A heavily corroded board, failed GPU core, and broken chassis on an aging unit may not be. The point is not to avoid hard repairs. It is to make the decision with evidence.

Request a written diagnosis that explains the symptom, confirmed cause, recommended repair, cost range, and risk factors. Ask whether the quote includes testing after repair and whether the repair carries a workmanship warranty. Straight answers are a good sign.

What to Do Before You Bring It In

If the laptop still boots, back up important files. Record the symptoms, including whether the issue happens only while gaming, charging, moving the screen, or using a particular USB device. Bring the correct charger, because an underpowered or failing adapter can imitate internal power faults.

Do not keep forcing a laptop to run if you smell burning, see battery swelling, notice liquid inside, or experience repeated shutdowns. Shut it down and disconnect power. Continued use can turn a limited repair into wider board damage.

The right repair option is not always the cheapest quote or the fastest part swap. It is the path that identifies the actual failure, protects the rest of the machine, and gives you a clear answer about whether your gaming laptop is worth restoring. A good technician should leave you with more than a working device – you should know what failed, why it failed, and what will help keep it running hard.
Categories
Uncategorized

Can Motherboard Short Circuits Be Repaired?

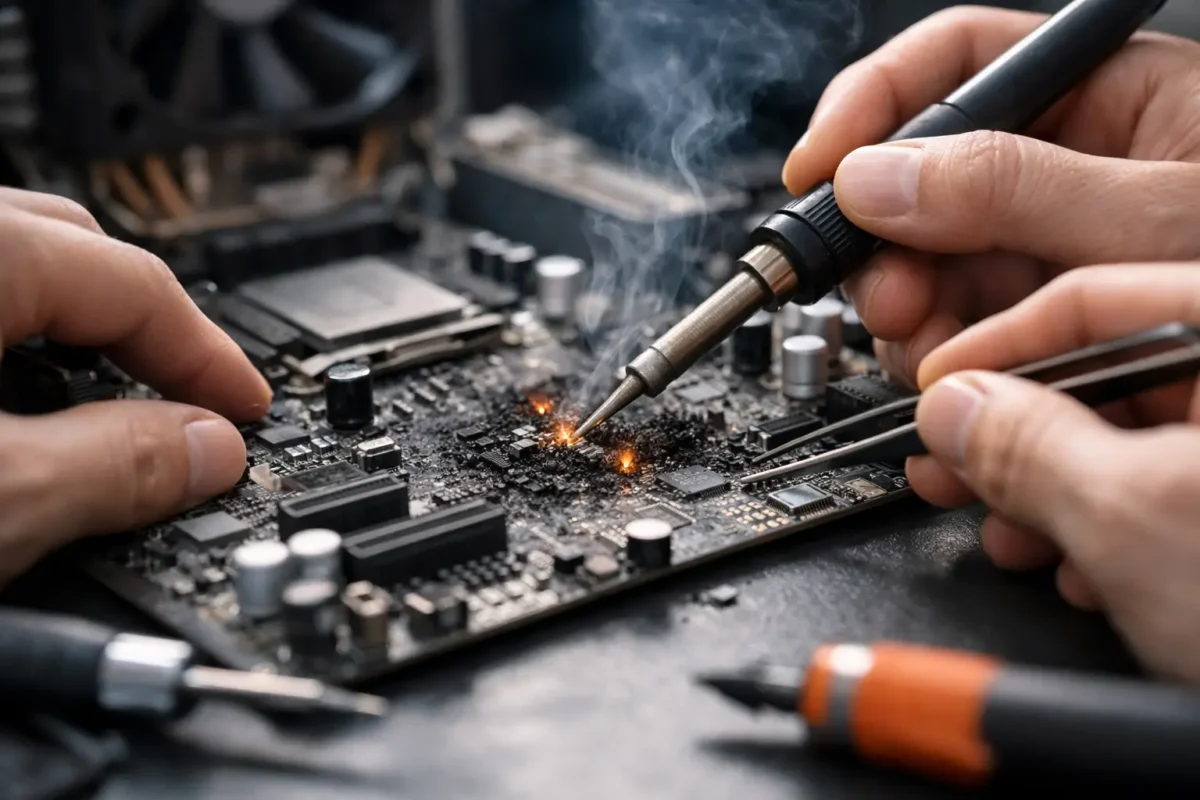
A motherboard can fail in a split second after a liquid spill, a bad charger, a power surge, or a component breakdown. The good news is that can motherboard short circuits be repaired is often a yes – provided the damage is identified correctly and the board has not suffered widespread destruction. A short does not automatically mean a computer, game console, laptop, or DJ controller belongs in the trash. It means the repair starts with real diagnostics.

At Amazing Technology Group, that distinction matters. Replacing an entire board may be fast, but it can also be expensive, unavailable, or unnecessary. Board-level repair finds the failed area, confirms the cause, and repairs only what the device actually needs.

What a Motherboard Short Circuit Really Means

A short circuit happens when electricity travels along an unintended path with very little resistance. Instead of moving through the circuit as designed, power may flow directly to ground or into a neighboring circuit. The result can be a device that will not turn on, immediately shuts down, gets unusually hot, or draws far more current than it should.

On a motherboard, a short is usually not a visible burned hole. It can be a tiny failed capacitor, a damaged MOSFET, a shorted integrated circuit, corrosion under a chip, or a damaged power rail. Modern boards pack dense circuitry into a small space, especially in laptops, consoles, compact desktops, and professional audio equipment. That is why a proper diagnosis requires more than looking for scorch marks.

A short may be present on a main power rail, a CPU or GPU rail, a charging circuit, a USB circuit, a memory rail, or one of many smaller voltage lines. The location changes both the repair method and the odds of success.

Can Motherboard Short Circuits Be Repaired? It Depends on the Damage

Many motherboard shorts are repairable. A shorted capacitor, diode, transistor, USB protection component, fuse, or power-management component can often be removed and replaced. If corrosion is limited and caught early, technicians can clean affected areas, repair damaged traces or pads, replace failed parts, and restore the board.

The repair becomes more difficult when the short has damaged multiple layers of the printed circuit board, burned internal traces, destroyed a processor, or spread corrosion under several BGA chips. A BGA chip is soldered to the board through an array of tiny solder balls underneath it. Damage in that area may require advanced rework equipment and careful testing after the repair.

Repairability also depends on the value of the device. A board-level repair on a high-end gaming laptop, custom desktop motherboard, PS5, MacBook, Pioneer DJ controller, or commercial workstation can be a smart investment because replacement boards may cost hundreds of dollars or are simply unavailable. On an older, low-value device with major board damage, replacement may be the more sensible path. The answer should come after diagnosis, not guesswork.

Common Causes of Motherboard Shorts

Liquid damage is one of the most common causes. Coffee, soda, water, humidity, and cleaning fluids can create immediate shorts or leave behind residue that causes corrosion over time. A device may appear fine after a spill, then fail days or weeks later as corrosion eats at components and solder joints.

Power problems are another major cause. Low-quality chargers, damaged charging cables, incorrect power supplies, unstable outlets, lightning events, and failed power bricks can send the wrong voltage or create electrical stress in charging and input circuits. Desktop PCs can also suffer from a failed power supply that damages components connected to the motherboard.

Component failure can happen without an outside event. Capacitors age, power transistors fail, chips break down from heat, and conductive debris can settle on a board. Poor previous repair work can also create solder bridges, torn pads, missing components, or improperly installed parts that lead to a short.

Signs Your Device May Have a Board Short

A dead device is not automatically shorted, but certain symptoms point technicians in that direction. The device may show no charging light, turn on for one second and shut off, repeatedly cycle power, refuse to charge, or heat up around one area even when it will not boot.

For a desktop PC, a power supply that clicks off immediately or a motherboard that receives standby power but will not start can indicate a shorted rail. For laptops, a charger LED that goes out when connected can be a strong clue. Consoles may beep and shut down, show no power at all, or have a power supply that enters protection mode. A DJ controller may have dead USB connectivity, missing power, or an output section that overheats.

These symptoms overlap with other failures, including bad batteries, power supplies, screens, storage devices, firmware issues, and faulty peripherals. That is exactly why replacing parts at random is expensive and often misses the real fault.

How Professionals Find a Short Circuit

A skilled board repair begins by checking for obvious damage: liquid residue, corrosion, burnt components, broken connectors, cracked areas, and signs of a previous failed repair. But visual inspection is only the first step.

Technicians then measure resistance and diode values on key power rails to determine whether a rail is shorted to ground. They use schematics, board views, multimeters, bench power supplies, thermal cameras, and sometimes specialized methods such as controlled voltage injection. With the correct voltage and current limit applied to the affected rail, the failed component may reveal itself as a localized heat source.

That process has to be controlled. Injecting voltage into the wrong rail or at the wrong level can destroy a CPU, GPU, storage controller, or other expensive chip. The goal is not to force power through the board. The goal is to isolate the fault without creating new damage.

Once the culprit is confirmed, the component is removed with proper hot-air or micro-soldering tools. The surrounding pads and traces are inspected, repaired if necessary, and cleaned. A replacement component with the correct specifications is installed, followed by new measurements and staged power testing. If the short is gone, the board still needs functional testing to confirm charging, startup, ports, audio, video, networking, storage, and other affected features work as they should.

Why DIY Short-Circuit Repair Can Go Wrong

Disconnecting power, removing a battery when possible, and avoiding repeated attempts to turn on a liquid-damaged device are sensible first steps. Beyond that, motherboard short repair is not a good place for improvised tools or internet guesswork.

A shorted component can be smaller than a grain of rice. Nearby components may be heat-sensitive, and multilayer boards can hide damage inside the PCB. Using too much heat, scraping at corrosion, bridging pins with solder, or powering a wet device can turn a repairable fault into permanent board damage.

Do not keep plugging in a device that shuts down, smells burned, or gets hot. Do not use rice as a liquid-damage fix. Rice does not remove corrosion or conductive residue, and it can delay the cleaning and inspection that the board actually needs.

Repair Versus Replacement: Making the Practical Call

The right decision comes down to the fault, the device’s condition, part availability, and what is stored on it. If a single failed capacitor is shorting a valuable board, repair is usually worthwhile. If liquid damage has corroded several board sections, damaged a processor, and reached the display, keyboard, battery, or other assemblies, the total may not justify a full restoration.

Data can change the equation. A board that is not economical to restore for daily use may still be worth repairing long enough to recover critical files, business records, photos, project data, or application credentials. In some cases, a targeted board repair is the safest route to getting irreplaceable information back.

Ask for a diagnostic that identifies the affected circuit and explains the recommended path before approving the work. A clear repair process should separate the diagnostic findings from the repair authorization, so you know whether the issue is a straightforward component replacement or a deeper board failure.

A motherboard short is serious, but it is not a verdict. The best next move is to stop applying power, protect the device from further damage, and let an experienced board-level technician determine what failed. When the repair is viable, the right hands can bring valuable equipment back from a failure that most shops would write off.

Categories
Uncategorized

PC Boot Loop Repair Options That Actually Work

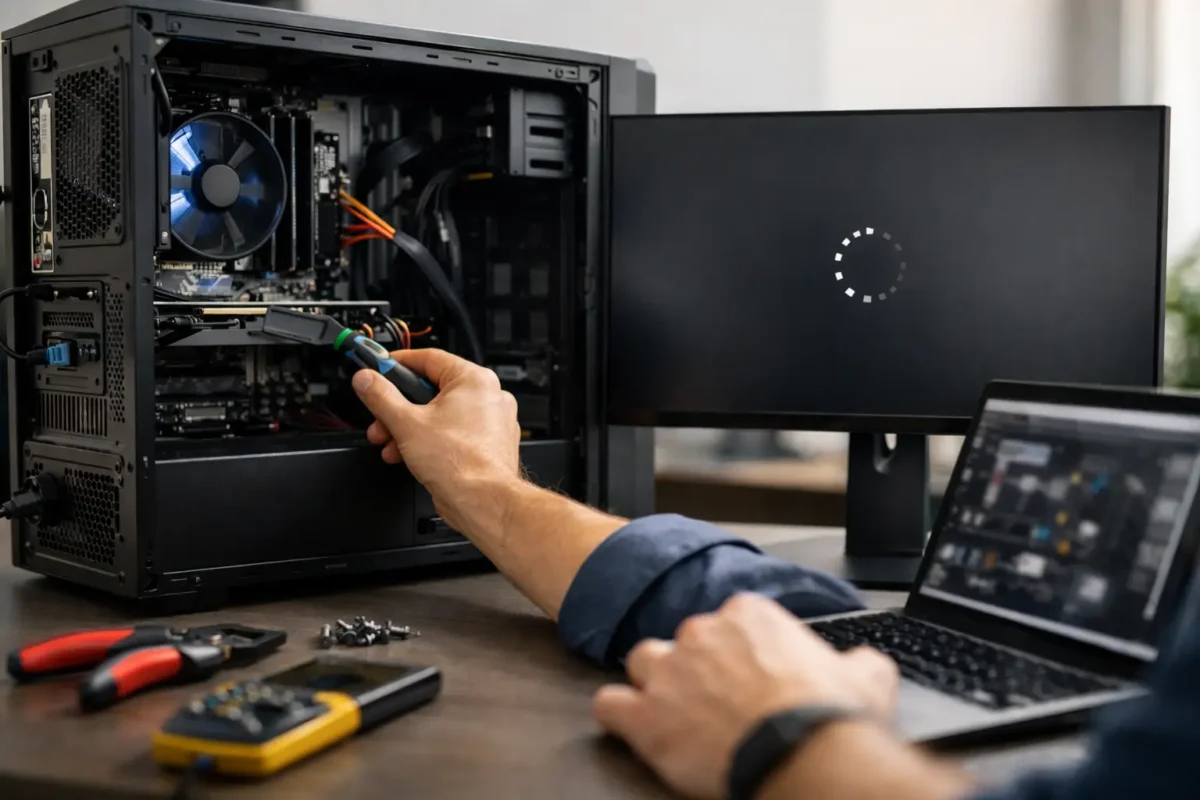
A PC that powers on, flashes a logo, shuts down, and starts the cycle again is not giving you a useful error message. It is telling you that a critical step in startup is failing. The right PC boot loop repair options depend on exactly where that failure occurs: before the operating system loads, during Windows startup, or only after the computer has been running for a moment. Guessing can waste money, damage data, or hide the actual fault.

A boot loop can be caused by something simple, such as a disconnected drive or a failed Windows update. It can also point to failing memory, an unstable power supply, a damaged motherboard, corrupt firmware, liquid exposure, or a shorted component. The goal is not to throw parts at the machine. The goal is to isolate the failure and repair what is actually wrong.

First, Identify the Type of Boot Loop

The point where the computer restarts tells a technician a great deal. If the system cycles before showing a manufacturer logo or BIOS screen, the problem is usually hardware, power delivery, firmware, memory, or the motherboard. Windows has not loaded yet, so reinstalling Windows will not fix it.

If the PC reaches the Windows logo, spins for a while, then reboots, the cause may be a damaged operating system, driver conflict, storage failure, or update problem. If it starts normally but restarts under gaming, rendering, or other heavy workloads, heat, power supply instability, graphics card faults, and overclock settings move higher on the suspect list.

Pay attention to patterns. Does it loop only with a USB device connected? Does it stay on longer after sitting unplugged? Did the issue begin after a power outage, dropped laptop, BIOS change, upgrade, or Windows update? Those details matter because they narrow the diagnostic path before a single part is replaced.

Safe PC Boot Loop Repair Options to Try First

Before opening the system, disconnect all nonessential external devices. Remove USB drives, printers, external storage, controllers, docks, and memory card readers. A damaged USB device or a system attempting to boot from the wrong device can create a surprisingly convincing boot failure.

Then perform a complete power reset. Shut the computer down, unplug it from wall power, and hold the power button for 15 to 30 seconds. On a laptop with a removable battery, remove the battery as well before holding the button. Reconnect only the power adapter or power cable and try again. This can clear residual charge and reset an embedded controller after a power event.

If you can enter BIOS or UEFI setup, check whether the internal SSD or hard drive is detected. Confirm that the correct boot drive is first in the boot order. Do not change random firmware settings just because they are available. Record current settings before making changes, especially on custom gaming PCs with tuned memory profiles or overclocking.

For a Windows-level loop, try the recovery environment. After repeated failed starts, Windows may offer Startup Repair, Safe Mode, System Restore, or uninstall options for recent updates. Startup Repair is worth trying, but it is not a cure-all. If the drive is failing or Windows system files are corrupted because of a hardware problem, the repair may fail or the loop may return.

When Memory, Storage, and Power Need Testing

Memory problems are a common cause of no-boot and restart loops, especially after a new RAM upgrade or an XMP or EXPO memory profile change. On a desktop, testing one memory module at a time in the recommended slot can help identify a bad stick or slot. On a laptop, memory access varies by model, and forcing open a machine without the right tools can create more damage than it solves.

A failing SSD can also cause a PC to loop at the Windows logo, freeze during automatic repair, or take an unusually long time to load. A drive can still appear in BIOS and still be unreliable. Professional diagnostics should check drive health data, read stability, and whether the system can access the file system without repeated errors.

Power is another major factor. A weak or failing power supply may start a computer but collapse when the motherboard, CPU, or graphics card begins drawing more current. In laptops, a failing charger, DC jack, battery circuit, or charging controller can produce similar behavior. Swapping in an untested used power supply is not a reliable test. A poor-quality unit can introduce new instability or put valuable components at risk.

Firmware and Motherboard Failures Are Different Repairs

A boot loop that occurs before BIOS can be more involved than a software repair. Corrupted BIOS firmware, failed voltage regulation, damaged power rails, shorted capacitors, defective integrated circuits, or a bad CPU socket connection can all produce repeated startup attempts.

This is where the difference between diagnosis and part swapping becomes clear. Replacing a motherboard may be practical on some systems, but it is not always the best value. On expensive laptops, custom desktops, and systems with hard-to-find boards, component-level repair may preserve the original hardware and cost less than replacement.

Board-level diagnosis involves measuring power rails, checking for shorts, testing components under load, inspecting for corrosion or physical damage, and determining whether the failure is repairable. It takes proper equipment and experience. Randomly probing a live board, attempting an online “reflow” trick, or heating chips with a heat gun can turn a repairable fault into permanent board damage.

Protect Your Data Before Major Repair Steps

A boot loop does not automatically mean your files are gone. In many cases, documents, photos, projects, and game saves remain intact on the storage drive. The risk increases when the drive itself is failing, when automatic repairs are repeatedly writing to the disk, or when a user jumps straight to a factory reset.

If your data matters, do not reinstall Windows or format the drive as the first move. A qualified technician can determine whether the drive is healthy enough to back up, clone, or recover before operating system repair begins. Encryption also matters. If BitLocker device encryption is enabled, make sure you have access to the recovery key before any major changes are made.

For business systems, the stakes can be higher than a single computer. A boot loop may interrupt access to locally stored files, accounting software, line-of-business applications, mapped drives, or specialized hardware. Repair should include a check for the underlying cause, not just a quick restoration that leaves the same issue waiting to happen again.

When It Is Time for Professional Diagnosis

Bring the PC in for expert service when it loops before BIOS, shows burn marks or liquid damage, makes clicking or grinding drive noises, has no stable display output, or continues rebooting after basic recovery steps. The same applies when the system contains irreplaceable data, uses a custom water-cooling setup, or has had previous unsuccessful repair attempts.

At Amazing Technology Group, difficult failures are diagnosed in-house rather than dismissed as “needs a new computer.” That means testing the system methodically, identifying whether the fault is software, storage, power, memory, firmware, or the board itself, and presenting repair options before work moves forward. Some systems need a Windows repair and a new SSD. Others need micro-soldering or a power circuit repair. The answer depends on evidence, not assumptions.

Repair, Replace, or Rebuild?

The best repair decision comes down to age, performance needs, part availability, repair cost, and the value of the data and software already on the machine. Replacing a low-end, aging system may make sense if it needs several major parts. Repairing a newer laptop, professional workstation, or custom gaming PC often makes more financial sense, particularly when the failure is isolated to one serviceable component or board-level circuit.

A proper boot loop repair should leave you with more than a computer that happens to start once. It should give you a clear explanation of the failure, a realistic recommendation, and a system you can trust when you press the power button tomorrow.