Computer Repair - Game Console Repair - Electronics Repair - Micro Soldering

Categories
Uncategorized

Computer Repair That Fixes the Real Problem

A laptop that will not charge, a desktop that keeps crashing under load, a Mac with no display, a Linux workstation that suddenly stops booting – these are not all the same problem, and they should not be treated that way. Good computer repair starts with real diagnosis. If a shop jumps straight to replacing parts without proving the failure, you can end up paying more, waiting longer, and still dealing with the same issue.

That is where the gap usually shows. A lot of repair work in this industry is really part swapping. If the battery looks suspicious, replace it. If the system will not post, try RAM. If that does not work, quote a motherboard. Sometimes that works. A lot of times it does not. When the machine matters, whether it is your work laptop, gaming rig, family desktop, or office system, you need a repair process built around evidence.

What computer repair should actually include

Real computer repair is not just opening a device and trying the obvious part first. It is a step-by-step process to identify the fault, confirm the cause, and choose the most cost-effective fix. That can mean replacing a damaged DC jack, tracing a short on the board, repairing a charging circuit, recovering data before further testing, or addressing thermal damage that has been building for months.

The key point is simple: the symptom is not the diagnosis. A machine that will not turn on could have a bad power supply, failed charging IC, damaged port, shorted rail, corrupted firmware, bad RAM, or liquid damage that has spread beyond the original spill area. The right repair depends on knowing which one it is.

For customers, this matters because accurate diagnosis saves money. It also protects data, avoids unnecessary replacement, and gives older but valuable systems a better chance of staying in service.

The difference between part swapping and true computer repair

There is nothing wrong with replacing a failed part when the failed part is confirmed. The problem starts when replacement becomes a guess. Shops that only work at the module level often hit a wall fast. If the SSD is good, the RAM tests fine, and a new charger changes nothing, they may tell you the board is dead and move on.

That is not always the end of the story. Board-level repair changes the equation. Instead of treating the motherboard as a sealed mystery, a qualified technician can test power rails, inspect damaged components under magnification, measure current draw, evaluate charging behavior, and isolate the failed section. In many cases, the difference between a scrap device and a working one is a single failed component or a damaged circuit area.

This is especially important for systems that are expensive to replace, hard to configure again, or no longer available in the same form. Custom-built desktops, business laptops with specialized software, creator workstations, and gaming systems all fall into that category.

Common failures that need more than a basic fix

Some problems look simple from the outside but are not simple at all once the machine is opened and tested. Charging issues are a good example. A customer may think the charger is bad because the battery is not increasing. In reality, the cause could be the port, the battery, the charging controller, a damaged trace, or liquid corrosion around the input section.

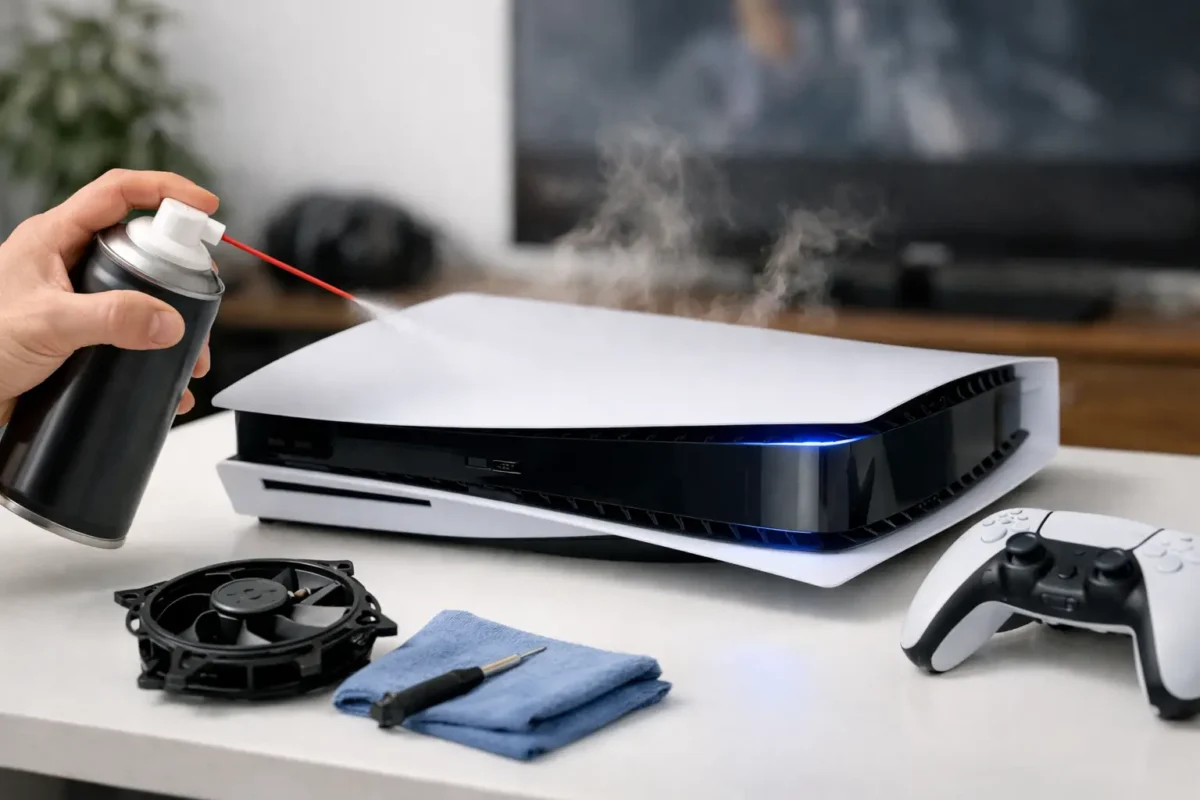
Overheating is another one. A loud fan and high temperatures can come from dried thermal compound, clogged heatsinks, failed fan control, sensor problems, or VRM stress on the board. If someone only cleans the fan without checking the bigger picture, the shutdowns may come right back.

Intermittent crashes are also easy to misread. They could be software, but they could also point to unstable power delivery, failing storage, memory errors, GPU issues, or board damage that shows up only under load. That is why stress testing and measured diagnostics matter. If the problem appears only during gaming, rendering, or large file transfers, the repair approach has to reflect that.

Why board-level repair matters

Board-level work is where real skill separates one shop from another. It is slower than guessing, and it requires better tools and better technicians. But for the customer, it often means a repair that would otherwise be written off.

Component-level diagnosis can identify failed capacitors, damaged MOSFETs, shorted circuits, cracked ports, connector issues, and other faults that are invisible to basic troubleshooting. Micro-soldering and PCB repair are not marketing terms when they are done correctly. They are practical ways to restore devices without replacing full assemblies at premium cost.

There are trade-offs. Not every board is economically repairable. Severe liquid damage, layered failures, prior bad repair attempts, and catastrophic chip failure can make a job too risky or too expensive. A trustworthy shop should say that clearly. Honest repair work is not about pretending every machine is fixable. It is about knowing when a difficult repair makes sense and when replacement is the smarter path.

What a solid repair process looks like

Customers should not have to guess what happens after drop-off. A professional computer repair process should be clear from the start.

First comes intake and symptom review. That means documenting what the machine is doing, what happened before the failure, whether there was a spill or impact, and whether the data is critical. Those details matter more than people think.

Next comes diagnosis. This is where proper testing begins, not just visual inspection. The goal is to reproduce the issue, rule out obvious causes, and narrow the fault to the component, circuit, or subsystem actually responsible.

Then comes authorization. Once the fault is identified, the customer should get a clear explanation of the problem, the recommended fix, and the cost. If there are options, such as a board repair versus a full assembly replacement, those options should be explained in plain language.

After approval, the repair is performed in-house when the shop has the capability to do it right. That matters because sending complex work elsewhere adds delay and removes accountability. Final testing comes last, and it should match the original problem. A machine repaired for random shutdowns should be load-tested. A charging repair should be checked for stable power behavior. A thermal repair should be verified under sustained use.

Computer repair for home users, gamers, and businesses

Different customers bring different priorities to the bench. Home users often care most about getting a dependable computer back without losing family photos, school files, or tax documents. Gamers care about performance, stability, and whether a high-end system can handle sustained load without crashing or throttling. Business clients usually care about uptime, data access, and getting a practical answer fast.

The repair process should adapt to those priorities. A gaming PC with power instability may need deeper PSU, GPU, motherboard, and thermal analysis than an office desktop used for email. A business laptop may need data protection handled before aggressive testing. A creator workstation may justify more advanced board work because replacement cost and setup time are so high.

That range is why broad technical experience matters. A shop that understands consumer systems, custom builds, operating environments, and board-level electronics is better equipped to solve unusual failures without forcing every machine into the same script.

When repair is smarter than replacement

A lot of customers come in assuming they need a new computer because that is what they have been told elsewhere. Sometimes they do. But often the math favors repair.

If the device is otherwise a good fit, if the storage contains important data, if the failure is limited to one subsystem, or if replacing the machine means rebuilding software and workflow from scratch, repair can be the better move. This is especially true when the issue is isolated and the rest of the hardware still has years of useful life left.

For customers in Riverside County and beyond, that is one reason companies like Amazing Technology Group Inc. put so much emphasis on in-house diagnostics and advanced repair capability. The goal is not to sell the biggest ticket. The goal is to solve the actual problem with the right level of work.

If you are choosing a computer repair provider, ask how they diagnose faults, whether they handle board-level issues, and how they confirm the repair before return. Straight answers to those questions tell you a lot. When a device matters, you want a team that does not guess, does not cut corners, and does not stop at the first dead end. You want the real problem fixed.

Categories
Uncategorized

Denon CDJ Repair Service Done Right

When a Denon player starts freezing mid-set, stops reading media, or develops a bad jog wheel, the problem usually goes deeper than a dirty button or a loose cable. A proper denon cdj repair service starts with real diagnosis, not guesswork, because professional DJ gear fails in ways that are often electrical, mechanical, and firmware-related at the same time.

That matters if you use your equipment to work, practice, or perform. Replacing a full media player because of a power fault, failed port, bad display section, or damaged control board is expensive. It is also often unnecessary. The right repair approach can bring the unit back reliably without treating the whole deck like a disposable product.

What a denon cdj repair service should actually include

A lot of repair shops talk about service, but what they really mean is part swapping. If the failure is obvious and the part is easy to source, that can work. But Denon DJ players are not simple consumer gadgets. They are layered systems with power regulation, digital processing, I/O sections, displays, mechanical controls, and board-level components that all have to communicate correctly.

A serious repair process starts by confirming the fault, checking for related failures, and isolating the actual cause. If a unit will not boot, for example, the issue could be a power supply rail, a shorted component, a corrupted storage device, a damaged connector, or a fault somewhere in the main board. Swapping one board without verifying the root problem can waste money and still leave the player unreliable.

Good service also includes inspection for wear that may not be the original complaint. A customer might bring in a deck for audio dropouts, but a technician may also find worn tact switches, liquid contamination, or stress damage near the USB or Ethernet ports. Catching that early protects the repair investment.

Common Denon player problems we see

Some failures are obvious the moment the unit powers on. Others only show up after the player warms up, reads a drive, or gets used under pressure. That is why testing matters.

Boot issues are one of the most common complaints. The player may hang on startup, loop during boot, or fail to initialize correctly. In some cases the fault is tied to the power section. In others it is a storage, firmware, or logic board issue.

Media reading problems are also common. A deck may stop recognizing USB drives, disconnect intermittently, or fail to load tracks consistently. Sometimes the port itself is physically damaged. Sometimes the damage is on the board behind the port, especially after repeated cable stress or a rough insertion.

Jog wheel and control problems show up in several ways. You might see lag, inaccurate response, missed touch detection, erratic scrolling, or physical resistance. That can come from worn mechanical parts, contamination, sensor issues, or deeper board faults.

Audio problems can be harder to pin down. Distorted output, one dead channel, low signal, headphone cue issues, or random muting may point to bad jacks, damaged output stages, cracked solder joints, or failing components in the audio path.

Display and button issues are another big category. Unresponsive transport controls, dim or dead screens, intermittent LEDs, and menu navigation faults can all affect usability. Some are straightforward. Others are tied to ribbon cable damage, failed regulators, or board-level faults that need proper bench work.

Why board-level repair makes the difference

Denon DJ equipment is expensive enough that the repair strategy matters almost as much as the repair itself. If a shop only knows how to replace complete assemblies, the quote can rise fast. If the assembly is discontinued or hard to source, the job may get rejected entirely.

Board-level repair changes that. Instead of replacing a whole board because one section failed, a skilled technician can test the circuit, identify the failed component or damaged area, and repair the board directly when appropriate. That may involve micro-soldering, trace repair, connector replacement, power circuit work, or rework on damaged PCB sections.

This is not the right move in every case. Sometimes a full assembly replacement is still the smarter option if the damage is widespread or the cost balance favors it. But without board-level capability, you never get that choice. You just get the expensive answer first.

For working DJs, that difference is real. Saving a main board, repairing a torn connector, or restoring a damaged I/O section can keep a valuable player in service without turning a manageable fault into a replacement-level bill.

The repair process should be clear from the start

Customers should not have to guess what happens after they drop off a deck or ship one in. A professional repair workflow is straightforward.

First comes intake and symptom review. That means documenting the problem, noting any physical damage, and understanding whether the issue is constant or intermittent. If the unit has a history, such as a liquid spill, power surge, or previous repair attempt, that needs to be part of the picture.

Next comes diagnostic work. This is where real technicians separate symptoms from causes. The player is inspected, tested, and measured. Problem areas are identified, and the shop determines whether the fault is mechanical, electrical, software-related, or a combination.

After diagnosis, the customer should get a clear explanation of the repair path and cost authorization before major work proceeds. That keeps expectations realistic and avoids surprise billing.

Then the actual repair is completed in-house, followed by verification. That final stage matters more than people think. A Denon player should not just power on at the bench. It should be tested through the functions related to the original complaint, including media reading, control response, audio output, display behavior, and stability over time where needed.

Why some Denon repairs fail the second time

A lot of repeat failures come from incomplete work. The obvious issue gets addressed, but the underlying reason it happened is ignored. A replacement USB port, for example, is not enough if the board pads are damaged or the surrounding circuit has stress cracks. A new button does not solve much if contamination undercuts neighboring switches and causes intermittent operation later.

Another common problem is heat damage from poor soldering technique or rushed work on compact boards. DJ equipment is dense, and the wrong tools or methods can create a second repair issue while trying to fix the first one.

There is also the simple reality that intermittent faults require patience. A deck that fails once every hour needs more than a quick power-on check. It needs testing under conditions that reproduce the complaint. That takes time, but it is how real repair work gets done right.

When repair makes sense and when it may not

Most customers want the honest answer, not the sales answer. In many cases, repair is the better value, especially when the unit is high-end, the problem is isolated, or replacement cost is steep. That is particularly true for port damage, power issues, audio faults, button failures, and many board-level problems.

There are times when it depends. Severe liquid damage, heavily corroded boards, catastrophic impact damage, or units with multiple failed assemblies can push the economics in the wrong direction. Age and parts availability also matter. A good shop will tell you when a repair is solid, when it is marginal, and when replacement may be the more practical move.

That honesty saves customers money and protects trust. It also keeps people from throwing more time and cash into a unit that cannot reasonably be restored to dependable condition.

Choosing a shop for Denon CDJ repair service

The best shop is not the one with the broadest list of devices on the homepage. It is the one that can explain how the failure will be diagnosed and repaired. For Denon CDJ repair service, look for actual experience with DJ hardware, in-house board work, and a process that includes testing rather than just installation.

If your deck is used for gigs, ask whether the shop understands performance-critical issues like intermittent controls, unstable playback, output problems, and port reliability. Those are not cosmetic concerns. They are job-stopping failures.

If you are local to Riverside County or planning to mail in a unit, Amazing Technology Group handles complex electronics repairs with the kind of bench-level diagnostic work these players often need. That is the difference between hoping a repair holds and knowing it was properly worked through.

DJ gear takes abuse even when it is treated carefully. It gets packed, moved, powered up and down, and used in environments that are rough on electronics. A solid repair is not about making the unit look fixed for a day. It is about restoring the function that matters when the room is full, the set is live, and the deck has to do its job without excuses.

Categories
Uncategorized

Data Recovery From Dead Laptop: What Works

When a laptop goes completely dead, the first question is usually not whether the machine can be fixed. It is whether the files are still there. That is why data recovery from dead laptop failures has to start with one rule – do not make the problem worse while trying to save it.

A dead laptop can mean several different failures. It might have a bad charging circuit, a shorted motherboard, liquid damage, a failed SSD, a damaged hard drive, or something as simple as a bad power button. Those are not small differences. The safest recovery method depends on what actually failed, because the wrong move can turn a recoverable drive into a permanent loss.

What a dead laptop really means

A laptop is only “dead” from the user side. From a technical side, we need to know whether the storage device is still healthy and whether the laptop itself is the part that failed. If the screen stays black but the motherboard still powers on, your data may be sitting untouched on the internal drive. If the machine took a liquid hit, dropped hard, or started clicking before it died, the situation is more serious.

This is where a lot of people lose good data. They hear no startup chime, see no LEDs, and assume the storage is gone. Sometimes that is true. Often it is not. We see plenty of systems where the laptop is dead but the drive is readable, and just as many cases where repeated DIY attempts do more damage than the original failure.

First steps for data recovery from dead laptop systems

Before you touch a screwdriver, stop charging it, stop trying random adapters, and do not keep forcing power cycles. If there was liquid exposure, disconnect power immediately and leave it off. If the laptop was dropped and now makes grinding or clicking noises, do not keep testing it.

Start with the basics. Ask what happened right before failure. Was there a spill, a power surge, a fall, overheating, or signs of storage trouble like slow boots and missing files? That timeline matters because it helps separate a board-level power failure from a failing drive.

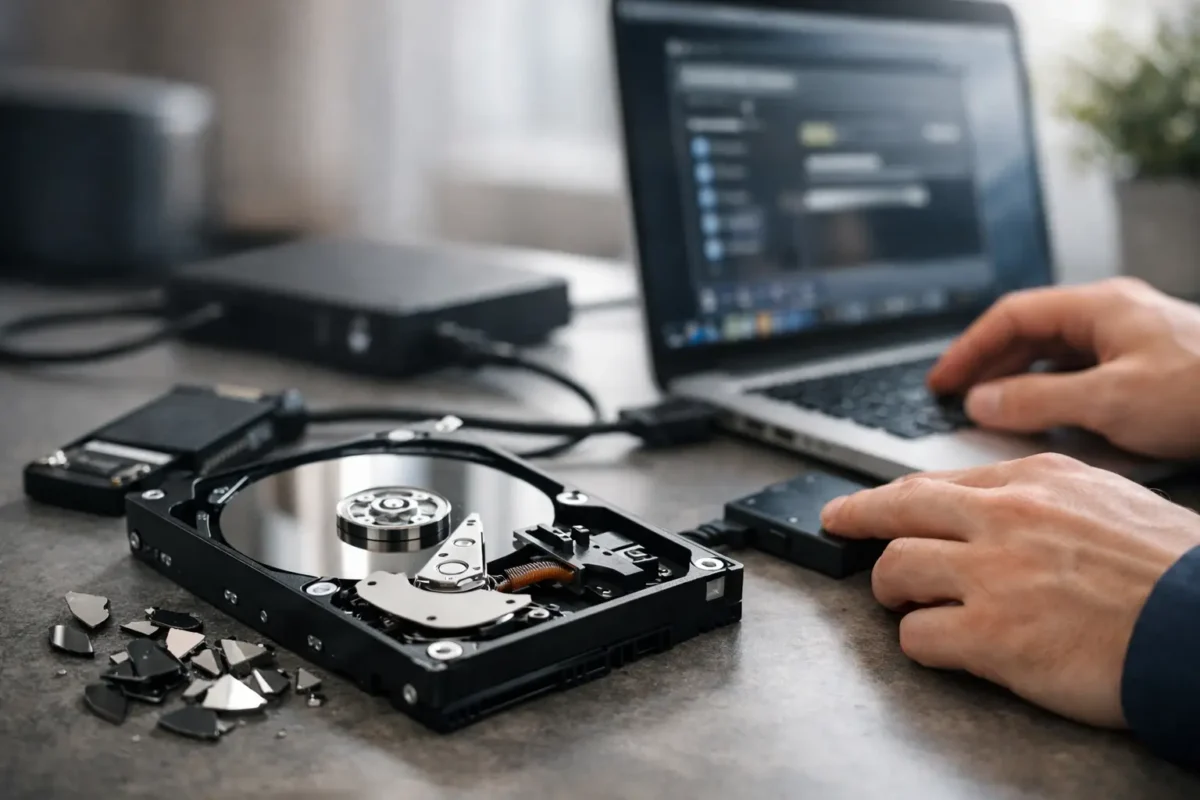
Next, determine what kind of storage the laptop uses. Older laptops may use a 2.5-inch SATA hard drive or SATA SSD. Newer models often use M.2 SATA or M.2 NVMe SSDs. Some ultrabooks and certain Apple systems add another layer of difficulty because the storage may be soldered to the board or tied to onboard encryption. In those cases, data recovery may require board repair first, not simple drive removal.

When removing the drive makes sense

If the laptop has a removable drive and there are no signs of drive failure, the fastest path is often to remove the storage device and test it externally on a known-good system. This works best when the laptop itself died from motherboard, power, display, or battery issues.

For example, if a machine stopped charging and now shows no life, but the SSD itself is healthy, the files may be recovered by connecting that drive with the correct adapter or dock. If the drive mounts normally, recovery can be as simple as copying the data to another device.

That said, “simple” only applies if the drive is actually healthy. If the drive disappears intermittently, makes unusual sounds, runs extremely slowly, or asks to be initialized or formatted, stop there. Those are warning signs. Continuing can reduce the odds of a clean recovery.

When you should not try DIY recovery

There is a difference between safe first steps and gambling with the only copy of your files. DIY recovery is not a good idea when a hard drive clicks, buzzes, or spins down repeatedly. It is also risky when the laptop suffered liquid damage, electrical damage, fire damage, or visible motherboard corrosion.

Encrypted systems can complicate things too. On some devices, especially certain business laptops and newer Apple systems, the drive contents may not be readable outside the original board without the proper keys, security chip, or a working logic board path. In that situation, data recovery from dead laptop hardware often starts with repairing the board enough to access the data, not replacing random parts and hoping for the best.

If the data matters to your business, your taxes, your client work, or irreplaceable family photos, this is not the time for trial and error. Professional recovery is not just about specialized tools. It is about knowing when not to power a failing device, when to image a drive sector by sector, and when board-level repair is the only path to the files.

The two main recovery paths

Most successful recoveries fall into one of two categories.

The first is storage access recovery. The drive is functional, but the laptop is not. In that case, the goal is to remove the storage safely, connect it properly, verify health, and clone or copy the data without stressing the device more than necessary.

The second is device-level recovery. The laptop cannot simply give up its drive because the storage is soldered, encrypted, physically damaged, or electronically locked behind a failed board. Here, a real diagnostic process matters. Technicians may need to repair power rails, replace damaged components, stabilize a shorted board, or restore partial function long enough to image the data.

This is one reason board-level shops tend to have an advantage in harder cases. A parts-swapping shop can tell you the laptop is dead. A shop with actual component-level capability can often tell you why it is dead, whether the storage was affected, and what recovery path still makes sense.

What to expect from a professional recovery process

A good recovery process is straightforward. First comes diagnosis. The technician identifies whether the failure is the drive, the board, the charging circuit, liquid damage, firmware corruption, or another fault. Then comes a recovery plan based on risk.

If the drive is readable, the safest move is usually to image it and work from the image rather than the original media. If the motherboard is the barrier, repair work may be performed only to the extent needed to access the data. If the drive itself is failing, the goal shifts to preserving as much readable content as possible before degradation gets worse.

You should also expect honest trade-offs. Not every case has the same cost or turnaround. A simple removable SSD extraction is very different from recovering encrypted data from a liquid-damaged board with soldered storage. Good shops explain that difference clearly instead of pretending every recovery is a quick fix.

Common mistakes that make recovery harder

The biggest mistake is repeated power-on attempts. Every failed boot on a damaged drive or compromised board can make the next recovery step harder. The second is letting generic software tools loose on a physically failing drive. Those tools have their place, but they are not magic, and they can push weak hardware past the edge.

Another common mistake is replacing parts without understanding the failure. Swapping in a new battery, DC jack, or SSD might sound reasonable, but if the original problem is a shorted board or encrypted storage configuration, you may spend money and lose time without getting any closer to the files.

Then there is poor handling. Static damage, connector damage, stripped screws, torn flex cables, and bent M.2 connectors all show up after rushed home disassembly. If you are going to open a laptop, do it carefully and only if the recovery path is clear.

How to decide whether the data is worth professional help

Ask two questions. First, do you have another copy? Second, what would it cost you if the files were gone for good? If the answer is that the files are unique or expensive to recreate, professional help usually makes sense early, before more damage is done.

This matters for small businesses especially. Dead laptops often contain QuickBooks files, client records, local email archives, design assets, and business documents that were never backed up correctly. For those cases, the cheapest option is rarely the one with the best outcome.

For consumers, the emotional side is just as real. Photos, videos, school work, and years of personal files can be harder to replace than the computer itself. That is why a serious shop treats the storage as the priority, not just the laptop repair ticket.

After recovery, fix the real problem

Once the files are safe, then you decide whether the laptop is worth repairing. Sometimes the answer is yes, especially if the issue is isolated to power delivery, charging, or board-level components. Sometimes the smarter move is to recover the data, retire the machine, and migrate cleanly to a new system.

Either way, the recovery should lead to a better setup than before. That means verified backups, not assumptions. Local backup plus cloud backup is usually the right balance for most people and small offices. One copy is not a backup. It is a future panic attack waiting for a bad day.

A dead laptop does not automatically mean dead data. But the window for a clean recovery can close fast if the wrong steps come first. If you are dealing with a no-power machine, failed motherboard, or storage you are not confident handling, slow down, protect the device, and let the diagnosis lead the process. That approach saves more files than guesswork ever will.