

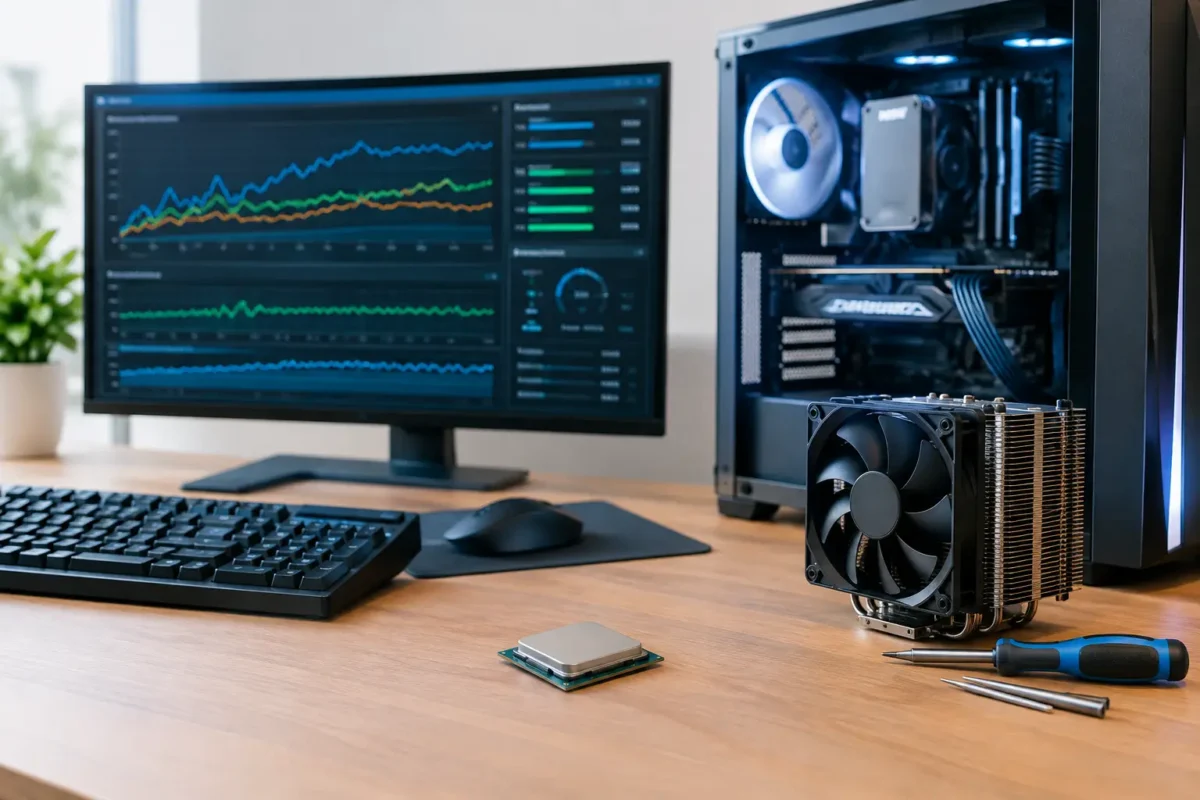
A fast custom PC is not automatically a well-tuned PC. Extra clock speed can make games smoother, shorten render times, and improve demanding workloads, but a careless overclock can create crashes, data errors, excessive heat, or hardware wear that costs more than the performance gained. This custom pc overclocking guide focuses on the process that matters: making controlled changes, verifying results, and knowing when to stop.
Overclocking is not a single switch or a magic number. Every CPU, memory kit, graphics card, motherboard, cooler, and power supply combination behaves differently. Two systems with the same parts may have very different stable limits. The goal is not to chase a screenshot-worthy benchmark. The goal is to build a machine that stays fast and dependable when it is actually working.
Start With a Healthy, Cooled System
Before changing BIOS settings or opening a tuning utility, confirm that the system is mechanically sound. Overclocking increases electrical demand and heat output, so it exposes weaknesses that a stock system may hide. Dust-packed heatsinks, dried thermal paste, weak case airflow, an undersized power supply, or a failing fan can all turn a modest tune into a shutdown problem.
Record a baseline at stock settings first. Run the games or applications you use most, monitor temperatures and clock behavior, and save benchmark results. This gives you a real point of comparison. If a change adds heat but produces no meaningful improvement in your workload, it is not a useful overclock.
Update the motherboard BIOS only when the update addresses stability, compatibility, or processor support relevant to your system. Then load optimized defaults before tuning. This removes old experiments and unknown settings from the equation. Also make sure you know how to clear CMOS or use the board’s safe-boot feature. A failed boot is common during tuning and usually recoverable, but only if you can get back into the BIOS.
Adequate cooling is the foundation. A quality air cooler may handle a moderate CPU tune well, while a 240 mm or larger liquid cooler can provide more thermal headroom on higher-wattage processors. Case airflow still matters. Coolers cannot do their job if they are fed hot air from a cramped, poorly ventilated case.
Custom PC Overclocking Guide: Tune One Area at a Time
Changing CPU ratio, memory frequency, memory timing, GPU core speed, and voltage all at once makes diagnosis nearly impossible. If the system crashes, you will not know which setting caused it. Tune one category, test it, document it, and only then move to the next.
Keep a simple record of each change, including frequency, voltage, temperature, benchmark score, and whether the system completed testing. It may feel slow at first, but it saves hours when you need to return to the last known stable profile.
CPU Tuning: Frequency, Voltage, and Temperature
Modern CPUs do much of their own boosting, so manual all-core overclocking is not always the best answer. On many AMD systems, Precision Boost Overdrive and Curve Optimizer can improve sustained performance while retaining strong single-core boost behavior. On Intel systems, power limits, turbo ratios, voltage behavior, and load-line calibration are common tuning points. The right route depends on the processor, motherboard, cooler, and workload.
Start with small multiplier or boost-limit adjustments. Test after every step. If the CPU becomes unstable, adding voltage can help, but voltage is where caution matters most. More voltage raises heat and can accelerate long-term degradation. Do not copy a voltage number from a forum post and assume it is safe for your chip, board, or cooling setup.
Watch both peak and sustained temperatures. A brief temperature spike during a benchmark is less concerning than a processor that sits near its thermal limit during a long gaming session, compile, render, or stress test. If the CPU is throttling, adding more clock speed is counterproductive. Improve cooling, reduce power, or accept a lower frequency.
For many gaming systems, a conservative boost tune with controlled temperatures is better than a hot, high-voltage all-core overclock. Gaming loads vary rapidly, and stable frame pacing matters more than a maximum benchmark score.
Memory: The Performance Gain Many Builds Miss
Memory configuration has a major effect on system responsiveness and game performance, especially on platforms sensitive to memory speed and fabric or controller ratios. The first step is enabling the memory profile provided by the kit. Depending on the platform, this may be called XMP, EXPO, or DOCP. Although it is a manufacturer-rated profile, it is still considered overclocking on many systems.
Verify that the profile is stable before pushing beyond it. Memory instability can be deceptive. Instead of an obvious blue screen, it may show up as game crashes, corrupted archives, application errors, or files that fail to install correctly. That is why memory testing should be thorough.
If you tune beyond the profile, adjust speed or timings in small increments and keep memory-controller limits in mind. Faster is not always better if it forces loose timings or an unfavorable controller ratio. A slightly lower frequency with tighter timing and reliable operation can be the stronger real-world setting.
GPU Overclocking: Use the Curve, Not Just the Slider
Graphics card tuning is usually handled in software and is easier to reverse than BIOS-level CPU work. Start by increasing the power limit only if cooling and power delivery can support it. Then raise core clock gradually, test in a demanding game and benchmark, and watch for artifacts, driver resets, black screens, or performance that suddenly drops.
Artifacts are visual warning signs such as flashing textures, colored specks, geometry errors, or flickering. Back off immediately if they appear. Memory overclocks can also cause errors without obvious artifacts, so compare benchmark scores and frame consistency. If performance decreases, the card may be correcting errors or hitting a limit.
GPU undervolting is often worth considering. A well-tuned voltage-frequency curve can hold strong clocks at lower temperatures and noise levels. For a gaming rig that runs for hours, cooler and quieter can be more valuable than a small increase in peak frames per second.
Stability Testing Is the Real Work
A system that boots into Windows is not stable. A system that completes one benchmark is not necessarily stable either. Test in stages, beginning with a short test after each change and moving to longer tests when you have found a promising setting.
Use a mix of workloads because different programs stress hardware differently. A practical validation routine includes:
- A CPU-focused benchmark or stress test to check thermals, clocks, and calculation stability.
- A dedicated memory test to catch errors that ordinary use may not reveal.
- A GPU benchmark plus the actual games you play at your normal settings.
- A longer real workload, such as rendering, streaming, compiling, or an extended gaming session.
Monitor temperatures, power draw, clock speeds, and system event logs during testing. Hardware errors, application crashes, sudden reboots, freezes, and blue screens all count as instability. Do not ignore a single crash just because the next test passes. Stable means repeatable results over time.
Also check for performance regression. Thermal throttling, excessive power limits, and unstable memory can produce a higher advertised clock but lower useful performance. Your baseline numbers tell the truth here.
Know When to Back Off
Overclocking has trade-offs. A workstation handling critical client data needs a larger reliability margin than a weekend gaming PC. A compact case may favor an undervolt and sensible power limit over aggressive clocks. A stock cooler, entry-level motherboard power delivery, or aging power supply can make conservative settings the responsible choice.
Stop and reassess if the system requires steep voltage increases, temperatures remain high after improving airflow, or small clock gains demand large sacrifices in noise and power. There is no prize for running at the edge of failure. The best tune is the one you can forget about because the computer simply performs.
If a custom build is crashing after an overclock, will not boot after a BIOS change, or shows signs of thermal damage, do not keep forcing settings. Proper diagnosis can separate a bad tune from a cooling fault, power issue, failing memory module, or board-level problem. Amazing Technology Group provides hands-on diagnostics for performance systems when the issue goes beyond basic part swapping.
Treat overclocking as careful calibration, not a dare. Make one change, measure the result, test the system honestly, and keep the setting only when it delivers a benefit you can actually use.