

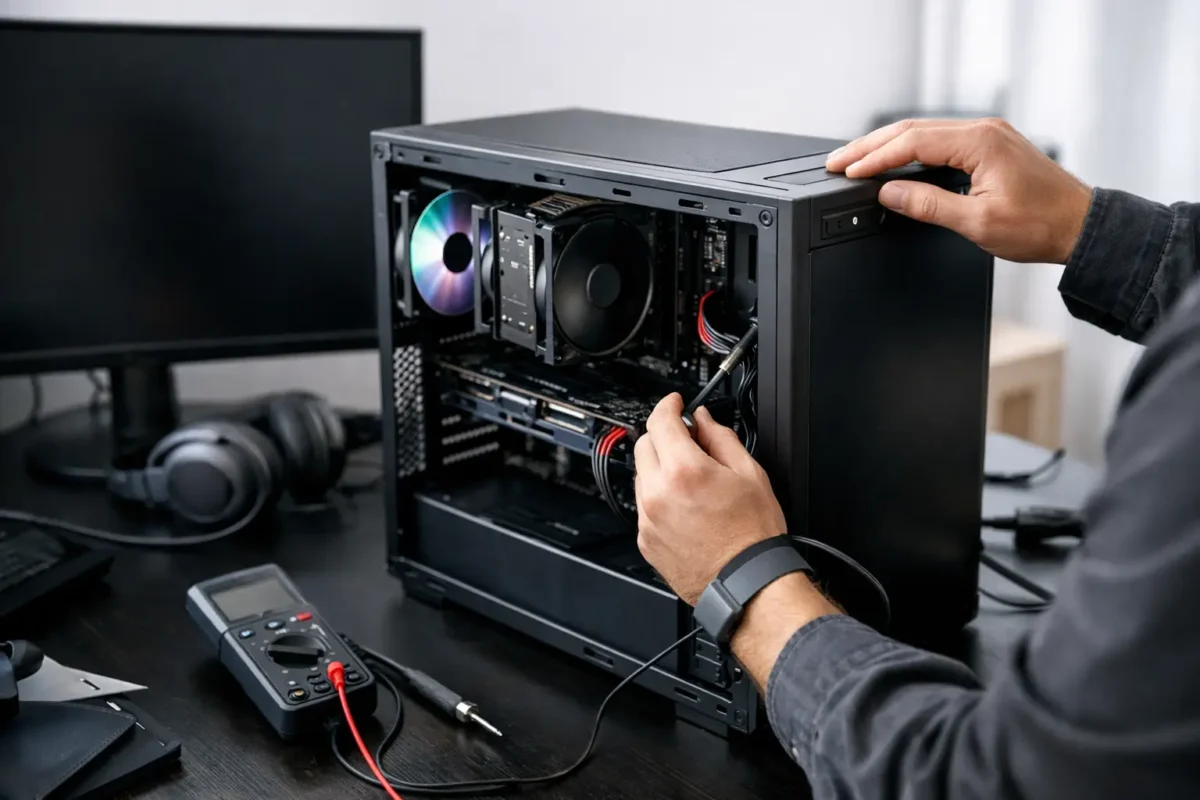
A gaming PC that does absolutely nothing when you press the power button is a different problem from a PC that powers on but will not show a picture. Knowing how to troubleshoot a dead gaming PC starts with separating those failures. The goal is not to randomly replace expensive parts. It is to isolate where power stops, what changed before the failure, and whether the problem is a simple connection, a failed component, or a board-level fault.
Before opening the case, disconnect the system from wall power, switch off the power supply, and hold the case power button for 10 to 15 seconds. This helps discharge stored standby power. Avoid working on carpet, do not force connectors, and do not repeatedly turn on a system that has a burning smell, visible smoke damage, liquid exposure, or a recently failed power surge.
Start With What “Dead” Actually Means
A completely dead gaming PC has no fans, no motherboard lighting, no status LEDs, and no response from the power button. A system that spins fans for a few seconds and shuts off is not fully dead. Neither is a computer that stays powered on but gives a black screen. Those symptoms point to different diagnostic paths.
Think through the last known working state. Did the machine shut down during a game? Was it moved to another room? Did you install a new graphics card, memory kit, storage drive, or power supply? Did a breaker trip or was there a storm? That recent event often matters more than a generic list of possible failures.
If the PC turns on but there is no display, first make sure the monitor is powered, set to the correct input, and connected to the graphics card rather than the motherboard video output. That simple distinction catches a surprising number of false “dead PC” reports, especially after a system has been cleaned or moved.
Check the External Power Path First
Start at the wall outlet. Plug in a known-good device, such as a lamp or phone charger, to confirm the outlet is live. Then inspect the surge protector or power strip. A failed strip, tripped switch, or overloaded extension cable can stop a high-performance PC from receiving power even when its indicator light appears normal.
Next, inspect the power cable and the switch on the rear of the power supply. The switch should be in the I position, not O. If you have a compatible, known-good IEC power cable, test with it. Do not use a damaged cable or one that fits loosely in the power supply.
A power supply may still be the culprit even if its rear switch is on. Gaming PCs place large, changing loads on the PSU, especially during startup when the motherboard, CPU, graphics card, fans, and drives all initialize. Cheap, aging, undersized, or surge-damaged units can fail without any obvious external sign.
Open the Case and Look for the Easy Failure
With power disconnected, remove the side panel and inspect the system under good lighting. You are looking for a connector that has backed out, debris causing a short, liquid residue, scorch marks, cracked ports, or a loose screw beneath the motherboard.
Confirm that the main motherboard power connectors are fully seated: the 24-pin ATX connector along the board edge and the CPU power connector near the top of the motherboard. On many gaming builds, the CPU connector is an 8-pin EPS connector, sometimes with an additional 4-pin or 8-pin connection. A loose CPU power cable can make a PC appear completely dead or cause it to start and immediately shut down.
Also check the graphics card power connectors. While a GPU power issue does not always prevent the motherboard from starting, it can create a no-display condition or an instant shutdown under load. If the system was recently built or upgraded, verify that the cable is the correct type. CPU/EPS and PCIe connectors may look similar but are not interchangeable.
Rule Out a Failed Case Power Button
The case power button is just a momentary switch connected to two small motherboard header pins. The switch or its cable can fail, especially on older cases.
Find the front-panel header using the motherboard manual or the labeling printed on the board. Confirm the power-switch connector is on the correct two pins and has not slipped loose. If you are comfortable working around exposed electronics, you can briefly touch the two power-switch pins with the tip of a screwdriver to simulate a button press. Use only the correct pins, touch them momentarily, and keep the screwdriver away from every other contact.
If the PC starts this way, the issue is likely the case button or front-panel wiring, not the motherboard. If it still shows no sign of life, move to component isolation.
Test With the Minimum Hardware Needed
A dead gaming PC can be caused by a shorted peripheral, a failed USB device, bad memory, a damaged graphics card, or a storage device that pulls down a power rail. Strip the system back to its basic startup configuration.
Disconnect all external USB devices except a basic keyboard if needed. Inside the case, disconnect nonessential drives, RGB hubs, extra fans, capture cards, USB expansion cards, and other accessories. Leave the motherboard, CPU and cooler, one memory module, and power supply connected. If your processor has integrated graphics, remove the dedicated GPU and connect the monitor to the motherboard output.
Try one RAM stick at a time in the motherboard’s recommended primary slot. Memory is not usually the reason for a system with zero lights and zero fan movement, but it is a common reason for power cycling and black-screen startup. Check the motherboard’s diagnostic LEDs or error-code display if it has one. A CPU, DRAM, VGA, or BOOT light gives technicians a useful direction, but it is not always a final diagnosis by itself.
If the PC starts only after a device is disconnected, reconnect components one at a time. That controlled process matters. Reconnecting everything at once erases the evidence you just uncovered.
Clear the CMOS When Settings May Be the Problem
An unstable overclock, failed memory training attempt, or corrupted BIOS setting can prevent a gaming PC from posting. Clearing CMOS restores motherboard firmware settings to default values. It will not erase your files, but it may reset the clock, fan settings, boot order, XMP or EXPO memory profiles, and overclock settings.
Use the motherboard’s clear-CMOS button or jumper if available. Otherwise, disconnect power and remove the CMOS battery for several minutes, following the motherboard manufacturer’s procedure. Reinstall it correctly, reconnect power, and test again with minimum hardware.
This step is particularly worthwhile after a BIOS update, RAM upgrade, CPU change, or aggressive tuning session. It is less likely to help if the machine died instantly during a power event and now shows no standby lighting at all.
Do Not Guess at the Power Supply
A PSU tester or multimeter can help confirm whether a power supply is producing expected voltages, but a basic voltage reading does not prove it is healthy under load. A unit may appear normal without a load and still collapse when the system attempts to start.
The most reliable test is installing a known-good, properly rated power supply with the correct connectors. Never mix modular PSU cables between brands or even between different models from the same brand. The cable ends may fit while the wiring pinout differs, which can destroy drives, graphics cards, or the motherboard.
If a known-good PSU does not restore standby power or startup response, the motherboard becomes a stronger suspect. However, that does not automatically mean the whole board must be replaced.
When the Failure Is Beyond Part Swapping
Motherboards can fail at the input power stage, standby 5V circuit, voltage regulation module, USB protection circuit, BIOS chip, or another small component that a standard repair counter may not test. Liquid damage and power surges can also cause corrosion or short circuits that are not visible without proper inspection and measurement.
This is where board-level diagnosis makes a real difference. An experienced technician can trace power rails, locate shorts, inspect damaged circuitry, test components under controlled conditions, and determine whether repair is practical. Sometimes replacement is the better value, particularly for an older board with limited platform support. Other times, repairing a damaged port, power circuit, or firmware issue preserves a high-end build and avoids replacing multiple compatible components.
Amazing Technology Group handles complex gaming PC diagnostics in-house, including failures that go beyond basic part replacement. For Riverside County gamers, that means a dead system can be evaluated as a repair problem first, not automatically treated as e-waste.
Protect Your Data While You Diagnose
A PC that will not power on does not necessarily mean your files are gone. In many cases, the SSD or hard drive is untouched. Do not format, reinstall Windows, or initialize a drive just because the system will not boot. Those actions can turn a hardware problem into a data-recovery problem.
If important game saves, work files, photos, or project data are stored locally, tell the technician before repair begins. A proper diagnosis can separate a no-power failure from storage damage and help protect what matters on the drive.
A methodical check saves money and prevents collateral damage. Start with external power, verify the core connectors, reduce the system to minimum hardware, and test one change at a time. When the evidence points to the power supply or motherboard, stop guessing and get a real diagnosis before a dead gaming PC takes more hardware down with it.