Computer Repair - Game Console Repair - Electronics Repair - Micro Soldering | !!! Now Open from 8am to 10pm Mon - Thurs =) !!!

Categories
Uncategorized

Guide to Motherboard Diagnostics: Find the Fault

A computer can look completely dead while the real failure is one shorted component smaller than a grain of rice. That is why a proper guide to motherboard diagnostics starts with evidence, not guesswork. Replacing a power supply, RAM kit, or motherboard without isolating the fault can waste money and, in some cases, make data recovery or repair harder.

At Amazing Technology Group, we approach failed desktops and laptops the same way we approach difficult console and professional electronics repairs: establish the symptom, verify the basics, follow the power path, and test the board at the level where the failure actually lives. The process changes depending on the device, but the discipline does not.

Start With the Exact Symptom

“Won’t turn on” is not a diagnosis. A system that has no lights, no fan movement, and no response to the power button has a very different fault path than a PC that powers on, cycles repeatedly, or runs normally with no image on the monitor.

Before opening anything, document what happens when power is applied. Does the charging light come on? Do fans spin for a second? Is there a beep code, debug LED, or motherboard Q-Code? Did the failure happen after a liquid spill, power outage, BIOS update, overheating event, or hardware upgrade? These details narrow the field fast.

For desktop systems, confirm the outlet, power cable, power supply switch, and monitor input first. For laptops, test with a known-good charger of the correct voltage and wattage. A weak adapter can imitate a board failure, especially when a laptop powers on briefly but shuts down as soon as it tries to charge the battery or initialize the processor.

Make the System Safe Before Testing

Motherboard work is not the place for random probing or repeated power cycles. Disconnect AC power, remove the battery when practical, and discharge residual power before removing components. Use ESD protection when handling boards, memory, graphics cards, and storage devices.

Never bypass a blown fuse with wire or foil. Never keep trying to start a board that has visible liquid contamination, burn marks, or a component that is heating abnormally. Those shortcuts can turn a repairable failure into damaged CPU, GPU, memory, or storage hardware.

If the system contains critical business files, customer records, project work, or irreplaceable photos, protect the drive before aggressive troubleshooting. A motherboard failure does not automatically mean data is lost, but repeated unstable boot attempts can complicate recovery.

Inspect the Board Before Replacing Parts

A careful visual inspection catches more than many people expect. Look for corrosion around USB ports, charging circuits, keyboard connectors, RAM slots, and fan headers. On desktops, check for damaged CPU socket pins, loose standoffs, cracked solder joints around heavy graphics cards, and bulging or leaking capacitors.

Smell can be useful too. Burned power circuitry often leaves a sharp electrical odor near the voltage regulation area, DC jack, or graphics power section. That does not identify the failed part by itself, but it tells a technician where to concentrate inspection and measurements.

Remove obvious variables. Disconnect external devices, extra drives, RGB hubs, add-in cards, and nonessential USB accessories. A shorted front-panel USB port, failed PCIe device, or damaged peripheral can hold down a power rail and make a healthy motherboard appear dead.

Follow the Power Path

Power diagnosis is the foundation of a serious motherboard diagnostic process. The question is not simply whether power enters the board. The question is where it stops.

On a desktop board, technicians first verify the power supply outputs and standby voltage. The 5V standby rail is especially important because it supports functions that remain active while the PC is shut down, including the power-button control circuit. If standby power is missing, the issue may be the power supply, cable, connector, or an input-stage problem on the motherboard.

If standby voltage is present but pressing the power button does nothing, testing moves to the front-panel switch circuit, power-management controller, and power-on signal. If the board starts and immediately shuts down, the next suspects include a shorted rail, failed MOSFET, damaged VRM component, CPU power issue, or a protection response from the power supply.

Laptop boards require a more detailed sequence. A healthy charger voltage must reach the DC-in circuit, pass the input protection stage, and reach the charging and power-management ICs. From there, always-on rails must be created before the system can respond to the power button. A failed input fuse, reverse-protection MOSFET, charging IC, or shorted capacitor can stop that chain at different points.

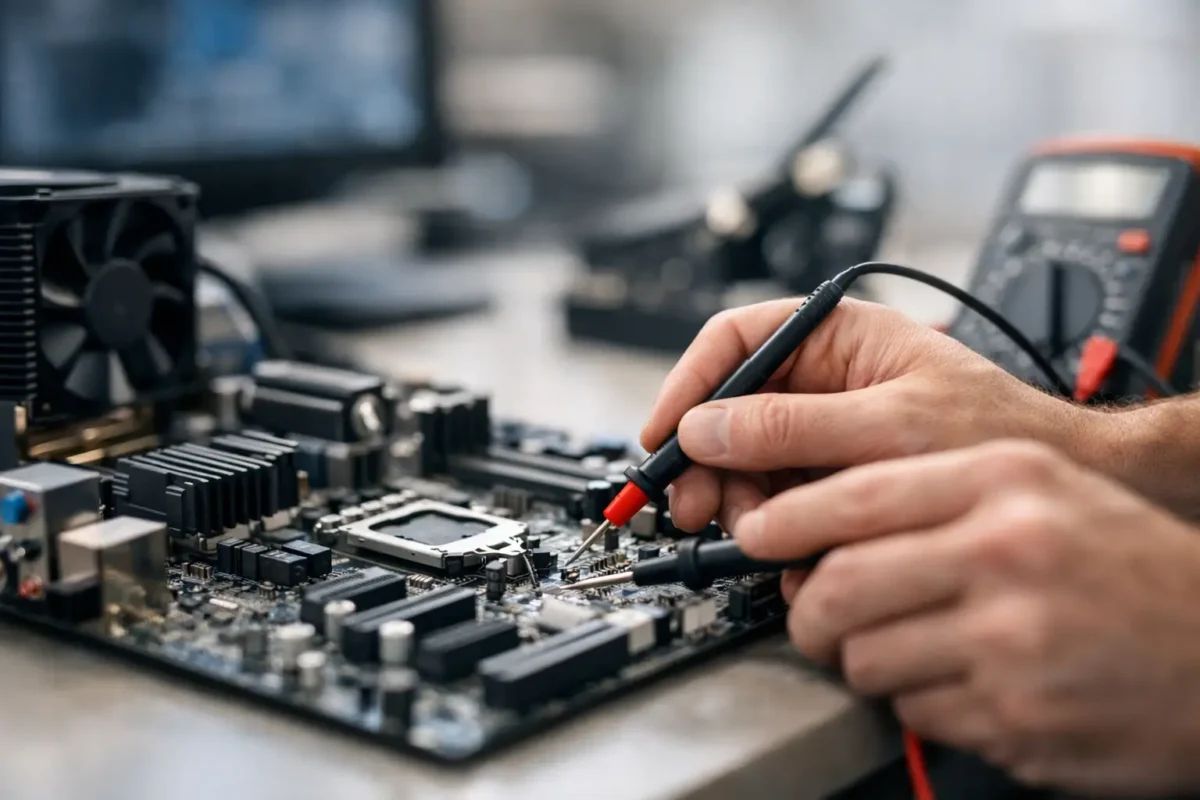
A multimeter is the basic tool here. Board-level work may also require a bench power supply, thermal camera, current meter, oscilloscope, and low-voltage injection equipment. These tools let a technician find abnormal resistance, voltage drop, or a component that turns into a heat source under controlled power.

Diagnose No-POST and No-Display Failures

A board that turns on is not necessarily booting. POST, or Power-On Self-Test, is the stage where the system initializes the CPU, memory, graphics, firmware, and connected hardware. Failure at this stage can look like a black screen, boot loop, frozen logo, or no keyboard response.

Start with a minimum configuration: motherboard, CPU and cooler, one known-good RAM module in the recommended slot, and integrated graphics if the processor supports it. Use a known-good display cable and monitor. If a dedicated graphics card is required, verify its PCIe power connectors and test it in another compatible system when possible.

Motherboard debug LEDs and speaker beep codes are valuable, but they are clues rather than final answers. A DRAM light may point to bad memory, yet the real cause could be a damaged CPU socket pin, failed memory power rail, corrupted BIOS, or a CPU with a bad memory controller. The same applies to VGA and CPU indicators.

Clear CMOS only after recording the original symptom and configuration. Resetting settings can solve a bad memory profile or unstable overclock, but it can also erase useful information about what changed. If a system was stable until a firmware update, a BIOS corruption or failed update process deserves serious attention.

Check Rails, Shorts, and Heat Patterns

This is where the work separates part swapping from actual electronics diagnosis. A technician checks for shorts to ground on key rails before applying full power. Extremely low resistance can indicate a failed capacitor, MOSFET, integrated circuit, or damaged power stage, although resistance values must be interpreted in context. Some processor and graphics rails naturally measure very low.

When a short is suspected, controlled voltage injection can help locate it. The failed part may warm faster than surrounding components and become visible through thermal imaging or freeze-spray testing. This method must be done with the correct voltage and current limit. Feeding the wrong voltage into a rail can destroy components that survived the original failure.

Voltage regulation modules deserve close attention in gaming PCs and workstations. These circuits convert incoming power into the precise low voltages required by the CPU, RAM, and GPU. Overheating, liquid exposure, failed fans, poor airflow, and unstable overclocking can stress VRM components over time. A dead MOSFET or controller IC may be repairable at the board level, but only after confirming it is the cause and not the victim of another fault.

Firmware, Charging, and Embedded Controllers Matter

Modern motherboards depend on more than visible power components. BIOS or UEFI firmware, embedded controllers, charging controllers, and security chips all participate in startup behavior. A laptop may show a charging light but ignore the power button because the embedded controller is not receiving a required signal. A desktop may power on with fans at full speed because firmware initialization is failing.

Firmware problems can sometimes be resolved through proper recovery or reprogramming. Other cases require reading and verifying the firmware chip directly, checking for corrupted data, or addressing the underlying hardware condition that caused the corruption. Reflashing blindly is not a cure-all. Wrong firmware, incorrect board revision data, or an unaddressed power fault can leave the system worse off.

Know When the Fault Is Beyond Home Testing

Basic isolation is useful: test known-good RAM, charger, power supply, monitor, cable, and storage device. Stop when testing requires soldering, voltage injection, component removal, or live measurements around dense power circuitry. That is the point where the right equipment and experience protect the board and your investment.

A good diagnostic report should explain the confirmed fault, the parts or board-level work required, the repair risk, and whether the repair makes financial sense. Sometimes a replacement board is the practical answer. Sometimes component-level repair costs less, preserves an expensive machine, and avoids the delays of sourcing an obsolete or proprietary board.

The best next move is simple: preserve the symptom, avoid unnecessary power cycles, and get the board tested before buying parts. A clear diagnosis turns a frustrating dead system into a repair decision based on facts.
Categories
Uncategorized

PC Repair for Startup Failures That Gets Results

A PC that will not start is not automatically a dead PC. A black screen, endless restart loop, blinking power light, or system that powers on without displaying anything can each point to a very different failure. Effective pc repair for startup failures begins by identifying exactly where the startup process stops – not guessing, replacing random parts, or reinstalling Windows before the hardware has been cleared.

For a work laptop, custom gaming rig, office desktop, or production machine, startup failure can bring everything to a standstill. The right repair approach protects your data, avoids unnecessary cost, and gets to the actual cause before one small fault turns into a larger problem.

PC Repair for Startup Failures Starts With the Symptom

“Won’t boot” is a useful description, but it is not a diagnosis. A computer has to complete several stages before you see a usable desktop: it receives power, initializes core hardware, passes its startup checks, detects a boot device, loads the operating system, and then launches user services. A failure at any stage can look similar from across the room.

A machine with no lights, fan movement, or charging indicator may have a power adapter, battery, DC jack, power supply, fuse, charging circuit, or motherboard power-rail problem. If fans spin but there is no image, the issue may involve RAM, the graphics card, display circuitry, CPU initialization, firmware, or a damaged motherboard.

If the manufacturer logo appears and the system freezes, restarts, shows a blue screen, or reports that no boot device is available, the PC has made it farther through startup. That shifts the investigation toward the storage drive, operating system, boot configuration, failing RAM, overheating, or a driver problem. The distinction matters. Installing a new copy of Windows will not fix a board that cannot initialize memory, and replacing a motherboard will not be the first answer for a corrupted boot loader.

Do Not Turn a Startup Failure Into a Data Loss Event

When a computer stops starting, many people respond by repeatedly forcing it off and on, attempting reset after reset, or using recovery tools without checking the drive condition. That can be risky when important files are still on the system.

If the drive is clicking, disappearing from the BIOS, reporting errors, or causing severe slowdowns before the failure, stop using it. Mechanical hard drives can suffer additional damage while they continue to spin, and SSD failures can become less recoverable as the controller degrades. Data recovery should be considered before an operating system reinstall, partition change, or factory reset.

The same caution applies to BitLocker and other encryption. A repair technician can often restore the PC to working condition, but encrypted data may remain inaccessible without the recovery key. Before authorizing major software changes, locate account credentials, recovery keys, and any current backups if possible.

What a Proper Diagnostic Process Looks Like

A real diagnostic does more than confirm that a PC does not turn on. It isolates the failed stage and tests the components connected to it. This is where experienced repair work separates itself from part swapping.

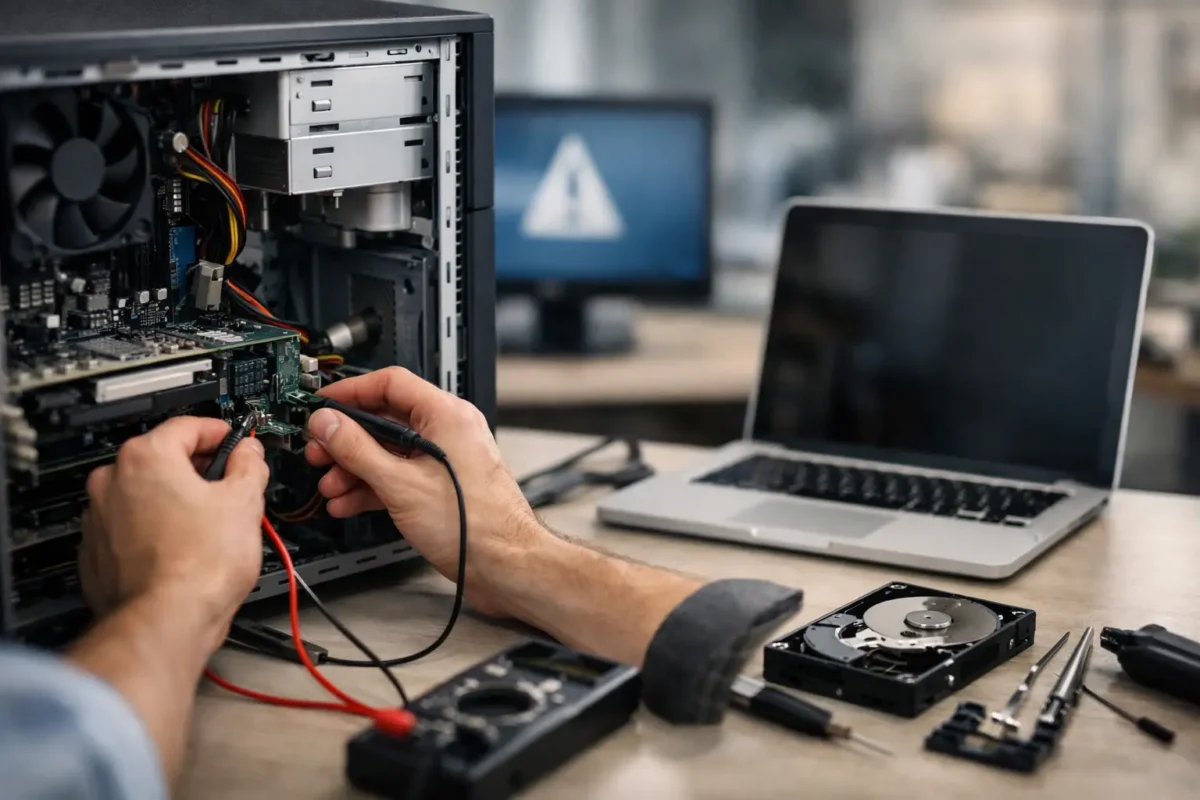
For a desktop, the technician may test the power supply under load, inspect cables and connectors, clear CMOS settings, verify RAM one module at a time, test with known-good graphics hardware, inspect CPU socket condition, and check the storage device through another system. For laptops, diagnosis can include adapter voltage checks, battery and charging behavior, display output testing, USB-C power-delivery evaluation, thermal inspection, and motherboard rail measurements.

At the board level, technicians look for shorts, missing voltage rails, damaged MOSFETs, failed capacitors, corroded components, broken connectors, and firmware issues. Liquid exposure, power surges, dropped laptops, overheating, and low-quality replacement chargers can all leave evidence that basic software troubleshooting will miss.

This process also prevents waste. A desktop that appears to need a costly motherboard could have a failed power supply. A laptop that seems completely dead could have a damaged charging port or a shorted input component. It depends on the test results, which is why a clear diagnosis should come before a repair recommendation.

Common Startup Failures and What They Usually Mean

A repeated power cycle often points to a hardware initialization issue. RAM is a frequent cause, especially after a system was moved, upgraded, overclocked, or exposed to heat. Poor RAM seating, incompatible settings, a failed module, or a damaged memory slot can keep a PC from reaching the display stage.

A PC that turns on but shows no image may have a simple display connection issue, but it can also involve the GPU, RAM, motherboard, or CPU. On a custom gaming PC, checking whether the monitor cable is connected to the graphics card rather than the motherboard is worthwhile. If that basic check does not solve it, avoid blindly buying a new GPU. The board, PCIe slot, power connectors, or power supply may be responsible.

“Boot device not found” commonly points to storage trouble or boot configuration damage. The drive may be disconnected, failing, or no longer recognized by the BIOS. In other cases, the drive is healthy but Windows startup files are damaged after an update, sudden shutdown, or malware incident.

Blue screens and startup freezes live in the middle ground between hardware and software. A failing SSD, unstable memory, overheating CPU, corrupted system files, driver conflict, or recent hardware upgrade can all cause them. Good repair work tests the hardware before declaring the operating system to be the only problem.

When Board-Level Repair Makes Sense

Many repair shops stop once they identify a motherboard issue and recommend replacement. Sometimes that is the sensible choice, particularly if a compatible board is readily available and the total repair cost is reasonable. But replacement is not always possible or economical, especially for high-end laptops, specialized workstations, compact gaming systems, or machines with difficult-to-source boards.

Board-level repair can be the better path when the fault is localized. Replacing a failed charging IC, power component, fuse, connector, BIOS chip, or damaged trace may restore a system without replacing the entire board. Micro-soldering and PCB repair require the right equipment, technical skill, and measured troubleshooting. They are not DIY jobs with a heat gun and a video tutorial.

Amazing Technology Group handles advanced diagnostics and in-house board repair for failures that many standard shops decline. That matters when a system has real value beyond its resale price – business software, specialized configuration, expensive components, or data that needs a careful recovery plan.

What You Can Safely Check Before Bringing It In

There are a few low-risk checks worth making, as long as you do not open hardware you are not comfortable servicing. Confirm that the outlet and charger work with another device. Disconnect nonessential USB devices, docks, external drives, and accessories. For a desktop, verify that the power supply switch is on and that the cable is seated firmly. For a laptop, try starting it with the charger connected and the battery disconnected only if the battery is designed for safe user removal.

If you recently installed RAM, a graphics card, storage, or a new CPU cooler, retrace that work. A loose power connector, overtightened cooler, incorrectly seated module, or misplaced standoff can prevent startup. Do not continue testing if you smell burning, see smoke, notice swelling in a battery, or find liquid damage. Disconnect power and have the system inspected.

Avoid opening modern laptops just to “see what is wrong.” Internal batteries, fragile display cables, compact connectors, and board-level components are easy to damage. A small broken connector can change a straightforward repair into a more involved one.

A Repair Plan Should Be Clear Before Work Begins

Once the fault is identified, you should know what failed, what repair options are available, the expected cost, and any risk to existing data. A good technician will explain whether the repair is a software correction, component replacement, board-level repair, or data recovery situation. If replacement is the better value, that should be said plainly.

Startup failures are frustrating because they stop everything at once. But the symptom is only the starting point. Leave the random fixes alone, protect the data if it matters, and let a technician trace the failure to the component or software layer that actually needs attention. That is how a PC gets repaired correctly instead of merely powered on for the moment.

Categories
Uncategorized

Best Upgrades for Custom Gaming Rigs That Matter

A custom PC that still boots is not necessarily a gaming PC that is keeping up. Stutters during firefights, long load screens, sudden thermal throttling, and random shutdowns all point to different bottlenecks. The best upgrades for custom gaming rigs are not always the most expensive parts on the shelf. They are the parts that solve the problem your system actually has without creating a new one somewhere else.

That means checking compatibility, power delivery, temperatures, BIOS support, and the condition of the existing hardware before placing an order. A faster GPU installed in a poorly cooled case or on an aging power supply can turn a performance upgrade into an instability problem. Build smart, test thoroughly, and make every dollar count.

Start With the Bottleneck, Not the Hype

Before upgrading anything, establish what happens while gaming. Use monitoring software to watch GPU utilization, CPU utilization by core, memory usage, temperatures, clock speeds, and storage activity. The goal is not to chase perfect numbers. It is to identify the component holding the rest of the machine back.

If the GPU sits near 95 to 100 percent utilization while the CPU has headroom, the graphics card is likely your limiting factor. If one or two CPU cores are pinned while the GPU usage drops, the processor may be holding back frame rates, especially at 1080p or in CPU-heavy games. If memory use is maxed out and the system is leaning on the page file, more RAM can make a noticeable difference.

Also rule out hardware problems before buying upgrades. Dust-packed heatsinks, failing fans, unstable overclocks, corrupted game files, malware, a tired SSD, or a power supply with poor voltage stability can look like a performance issue. Real diagnosis saves money because it separates a repair need from an upgrade need.

The Best Upgrades for Custom Gaming Rigs

Upgrade the GPU for Higher Resolution and Better Visuals

For most gamers, the graphics card has the largest impact on frame rate, image quality, ray tracing performance, and the ability to move from 1080p to 1440p or 4K. If your current card cannot maintain your target frame rate at the settings you want, a GPU upgrade is usually the right move.

But do not choose a card based on a single benchmark. Match it to your monitor. A powerful card can be wasted on a 60 Hz 1080p display if your goal is only to play lighter competitive titles. On the other hand, a midrange card may struggle if you are targeting high-refresh 1440p, ultrawide gaming, or demanding ray-traced titles.

Check physical clearance before purchasing. Some modern GPUs are long, thick, and heavy enough to require additional support. Confirm the case has room, the motherboard has a suitable PCIe slot, and the power supply has the correct native connectors. Avoid questionable adapter setups when a proper power supply upgrade is the safer answer.

Upgrade the CPU When Frame Times Are the Problem

A CPU upgrade matters most when games feel uneven despite a capable graphics card. Strategy games, simulation games, large multiplayer matches, heavy mod lists, streaming, and background productivity workloads can all expose a weak processor.

The right CPU depends on your motherboard platform. Sometimes a BIOS update allows a meaningful processor upgrade without replacing the board and memory. Other times, moving to a newer CPU means budgeting for a motherboard, RAM, cooler mounting hardware, and possibly a fresh operating system installation.

Do not assume more cores always equal better gaming. Core count helps with multitasking and workstation use, but game performance also depends on architecture, cache, clock behavior, and game engine design. A balanced gaming CPU with strong single-thread performance is often the smarter choice than an older high-core-count workstation chip.

Move to 32 GB of RAM Before Chasing Extreme Speeds

For a modern gaming rig, 16 GB can still work, but it is increasingly easy to exceed once you add a browser, voice chat, game launchers, recording software, mods, or high-resolution texture packs. Moving to 32 GB is one of the most practical upgrades for smoother multitasking and fewer memory-related slowdowns.

Capacity comes first. Then consider speed and timings based on your CPU and motherboard. Mixing different memory kits may boot and appear stable at first, but it can create intermittent crashes, failed memory training, or reduced speeds. A matched kit is the dependable approach.

After installation, enable the correct memory profile in BIOS and test stability. Memory that is technically fast but unstable is worse than memory running at a lower, reliable setting. Random game crashes are not a feature of a high-performance build.

Cooling and Power Are Performance Parts

Cooling and power delivery are often treated as background details. In a serious custom rig, they are performance hardware. A CPU or GPU that repeatedly hits a thermal limit cannot sustain its advertised boost behavior, no matter how impressive the specification sheet looks.

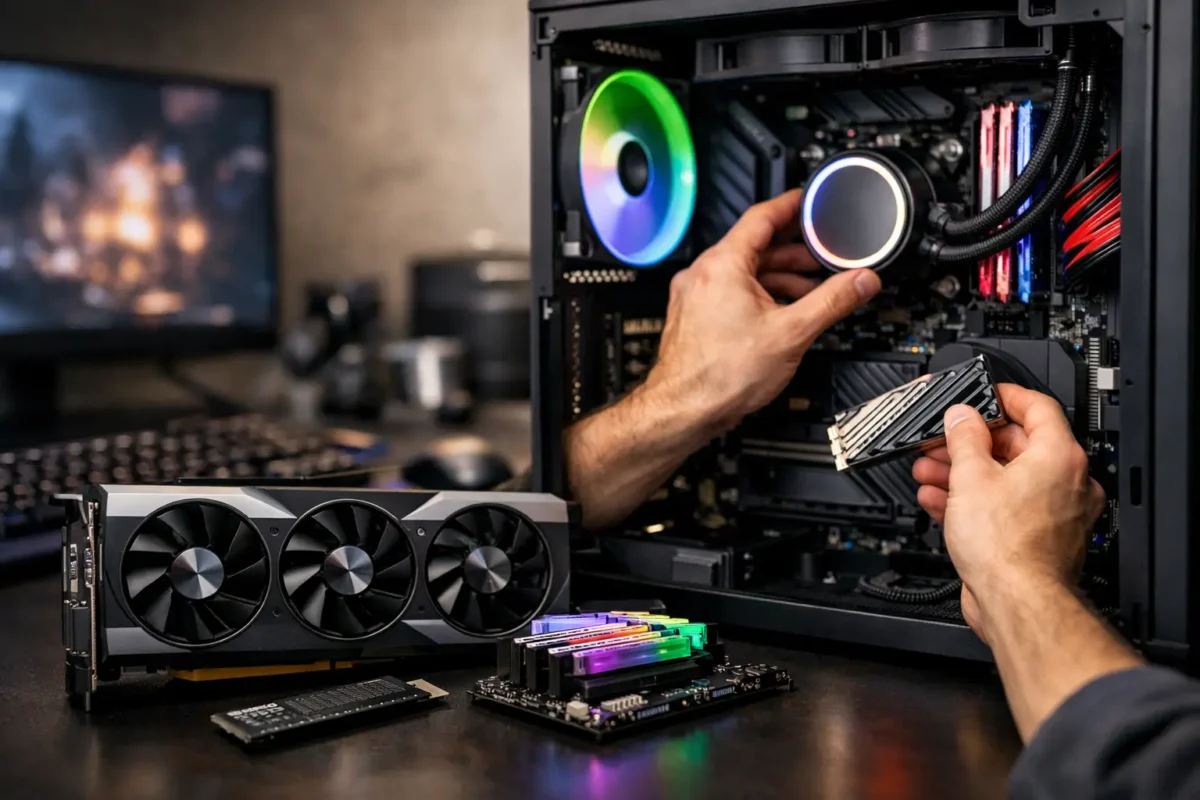
A quality tower air cooler can be an excellent value for many builds. A liquid cooler can be a strong option for high-wattage CPUs or cases with limited airflow, but it adds pump reliability and installation considerations. Neither choice fixes a case that has no clear path for fresh air.

Use a simple airflow plan: front or bottom intake, rear or top exhaust, clean filters, and enough clearance around the system. Replace noisy or failing fans rather than letting heat build up. If temperatures remain high after cleaning and improving airflow, inspect thermal paste, cooler mounting pressure, and fan curves.

The power supply deserves the same attention. A quality unit with adequate wattage, proper protections, and the correct connectors is essential when adding a stronger GPU or CPU. Do not size a PSU by its label alone. Consider the quality of the unit, the power demands of transient spikes, cable requirements, and room for future upgrades. Reusing an unknown or aging unit to support expensive new components is a gamble that can damage more than frame rates.

Add NVMe Storage for Faster Loads and a Cleaner System

A full or aging hard drive is one of the easiest ways to make a powerful PC feel slow. An NVMe SSD improves boot time, game load time, file transfers, and general responsiveness. It will not usually double your frame rate, but it can dramatically improve the daily experience of using the machine.

A 1 TB drive is a practical starting point for many gamers, while 2 TB gives modern game libraries more breathing room. Keep some free capacity available because SSDs slow down when pushed to the limit. If your motherboard supports multiple M.2 drives, separating the operating system and games can make maintenance easier, though it is not mandatory for good performance.

Confirm whether the M.2 slot shares PCIe lanes with a SATA port or expansion slot. These details vary by motherboard, and a quick check prevents surprises after installation. Back up important files before migrating an operating system or changing storage configurations.

Do Not Ignore the Monitor

A monitor upgrade can make the results of every other upgrade visible. Moving from 60 Hz to 144 Hz or higher provides clearer motion and better responsiveness in fast-paced games. Moving from 1080p to 1440p improves image detail, but it also raises GPU demand significantly.

This is where balance matters. A high-refresh 1080p monitor pairs well with competitive gaming and CPU-focused titles. A 1440p high-refresh monitor is often the sweet spot for visual quality and performance. 4K can look outstanding, but it requires far more GPU horsepower and may involve compromises in demanding games.

Check the display connection and cable as well. The wrong cable or port can limit refresh rate, resolution, or adaptive sync support. A monitor is not just an accessory. It is the final stage of the gaming experience.

Plan the Upgrade Order and Test Each Change

If several components need attention, start with the issue that is actively limiting the system. For a GPU-bound build, that may be the graphics card and power supply. For a machine with thermal throttling and crashes, cooling, airflow, and diagnostics come before performance parts. For a system that feels slow everywhere, storage and RAM may deliver more immediate value.

Update BIOS and chipset drivers only when appropriate, document your baseline temperatures and benchmarks, and change one major variable at a time. That makes it easier to catch instability and verify that the upgrade delivered the result you paid for. A proper stress test after installation is not optional when you are pushing a custom build hard.

For Riverside County gamers who need help with compatibility checks, failed upgrades, overheating, BIOS issues, or board-level faults, Amazing Technology Group approaches the machine as a complete system. The job is not finished when a new part powers on. It is finished when the rig is stable, cooled correctly, and ready to perform under real gaming loads.

The best next upgrade is the one that leaves your system stronger as a whole. Build around a clear target – the games you play, the monitor you use, and the performance you expect – then give the hardware the cooling, power, and testing it needs to earn its place in the rig.