Computer Repair - Game Console Repair - Electronics Repair - Micro Soldering | !!! Now Open from 8am to 10pm Mon - Thurs =) !!!

Categories
Uncategorized

How to Repair Damaged PCB Boards the Right Way

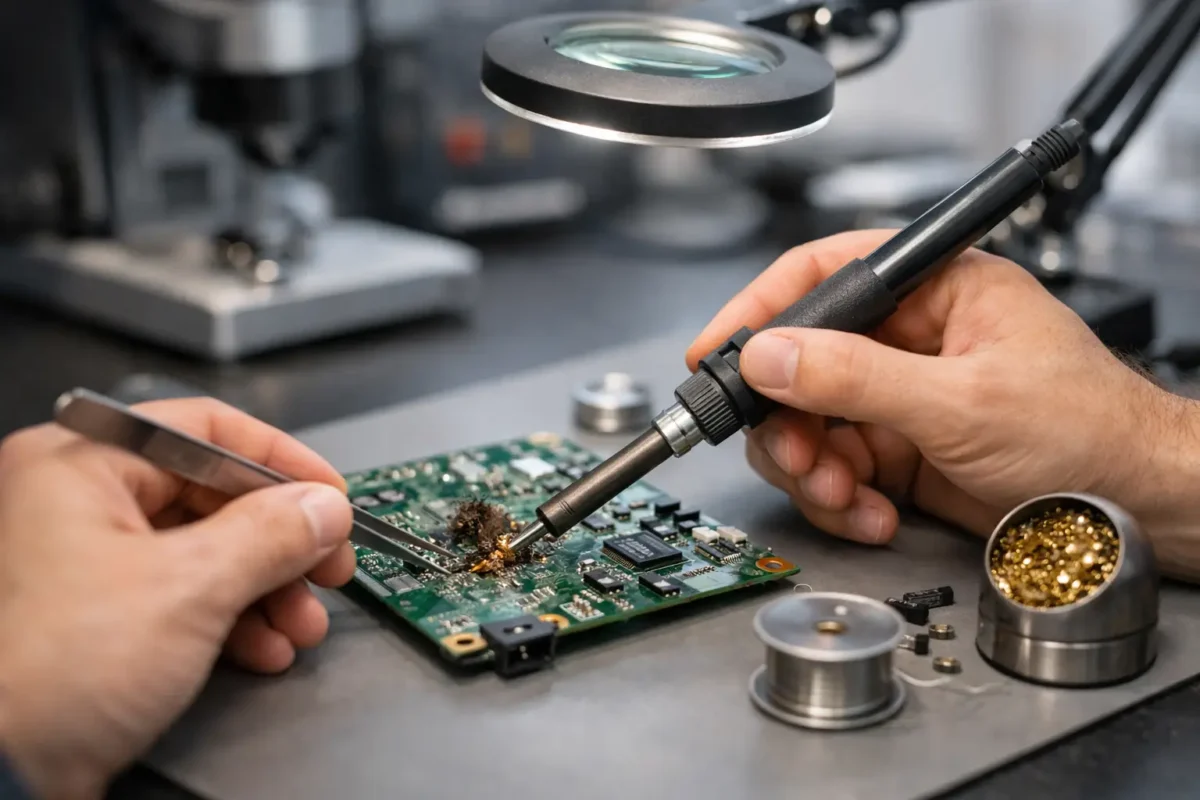
A failed device does not always need a new motherboard, control board, or main logic board. A lifted pad, corroded connector, cracked trace, or damaged charging circuit can stop an otherwise valuable PC, game console, DJ controller, or laptop in its tracks. Knowing how to repair damaged PCB problems starts with one rule: identify the actual failure before touching the soldering iron.

Board-level repair can save hardware that a parts-swapping shop may write off. It can also make a board worse when the wrong repair method is used. The difference is careful diagnosis, proper equipment, and knowing where a simple repair ends and advanced micro-soldering begins.

Start by Identifying the Type of PCB Damage

A printed circuit board, or PCB, is more than a surface holding components in place. Its copper traces carry power and data, pads create solder connections, vias move signals between layers, and internal layers may contain circuits you cannot see. Damage on the surface can be the visible symptom of a deeper fault.

Physical damage is usually the easiest place to begin. Look for broken connectors, missing components, cracked board edges, lifted pads, torn traces, bent USB or HDMI ports, and loose power jacks. A drop, impact, aggressive cable removal, or repeated flexing can cause these failures.

Liquid damage requires more caution. Even when a device starts after getting wet, moisture and residue can corrode copper, short fine-pitch components, and create failures weeks later. Green or white buildup around connectors, chips, and power circuitry is a warning sign. Battery leaks can cause similar damage and should be handled promptly.

Heat damage often appears as discolored board material, darkened solder joints, warped connectors, or burnt components. Do not assume the burnt part is the root cause. A capacitor, MOSFET, fuse, or power-management circuit may have failed because another part downstream shorted first.

Safety Comes Before Any PCB Repair

Disconnect all power before inspecting or testing a board. Remove the battery where possible, unplug chargers and external power supplies, and allow capacitors time to discharge. High-voltage power supplies, CRT equipment, industrial hardware, and some audio gear can retain dangerous voltage even after unplugging. Those repairs are not suitable for trial-and-error work.

Use ESD protection when working on sensitive electronics. A grounded mat and wrist strap reduce the risk of damaging components with static electricity. Work under good lighting and magnification. On modern consoles, laptops, and professional DJ equipment, many faults are too small to diagnose accurately with the naked eye.

Avoid powering a liquid-damaged board before it has been properly cleaned and inspected. Applying power to corrosion can turn a repairable problem into a burnt trace or failed integrated circuit.

How to Repair Damaged PCB Traces and Pads

Trace and pad repair is common after corrosion, impact damage, failed connector removal, or an attempted repair that used too much heat. The goal is not just to make electrical contact. The repair must be mechanically secure, correctly routed, and insulated from nearby circuits.

First, document the area with clear photos. This is especially useful if a wire, component, or connector has already come loose. Then clean the damaged section with high-percentage isopropyl alcohol and a soft brush. Cleaning removes flux residue, corrosion, and debris that can hide cracks or create leakage paths.

For a damaged trace, carefully expose a small section of clean copper on each side of the break. A fiberglass pen, precision scraper, or fine abrasive tool can remove the protective solder mask, but use a light touch. Digging too deeply can cut an adjacent trace or weaken the board further.

Tin the exposed copper with flux and a small amount of solder. For short, accessible breaks, soldering a thin insulated jumper wire from one healthy point to another is often stronger and more reliable than trying to rebuild the original trace. Route the wire cleanly, keep it away from moving parts and heat sources, and secure it with suitable board-safe adhesive when needed.

A lifted pad is more complicated because the pad may connect to a nearby trace, via, or internal layer. If the circuit has another accessible point on the same net, a jumper can restore the connection. If the pad is part of a connector, fine-pitch chip, or high-current circuit, the repair needs to withstand repeated stress. Simply attaching a wire to a loose pad rarely lasts.

After the repair, check continuity with a multimeter and verify that the repaired point is not shorted to adjacent pads or ground. Continuity alone does not prove the circuit is healthy, but it confirms whether the physical connection has been restored.

Replace Damaged Components Only After Testing

Burnt or visibly damaged parts should be replaced, but appearance is not enough to select a replacement. Component markings, board reference labels, schematics, boardview files, and measurements all help identify the correct value and function.

Start with basic checks. Measure fuses for continuity, check power rails for shorts to ground, inspect diodes for abnormal readings, and compare suspicious areas with a known-good section of the board when possible. A shorted ceramic capacitor can cause a console or laptop to show no power. Replacing only the blown fuse without finding that short will usually result in another blown fuse.

For connectors, confirm that the problem is actually the connector. A USB-C port may look damaged, but the fault could be in the charging controller, ESD protection circuit, or nearby power path. The same applies to HDMI ports on PS5 and Xbox consoles. A damaged port can be obvious, yet a missing signal may come from a torn trace or failed filter array behind it.

Use temperature-controlled soldering equipment, quality flux, and the correct tip size. Excessive heat can delaminate the board, damage plastic connectors, or pull pads from multilayer boards. Too little heat creates cold joints that may work briefly and fail under normal use.

Know When the Board Needs Advanced Repair

Some PCB damage is reasonable for an experienced hobbyist. A broken wire, a through-hole connector, or a simple trace break on a low-voltage board may be straightforward. Fine-pitch, multilayer, and high-density boards are a different category.

Professional help is usually the right call when the damage involves BGA chips, torn pads under a chip, internal-layer faults, water damage around dense power circuits, missing tiny components, or repeated no-power conditions after a basic repair. These jobs may require a microscope, hot-air rework station, preheater, thermal imaging, bench power supply, ultrasonic cleaning, and detailed circuit-level diagnostics.

Be cautious with common shortcuts. Reflowing a board with uncontrolled heat, baking it, flooding it with solder, or installing random jumper wires can permanently damage it. Heat may temporarily change a cracked solder joint, but it does not diagnose why the joint failed or whether the chip and board are still sound.

Test the Repair in Stages

Do not reassemble a device immediately after soldering. Inspect the work under magnification for bridges, loose solder balls, damaged neighboring parts, and uncleaned flux. Test continuity and resistance values again before applying power.

If a bench power supply is available, current-limited power-up testing can help catch a short before the device receives full power. Watch for abnormal current draw and localized heating. For liquid-damaged boards, this step can prevent additional damage while narrowing down the failed circuit.

Once the board powers normally, test every function affected by the repair. A laptop charging-port repair should be checked for charging, data, power delivery behavior, and physical cable fit. A repaired DJ controller should be tested for inputs, outputs, buttons, faders, and audio operation. A console HDMI repair needs video testing at stable resolution, not just a brief boot screen.

Repairing the Board Is Often the Best Value

Replacing an entire board may be fast, but it can be expensive, unavailable, or impractical when data, configuration, or device-specific programming is involved. Component-level repair can preserve the original hardware and correct the actual fault instead of replacing good parts along with bad ones.

That said, repairability depends on the board’s condition. Severe battery corrosion, extensive internal-layer damage, destroyed chip pads, or fire damage may make replacement the more dependable option. A real diagnosis should explain that trade-off clearly before money is spent.

When a valuable device has a damaged board, patience beats guesswork. Stop applying power, avoid improvised heat fixes, document what happened, and get the board evaluated by technicians who perform true in-house diagnostics. At Amazing Technology Group, difficult board failures are treated as engineering problems to solve, not automatic reasons to replace the device.
Categories
Uncategorized

What Causes Laptop Charging Failure? 9 Real Faults

A laptop that will not charge can turn a normal workday, class session, or gaming night into a countdown clock. The question of what causes laptop charging failure rarely has one simple answer. The battery may be worn out, but the real problem could also be the charger, the charging port, the USB-C power negotiation circuit, or a failed component on the motherboard.

That difference matters. Replacing a battery when the board is not accepting power wastes money and leaves the laptop dead. A proper diagnosis follows the path electricity takes from the wall outlet to the adapter, through the charging port, into the charging circuit, and finally to the battery.

What Causes Laptop Charging Failure?

Charging failure happens when one part of that power path cannot deliver, regulate, or store the power the laptop needs. Sometimes the failure is obvious, such as a chewed cable or a loose port. Other times, the laptop may recognize the charger but refuse to increase its battery percentage, shut off under load, or alternate between charging and not charging.

The symptoms provide useful clues, but they do not prove the cause. For example, a battery stuck at 0% can be a failed battery pack, an underpowered adapter, a damaged DC-in jack, or a motherboard charging fault. That is why real repair begins with testing, not guessing.

1. A failed or underpowered charging adapter

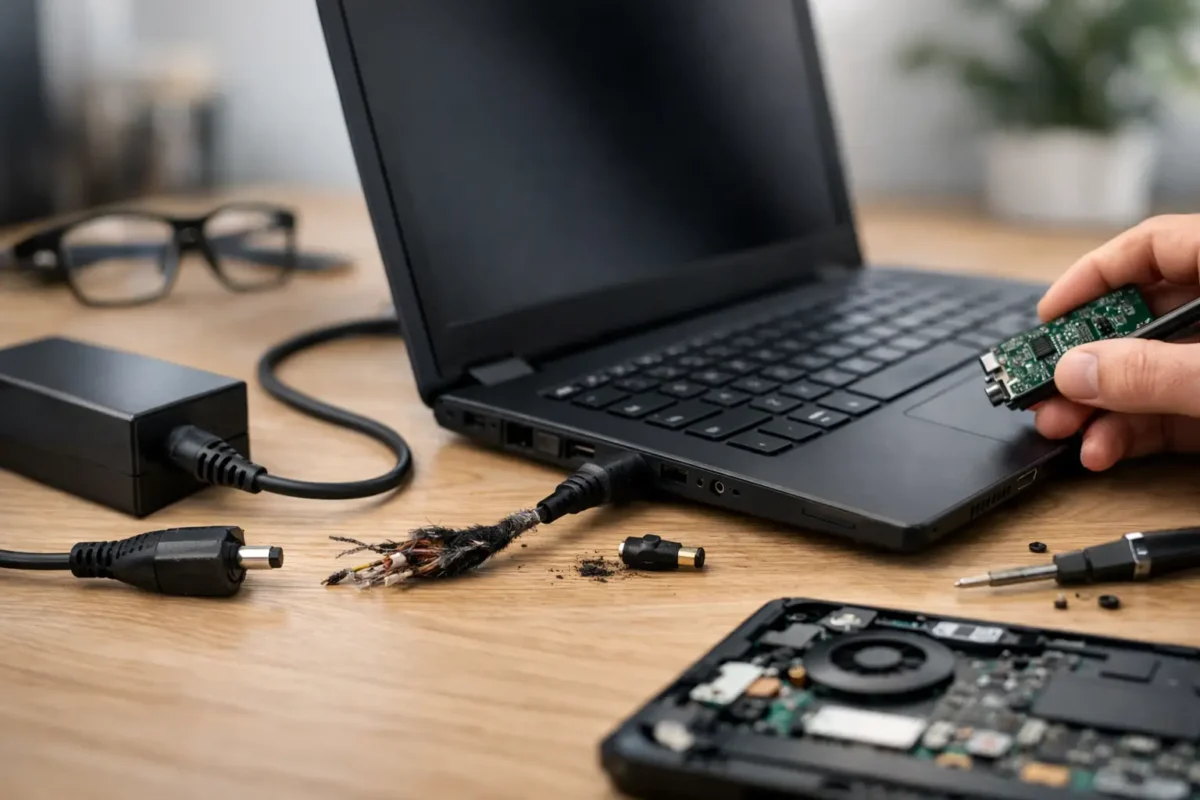
Adapters take more abuse than most people realize. They get wrapped tightly, pulled by the cable, stepped on, left in hot cars, and used with overloaded power strips. Internal wire breaks often develop near the strain relief at the adapter brick or connector. The outside can look perfect while power cuts in and out whenever the cable moves.

Using the wrong adapter can create similar symptoms. A charger with the wrong voltage can damage equipment. One with the correct voltage but insufficient wattage may let the laptop run while failing to charge the battery, especially during gaming, video editing, or other high-load work. Some systems reduce performance, show a low-wattage warning, or slowly lose battery power even while plugged in.

USB-C charging adds another layer. Not every USB-C cable supports the same wattage, and not every USB-C power brick can negotiate the profile a laptop requires. A phone charger may physically fit a laptop but still deliver far too little power.

2. A damaged charging port or DC-in jack

If the plug feels loose, must be held at an angle, sparks slightly, or only works in one position, the charging port needs attention. Traditional barrel-style jacks can loosen from their mounts, crack at solder joints, or suffer broken center pins. USB-C ports can collect debris, bend internal contacts, or tear away from the board after repeated side pressure.

A damaged port is not always a simple replacement. On some laptops, the DC jack is a separate cable-mounted part. On others, especially many USB-C designs, the port is soldered directly to the motherboard. A technician needs to inspect the connector, test for continuity, and check whether the damage extends to nearby board traces or power components.

Do not keep forcing a loose plug into place. Intermittent connection can create heat and arcing that turns a manageable port repair into a larger board-level problem.

3. A worn, failing, or locked-out battery

Lithium-ion batteries wear down with charge cycles, heat, and age. As a battery degrades, its capacity drops, internal resistance rises, and the laptop may shut down sooner than expected. Eventually, the battery management system may report a service warning, refuse to charge, or limit charging to protect the pack.

A battery can also appear healthy in software while failing under load. The laptop might charge to 100%, then die abruptly at 40% when a game launches or a video call starts. That behavior often points to weak cells that cannot maintain stable voltage.

Not every battery that stops at 80% is defective. Many manufacturers include battery preservation settings that intentionally cap charging around 50%, 60%, or 80% to extend battery lifespan. Check the laptop’s power utility and BIOS settings before assuming the battery needs replacement.

4. Corrupted power settings, firmware, or drivers

Software does not usually cause physical charging failure, but it can interfere with how a laptop reports and manages power. A corrupted battery driver, outdated BIOS, failed operating system update, or manufacturer power-management utility can make charging behavior look worse than it is.

Typical signs include an incorrect battery percentage, a charging icon that does not update, or a battery that is recognized only after restarting. Resetting the embedded controller, reinstalling battery-related drivers, or updating firmware may help when the hardware tests good.

There is a trade-off here: firmware updates should only be performed when the laptop has stable power. Updating BIOS on a machine that can lose power mid-process can cause a much more serious failure. If the charging issue is intermittent, establish reliable external power first or have the system evaluated.

5. Heat damage and liquid exposure

Heat is hard on batteries and motherboard charging circuits. A laptop used on blankets, in dusty environments, or under constant heavy load can run hot enough to accelerate battery wear and stress power components. Swollen batteries are especially serious. They can lift the trackpad, separate the bottom cover, or warp the chassis.

If a battery is swollen, stop using and charging the laptop. Do not puncture it, press the case flat, or continue operating it because it still turns on. The correct repair involves safely removing the damaged battery, checking for collateral damage, and replacing it with a quality compatible part.

Liquid damage is equally deceptive. A spill may cause an immediate shutdown, but corrosion can also develop gradually around the charging port, battery connector, or charging IC. A laptop that worked for weeks after a spill can still fail later as corrosion eats away at contacts and copper traces.

6. Motherboard charging-circuit failure

This is where many standard repair shops stop. The motherboard contains the components that identify the charger, control incoming voltage, protect the system from overcurrent, and route power to the battery. Depending on the design, that includes charging controllers, MOSFETs, current-sense circuits, fuses, coils, and USB-C power-delivery controllers.

When one of these components fails, the laptop may be completely dead, run only on battery, run only on the charger, or report “plugged in, not charging.” The charging light may blink a pattern, or there may be no visible sign at all.

Board-level diagnosis means measuring voltage at specific points and determining where the power path stops. It can involve micro-soldering, replacing a damaged component, repairing a corroded trace, or rebuilding a torn USB-C port area. In many cases, this is more cost-effective than replacing an otherwise good laptop, particularly on premium models or systems with valuable data and software setups.

7. A failed power button board, cable, or internal connector

Sometimes charging is working, but the laptop cannot start. A damaged power button, broken keyboard ribbon cable, loose battery connector, or failed small daughterboard can make the system look like it has a charging problem. The charging LED might come on, yet pressing the power button does nothing.

Internal connectors can loosen after a drop or a previous repair. They can also corrode after moisture exposure. Proper testing separates a no-power condition from a no-charge condition before parts are ordered.

8. Power surge or outlet problems

Before blaming the laptop, rule out the source. A bad wall outlet, failed surge protector, tripped GFCI outlet, or unstable power strip can prevent an adapter from working correctly. Test with a known-good outlet and, when possible, a known-good manufacturer-spec charger.

Power surges can damage the adapter first, which is the better outcome. But severe events can pass through and damage the laptop’s input protection circuitry. If charging failed immediately after a storm or electrical event, the adapter and motherboard should both be checked.

9. Damage caused by drops and everyday wear

A drop can crack solder joints under a charging port, loosen a battery connector, damage the battery cells, or fracture a motherboard trace without leaving dramatic external evidence. Everyday wear can do the same thing more slowly, especially when a charger is frequently tugged from the side.

The key is pattern recognition. If the failure began after a drop, cable pull, spill, or power surge, share that history during diagnosis. It gives the technician a faster route to the likely fault area and helps avoid unnecessary part replacement.

What You Can Safely Check Before Repair

Start with a known-good outlet and inspect the charger cable for kinks, exposed wire, burn marks, or a loose connector. Remove lint from the charging port carefully with a nonmetal tool and good lighting. If the port is loose, the laptop is hot, the battery is swollen, or you smell burning electronics, stop there.

You can also check whether the system recognizes the adapter and review battery-health information in the operating system or manufacturer utility. Avoid opening the laptop unless you have the right tools and experience. Modern laptops often place delicate cables, high-density connectors, and glued battery cells directly under the bottom cover.

The Right Fix Starts With the Actual Fault

Laptop charging failures are frustrating because several different defects can create the same symptom. A professional diagnosis should test the adapter output, inspect the charging port, evaluate battery health, verify charging communication, and trace the motherboard power path when needed. That process identifies whether the repair is a charger replacement, port repair, battery replacement, software correction, or component-level board repair.

At Amazing Technology Group, difficult charging faults are handled with in-house diagnostics and real board-level repair capability, not a quick guess and a parts invoice. If your laptop has stopped charging, protect the data and hardware you still have: stop forcing a failing connection, document the symptoms, and get the power path tested before a small fault becomes a dead system.

Categories
Uncategorized

A Guide to Custom Gaming Rigs That Last Longer

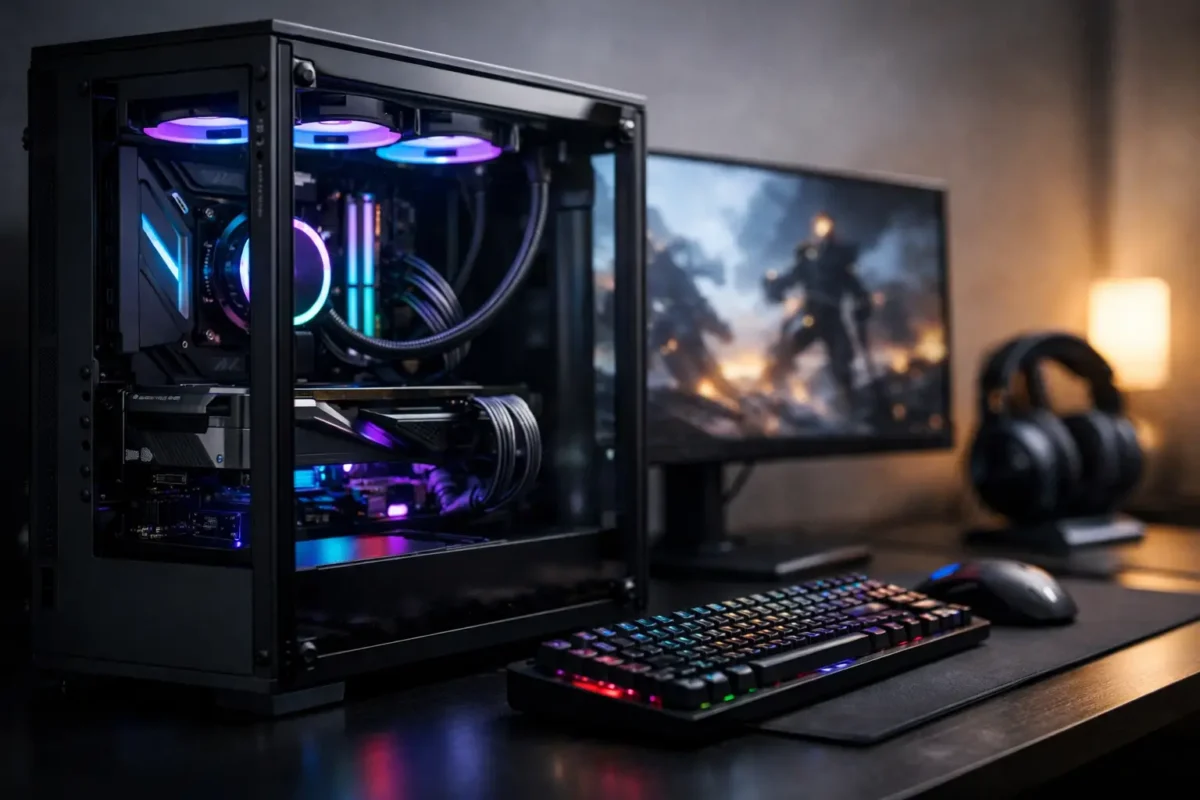
A gaming PC can look expensive on a spec sheet and still disappoint the moment a demanding game loads. Stutters, excessive fan noise, random shutdowns, and weak upgrade options usually come from an unbalanced build, not a lack of RGB. This guide to custom gaming rigs focuses on the decisions that determine whether your system performs reliably for years or becomes a costly troubleshooting project.

A proper custom rig is built around the games you play, the display you own, and the work you expect the machine to handle between matches. That means choosing components that work together electrically, thermally, and financially. The goal is not to buy the most expensive part in every category. The goal is to build a machine with no obvious weak point.

Start With the Workload, Not the Parts List

Before choosing a processor or graphics card, define what the system needs to do. A player targeting 1080p competitive titles has different needs from someone running 4K single-player games, streaming to an audience, editing video, or working with CAD and other demanding software.

Your monitor matters more than many builders realize. If you have a 1080p, 144 Hz display, spending heavily on a graphics card designed for high-refresh 4K gaming may not produce a meaningful benefit. On the other hand, pairing a high-resolution, high-refresh monitor with an entry-level GPU guarantees compromise. Frame rate, image settings, and display resolution must be planned as one system.

Budget also needs an honest boundary. Leave room for the less glamorous pieces: a quality power supply, sufficient storage, capable cooling, case fans, and a legitimate operating system. Cutting corners on those parts to afford a faster graphics card often creates the problems that bring computers into the repair shop later.

The Core of a Custom Gaming Rig: Balanced Hardware

The GPU usually has the greatest impact on gaming performance, especially at higher resolutions. It handles the visual workload, but it cannot work at full strength when the CPU, memory, or power delivery is holding it back. A good build treats the graphics card as the anchor, then selects the supporting hardware around it.

CPU and GPU Pairing

A modern midrange processor can support a powerful graphics card in many games, but results depend on resolution and game type. Competitive games at 1080p can put more pressure on the CPU because the GPU completes frames quickly. Graphically intensive games at 1440p or 4K generally lean harder on the GPU.

Avoid buying an older bargain CPU platform simply because the processor price looks attractive. A low upfront cost can become expensive when it limits memory support, storage options, upgrade paths, or future graphics card performance. A current, well-supported platform gives you a better foundation for repairs and upgrades later.

Memory and Storage

For most modern gaming systems, 32 GB of RAM is a practical target. It gives games, background applications, voice chat, browser tabs, and recording software room to operate without forcing the system to constantly move data to storage. Faster memory can help in some CPU-sensitive games, but capacity and compatibility come first.

Install games on a quality NVMe SSD whenever possible. Fast storage will not turn a weak GPU into a strong one, but it improves load times, reduces waiting during updates, and makes the entire computer feel more responsive. Large game libraries can fill a drive quickly, so consider a second SSD instead of relying on a slow, aging hard drive for active titles.

The Parts People Underestimate

The power supply is not the place for a mystery-brand bargain. It protects every major component and has to deliver stable power under real gaming load. Choose a reputable unit with enough wattage for the current build plus reasonable upgrade headroom. A quality 750 W or 850 W unit is often sensible for higher-performance systems, but the correct rating depends on the actual CPU and GPU combination.

The motherboard should have the features you need, not just the most aggressive-looking heatsinks. Check the number of M.2 slots, USB ports, network options, PCIe expansion, BIOS support, and power delivery quality. A board that fits the budget but lacks needed connectivity can force an unnecessary replacement later.

Cooling Is Performance Protection

Heat is the enemy of stable performance. When temperatures rise beyond what components can manage, the system slows itself down, fans become loud, and long-term component stress increases. Cooling is not an accessory. It is part of the performance plan.

A well-designed air cooler can handle many gaming CPUs effectively and with less complexity than liquid cooling. All-in-one liquid coolers can be excellent for high-heat processors or builds where space and appearance matter, but they add a pump and additional failure points. Neither option is automatically better. The right choice depends on the processor, case airflow, noise expectations, and maintenance preference.

Case airflow matters just as much. A premium cooler inside a sealed or poorly ventilated case cannot perform at its best. Use a case with clear intake and exhaust paths, install enough fans to move air through the chassis, and keep cables out of major airflow zones. More fans are not always better if they are poorly positioned or fighting each other.

Dust is another real performance issue, particularly in homes with pets, carpet, or active workshop environments. Clean filters regularly and inspect fans, heatsinks, and radiators. If the machine becomes louder over time, do not ignore it. Excessive heat can point to dust buildup, a failing fan, dried thermal compound, or a deeper hardware problem.

Build Quality Prevents Expensive Problems

A custom rig should be assembled with the same care used in professional technical work. That includes correct motherboard standoff placement, controlled cable routing, properly seated RAM, secure GPU installation, and appropriate cooler mounting pressure. One loose connection can mimic a failed motherboard, graphics card, or power supply.

Do not force connectors. Modern PC power connections are keyed for a reason, and a connector that does not fit correctly should be checked before pressure is applied. Pay close attention to graphics card power cables. High-performance GPUs can draw significant current, and improperly seated connectors can overheat or cause instability.

After assembly, test before making the build look perfect. Confirm that the system reaches BIOS, recognizes memory and storage, and reports reasonable temperatures. Then install the operating system, drivers, and game launchers before tightening every cable tie and closing every panel. This catches build issues while access is easy.

A Practical Guide to Custom Gaming Rigs and Upgrades

The best custom gaming rigs are designed to be serviced. Use a case with working room, label or document unusual cable runs, and avoid blocking every available expansion slot with cosmetic additions. Keep spare modular power cables with the original power supply. Modular cables are not universally interchangeable, even when the connectors appear similar.

Plan upgrades around the component creating the real limitation. If games run poorly at 4K, a GPU upgrade may provide the biggest gain. If you experience slow boot times or constantly delete games to free space, storage is the clear priority. If multitasking causes hitching while gaming and streaming, additional memory or a stronger CPU may make more sense.

Before replacing hardware, diagnose the actual issue. A game crash can be caused by drivers, overheating, corrupted files, unstable memory, failing storage, weak power delivery, or a bad overclock. Replacing parts without testing is expensive guesswork. Amazing Technology Group approaches difficult computer issues with real diagnostics and component-level experience, because the symptom is not always the failed part.

Overclocking: Useful, but Not Free Performance

Overclocking can improve performance in the right system, but it is not a guaranteed upgrade and it should never come before stability. More voltage produces more heat, and more heat demands better cooling and stronger power delivery. A benchmark that survives for five minutes does not prove that a system is stable through a long gaming session.

Memory tuning and CPU boost settings can offer worthwhile gains, particularly in CPU-bound games. However, every system should be stress-tested after changes, with temperatures and error reports monitored closely. If a machine begins crashing, freezing, or corrupting data after tuning, return to known-stable settings before blaming the hardware.

For many players, the smarter move is optimizing fan curves, updating drivers, enabling the memory profile correctly, and maintaining clean airflow. Reliable performance beats a small benchmark gain that turns into random crashes during a match.

Know When a Problem Needs Real Diagnosis

A custom gaming PC should not randomly power off, display artifacts, lose video output, or require repeated restarts to boot. Those symptoms can involve anything from a loose connection to motherboard-level damage. Continuing to use the system without investigating can turn a repairable issue into a larger failure.

If basic checks do not identify the problem, professional testing is the practical next step. Good diagnosis isolates the fault before parts are purchased, whether the issue is a failing GPU, unstable RAM, damaged connector, power problem, or board-level defect. That approach protects your budget and keeps good hardware out of the replacement pile.

Build for the games you actually play, give the system clean power and adequate cooling, and leave room for the next upgrade. A custom gaming rig earns its value not when it first turns on, but when it is still performing under pressure years later.