

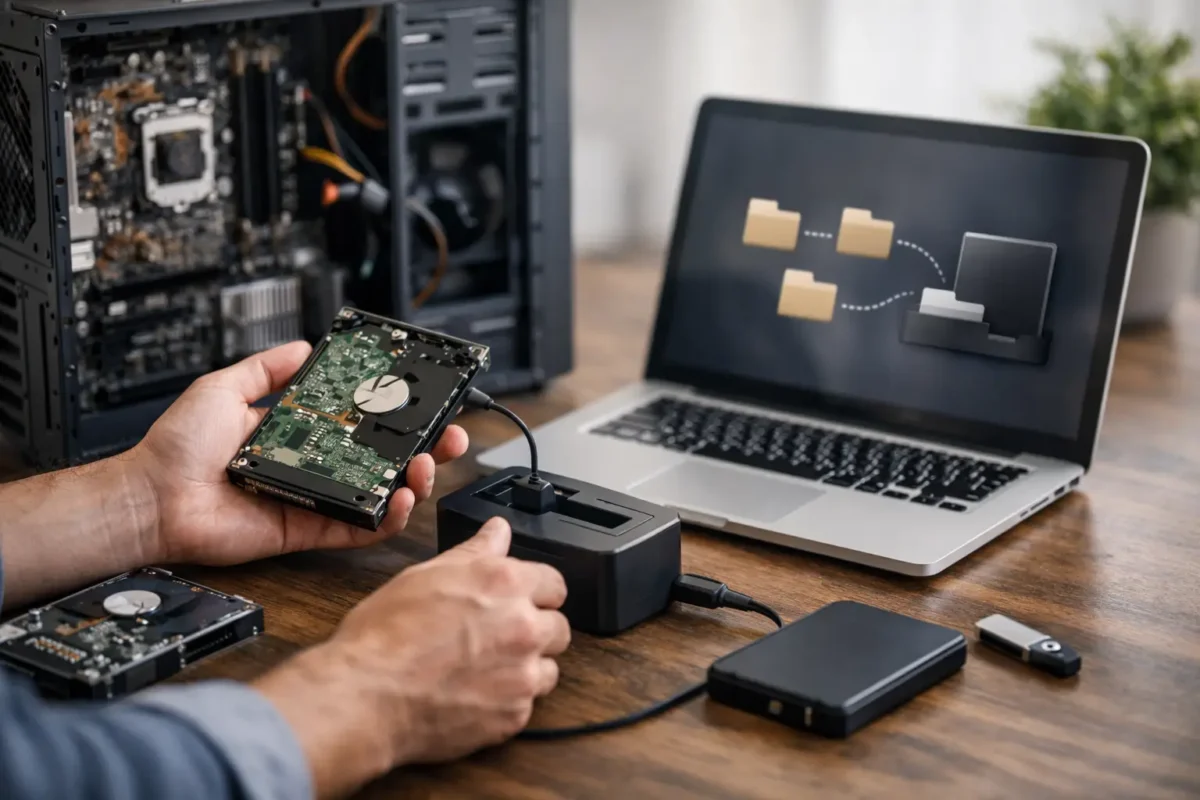
A dead motherboard can make a perfectly good computer look like total data loss. It is not. In many cases, the files are still sitting safely on the storage drive, and the real job is figuring out how to access that drive without making the situation worse. If you are searching for how to recover files after motherboard failure, the first thing to know is this: the motherboard failing does not automatically mean your SSD or hard drive failed too.
That distinction matters. A board-level power fault, damaged charging circuit, failed BIOS, bad capacitor, liquid damage, or shorted component can stop a system from turning on while the drive itself remains readable. The right recovery path depends on whether the storage device is healthy, encrypted, physically damaged, or tied to the original system in a way that complicates access.
How to recover files after motherboard failure without making it worse
Before touching anything, stop trying to power the machine on over and over. Repeated startup attempts can turn a simple board failure into a storage problem if the fault is sending unstable power through the system. That is especially true after liquid damage, electrical surge events, burning smells, or visible corrosion.
If the computer recently failed after a spill, drop, lightning strike, or overheating event, leave it off. Do not plug in random chargers, do not swap power supplies unless you know they are correct, and do not keep forcing boot attempts just to see if it comes back. A failed motherboard is one problem. A damaged drive on top of that is a much more expensive one.
Your first question should be simple: is the data stored on a removable drive that can be tested outside the machine? On many desktops and a good number of laptops, the answer is yes. On some ultrabooks, tablets, and certain Apple devices, storage may be soldered, encrypted, or otherwise more complicated.
Start by identifying the type of storage
If the device uses a standard 2.5-inch SATA SSD or hard drive, recovery is often straightforward. You remove the drive, connect it to another known-good computer with the proper adapter or dock, and check whether the files are accessible.
If it uses an M.2 SATA or M.2 NVMe SSD, the same basic idea applies, but the adapter has to match the drive type. This is where people make mistakes. An M.2 drive is a physical form factor, not a guarantee of compatibility. SATA and NVMe are different, and using the wrong enclosure or adapter can waste time and create confusion.
If the storage is soldered to the board, or the device uses hardware-based encryption tied to the motherboard or security chip, simple drive removal may not work at all. In those cases, board-level repair may be the fastest route to getting the system operational long enough to extract the data.
Signs the drive itself may still be healthy
A healthy drive paired with a bad motherboard usually looks like this: the computer does not power on, does not POST, shows no display, or shuts off immediately, but there were no previous signs of file corruption, clicking noises, missing folders, or extremely slow read and write behavior.
If the drive was working normally right up until the motherboard failure, that is a good sign. It does not guarantee success, but it improves the odds.
Signs the storage may also be damaged
If you heard clicking from a hard drive, saw repeated blue screens, got SMART warnings, experienced severe lag when opening files, or noticed folders disappearing before the board failed, assume there may be two problems, not one. That changes the recovery approach. In that situation, avoid DIY tools that write to the drive, avoid reinstall attempts, and do not initialize or format anything just because Windows prompts you.
The safest DIY recovery path
If you are comfortable opening the device and the storage is removable, disconnect all power first. On a laptop, that means unplugging the charger and, when possible, disconnecting the internal battery before handling the drive.
Remove the SSD or hard drive carefully and inspect it. You are not looking for perfection. You are looking for obvious damage like burns, cracked connectors, corrosion, or impact damage. If the drive looks physically damaged, stop there. Physical media damage is not the moment for trial and error.
If the drive looks normal, connect it to another computer using a quality enclosure, dock, or direct internal connection. Ideally, use a system you trust and a stable power source. Once connected, do not rush to copy everything manually if the drive is acting strangely. If the drive mounts normally and file browsing is smooth, start copying your most important files first – business records, irreplaceable photos, project files, accounting data, and anything with no backup.
If the drive shows up but access is slow, freezes, or triggers read errors, that is a warning sign. The best next step is usually creating a full sector-by-sector image before doing more file-level work. Imaging reduces wear on a failing drive and gives you a safer working copy. If you do not have the tools or experience for that, this is where professional help starts making financial sense.
When encryption changes the game
A lot of recoveries fail for one reason: the files are there, but the data is encrypted.
BitLocker on Windows can block access if you do not have the recovery key. FileVault on Mac systems can do the same if credentials are missing. Some business laptops also use TPM-based protections or company-managed encryption policies that tie access to the original system environment.
That means removing a healthy SSD from a dead machine may still leave you locked out. The drive is fine. The data is present. But without the proper key, password, or repaired motherboard environment, you may not be getting in.
This is one of those cases where motherboard repair and data recovery overlap. Sometimes the smartest move is not extracting the drive first. It is repairing the board just enough to restore controlled access to the original operating system and then moving the data out safely.
Why board-level repair can be the better recovery method
A lot of shops jump straight to replacement. That is not always the best answer when data matters.
If the motherboard has a repairable power issue, damaged charging circuit, failed fuse, shorted rail, or other component-level fault, repairing the board can bring the machine back long enough to recover files without fighting adapters, permissions, or encryption problems. For certain systems, especially specialized laptops, custom business machines, gaming rigs, and devices with integrated storage behavior, this approach is often cleaner and faster.
That is where real diagnostics matter. A parts-swapping shop may declare the board dead and stop there. A team that handles board repair in-house can isolate the actual fault and tell you whether a temporary functional repair is possible for data extraction. That is often the difference between replacing hardware and actually solving the problem.
Cases where you should skip DIY and call a professional
Some situations are not worth experimenting on. If the motherboard failed after liquid exposure, electrical surge, smoke, burning odor, or visible charring, there is too much risk in home testing. The same goes for drives that are encrypted, physically damaged, not detected at all, or making unusual sounds.
You should also avoid DIY recovery if the files are business-critical, legally sensitive, or time-sensitive. Losing family photos hurts. Losing payroll data, tax records, client files, or active project work can be much worse. In those cases, the cheapest option is not always the least expensive outcome.
For customers dealing with failed desktops, laptops, or workstations, a proper shop should explain the path clearly: diagnose the board, determine whether storage is healthy, identify encryption barriers, then choose between board repair, drive extraction, imaging, or full data recovery procedures. That is the practical sequence.
What not to do after motherboard failure
Do not reinstall the operating system onto the original drive. Do not initialize an unrecognized disk just because your computer asks. Do not run random recovery apps against a physically failing drive. Do not keep plugging and unplugging an unstable SSD into different adapters hoping one will magically fix it.
Also, do not assume no power means no data. That mistake leads people to replace the whole machine and forget the files are still recoverable. In many motherboard failure cases, the storage survives just fine.
What a successful recovery usually looks like
Best case, the drive is healthy, removable, and readable on another machine. You copy the files, verify them, and then decide whether the original computer is worth repairing.
Middle case, the drive is healthy but encrypted or difficult to access outside the original system. The motherboard gets repaired enough to boot, the data gets backed up, and then you make the hardware decision from there.
Hard case, both the board and storage have issues. That is when imaging, advanced diagnostics, and recovery lab methods become necessary. It is more work, but still far from hopeless.
If you are wondering whether your files are gone for good, do not let a dead motherboard answer that question by itself. The better question is whether the storage can still be safely accessed – and in a lot of cases, it can. The smartest move is the one that protects the data first and worries about the hardware second.