Computer Repair - Game Console Repair - Electronics Repair - Micro Soldering | !!! Now Open from 8am to 10pm Mon - Thurs =) !!!

Categories
Uncategorized

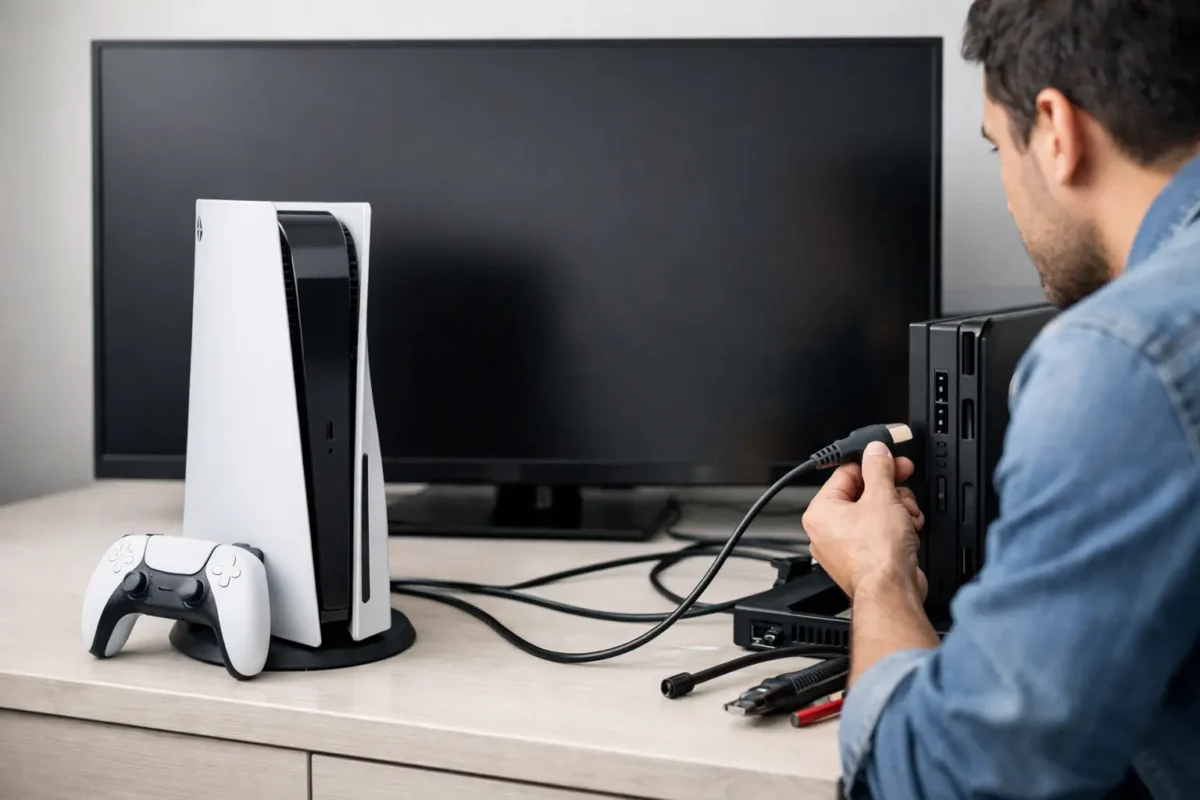
PS5 No Display Troubleshooting Guide That Works

A PS5 that powers on but leaves your TV on a black screen is not always a dead console. In many cases, this PS5 no display troubleshooting guide will help you isolate a bad cable, incorrect video setting, handshake problem, or damaged HDMI connection before assuming the worst. The key is testing in the right order so you do not create a second problem while chasing the first.

If the console has a solid white light, you can hear it boot, or the controller connects but the screen stays blank, the PS5 may be working normally behind a failed video path. If it never reaches a stable white light, shuts down, or flashes blue continuously, the fault may be deeper than the HDMI system.

Start With the Simple Video Path Checks

Disconnect the PS5 from power, then disconnect the HDMI cable from both the console and the display. Leave it unplugged for at least 60 seconds. This clears a stuck HDMI handshake between the console, television, receiver, or monitor.

Reconnect the PS5 directly to a TV or monitor using a known-good HDMI cable. Do not test through a soundbar, AV receiver, HDMI splitter, capture card, or switch at first. Those devices can fail to pass the signal correctly, especially with 4K, HDR, HDCP, or 120 Hz settings.

Make sure the display is set to the exact input where the PS5 is connected. It sounds basic, but modern TVs often have several HDMI ports with separate input labels and settings. Try another HDMI input on the same display, then try the PS5 on a different TV or monitor if one is available.

A successful test on another screen points toward the original display, its HDMI port, or an incompatible setting. No image on multiple known-good displays is a stronger sign that the console itself needs attention.

Inspect the PS5 HDMI Port Before Forcing Anything

Use a flashlight to look into the PS5 HDMI port. The port should sit straight and firmly against the rear chassis. Look for bent internal pins, a loose connector, cracked metal housing, debris, or a cable that feels unusually loose when inserted.

Do not force a cable into a damaged port. A loose or bent HDMI port can lose the signal connection entirely, and forcing the plug can tear pads from the motherboard. That turns a repairable port failure into a more involved board repair.

Also inspect the HDMI cable ends. A cable can look fine yet fail under higher bandwidth. If you have another certified high-speed HDMI cable, use it for testing. This is particularly worthwhile if the display worked before a move, cleaning, cable swap, or console repositioning.

Use Safe Mode to Reset Problem Video Settings

A PS5 can produce no picture because its resolution, refresh rate, HDR mode, or HDCP setting does not agree with the connected screen. Safe Mode lets you start the system with a basic video output and change settings without guessing.

First, fully turn off the console. Hold the power button until the PS5 beeps and powers down. Wait until all lights are off. Then press and hold the power button again. Keep holding after the first beep and release only after the second beep, usually about seven seconds later.

Connect the controller to the PS5 with a USB data cable and press the PS button. If Safe Mode appears, choose Change Video Output. Start by changing the resolution to 1080p or Automatic. If the screen was working on a previous television but not a new one, this often restores the image.

Safe Mode also offers an option to change HDCP mode. HDCP is copy-protection communication used by HDMI devices. A compatibility issue involving a receiver, capture device, older display, or certain monitors can cause a black screen even when the console itself is operating.

Avoid selecting Reset PS5 or Reset PS5 (Reinstall System Software) while troubleshooting a display issue unless you understand the consequences. Those options can erase user data and will not repair a physically damaged HDMI port or failed video circuit.

Check the Display Side of the Connection

When the PS5 works on one screen but not another, inspect the display settings before blaming the console. Some TVs have enhanced-format, deep-color, or gaming-mode settings assigned to individual HDMI inputs. A port configured incorrectly may not accept the PS5’s selected signal format.

For a 4K TV, try disabling advanced HDMI format temporarily or using a different input. For a gaming monitor, test with 60 Hz before trying 120 Hz. Older displays may accept 1080p but reject a 4K HDR signal, while some newer displays need a firmware update or a specific input setting for high-bandwidth video.

If you use an AV receiver or soundbar, reconnect the PS5 directly to the television. If video returns, the intermediate device, its cable, or its settings are the issue. This is a common trade-off with complex entertainment setups: convenience adds more points where an HDMI handshake can fail.

When a PS5 No Display Problem Is Hardware Failure

If you have tested multiple displays, multiple cables, direct connections, and Safe Mode without getting video, the problem may be inside the console. The most common physical failure is a damaged HDMI port, especially after an impact, a tight cable pull, or moving the console while connected.

But a good-looking port does not rule out a board-level fault. The HDMI circuit includes protection components, filters, power rails, signal conditioning hardware, and high-speed video circuitry. A failed component in that path can leave the PS5 with normal power lights and no image. Water damage, electrical surges, overheating, failed prior repairs, and physical stress can all contribute.

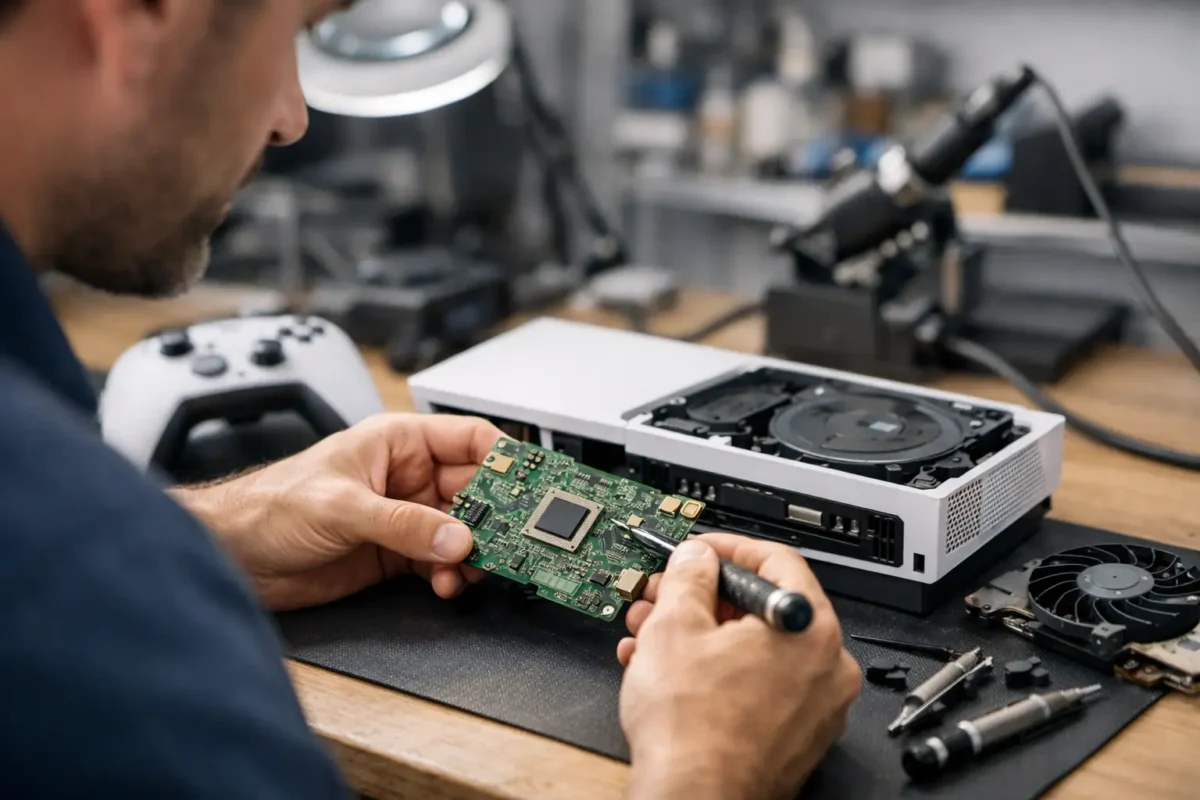
A true diagnosis requires more than replacing the port and hoping for the best. A qualified technician should inspect the connector under magnification, test for shorts and proper HDMI power, evaluate the signal path, and verify the console on a known-good display after repair. Board-level diagnosis matters because the visible symptom is the same whether the failed part is the port itself or a component farther down the circuit.

What Not to Do With a No-Display PS5

Do not repeatedly power-cycle the console for hours, attempt random software resets, or open the system just to reseat parts you cannot test. If the PS5 has a liquid exposure history, smells burnt, gets unusually hot, or turns off after attempting to boot, stop using it. Continuing to apply power can increase corrosion or damage a compromised circuit.

Avoid bargain HDMI port repairs that treat every black-screen console as the same job. A port replacement can be the correct solution, but only when testing supports it. Good repair work starts with fault isolation, not a one-size-fits-all part swap.

For Riverside County gamers and mail-in customers dealing with a PS5 that still has no signal after these checks, Amazing Technology Group can perform in-house diagnostics and component-level HDMI and motherboard repair. That means identifying the actual failure before recommending the repair path.

A black screen is frustrating, especially when a game night or a long-awaited release is waiting. Work through the external checks carefully, preserve your data by avoiding unnecessary resets, and let proven diagnostics take over when the signal path points to hardware.
Categories
Uncategorized

Console Repair That Fixes the Problem, Not Symptoms

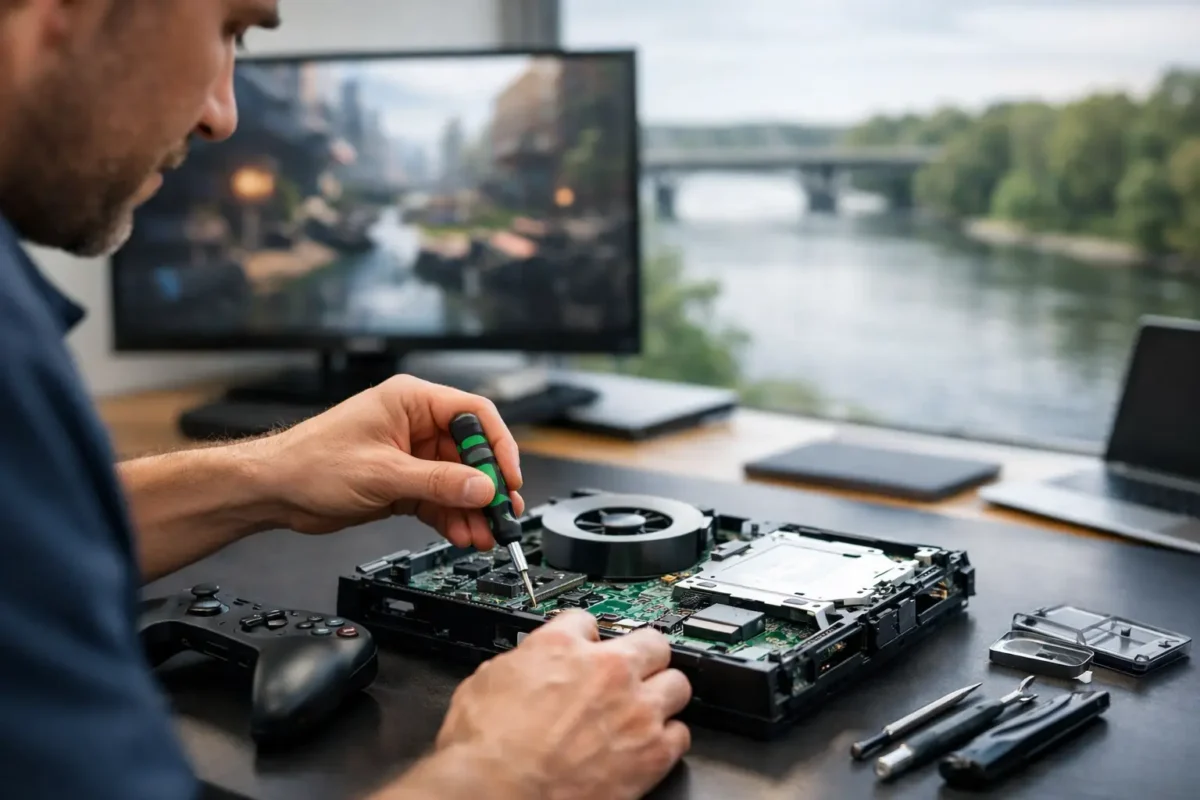
A console that will not power on, overheats after ten minutes, drops its display signal, or refuses to read games is more than an inconvenience. Your library, saved data, subscriptions, and expensive hardware are tied to that machine. Good console repair is not about guessing at the most common part and hoping for the best. It starts with finding the actual point of failure.

That difference matters. Many shops can replace a fan, port, or hard drive. The harder work is determining whether the fan is actually receiving the correct voltage, whether the port damage reaches the motherboard, or whether a failed power circuit is keeping the system from booting. Real diagnosis prevents repeat failures, unnecessary parts, and the frustration of getting your console back with the same issue still waiting for you.

What a Real Console Repair Diagnosis Looks Like

A proper repair begins before any part is replaced. The technician first confirms the reported symptom, checks the system for physical damage, and tests the most likely failure paths. On a PS5 or Xbox Series console, that may include power delivery, HDMI signal circuits, storage health, cooling performance, USB ports, and motherboard components. On an older PS4 or Xbox One, it may also involve hard-drive failure, optical drive communication, or damaged power-management circuitry.

Symptoms can be misleading. A console with no video may have a worn HDMI cable or a damaged connector, but it can also have failed HDMI protection components, a broken trace on the board, or a damaged encoder circuit. Replacing the port alone will not solve every no-display problem. The same goes for overheating. A loud fan may be doing its job because the heatsink is blocked or the thermal connection has failed. Replacing the fan without checking the cooling system can waste money and leave the console at risk.

This is where board-level work earns its value. Instead of treating the motherboard as a disposable part, a qualified technician can test components, identify shorted circuits, repair lifted pads or damaged traces, and replace failed chips when the repair is practical. It takes proper tools, experience, and careful handling, especially around fine-pitch components and multi-layer circuit boards.

Common Failures and What They May Mean

Some problems have recognizable patterns, but no symptom should be treated as a final diagnosis. A console that shuts down during demanding games may have a thermal issue, a failing power supply, or a fault that appears only under load. A controller that drifts may need an analog-stick module replacement, but intermittent input can also come from contamination, a damaged flex cable, or a charging-board issue.

HDMI failures are among the most common repair requests. Bent pins, loose ports, and physical impact can damage the connection at the back of the console. In straightforward cases, replacing the port restores the signal. In more complex cases, the impact has torn solder pads from the board or damaged nearby filters and signal lines. That is why a low price for an HDMI port repair is not always the best deal if it does not include testing the full video path.

Disc-reading problems also deserve more than a quick assumption. A console may reject discs because of a worn laser, but it may also have a damaged drive mechanism, a board communication issue, or software-related behavior. Certain console generations pair optical-drive components to the motherboard, which means swapping in a random replacement drive can create a new problem rather than fix the old one.

Liquid damage requires particular care. The console may work briefly after exposure, then fail days or weeks later as corrosion spreads across connectors and components. Turning it on repeatedly can make the damage worse. Disconnect power, avoid heat guns and internet shortcuts, and get the system inspected before corrosion has more time to work.

When Repair Is Better Than Replacement

Repair is usually the smart move when the console is a current-generation model, the failure is isolated, and the repair cost remains reasonable compared with replacement. It also makes sense when the system has hard-to-replace saved data, a limited-edition shell, or an issue that can be corrected at the component level rather than by replacing the entire motherboard.

There are limits. Severe liquid intrusion, extensive board corrosion, previous botched repair attempts, or catastrophic processor and memory failures can make repair uneconomical. A dependable shop should explain that clearly rather than charge for work that does not offer a realistic path to a lasting result.

The right decision depends on the console’s age, value, condition, and failure type. A minor HDMI repair on a PS5 is very different from a heavily corroded launch-era console with several damaged circuits. Honest diagnostics give you the information needed to decide, rather than pushing you toward a repair or replacement before the facts are known.

Why Board-Level Capability Matters

Part-swapping has a place. A failed fan, worn USB port, broken joystick, or damaged power supply sometimes needs a direct replacement. But part-swapping alone cannot address every failure, and it can hide the real source of the problem.

Board-level console repair means working directly on the motherboard and its circuits. That can include micro-soldering new HDMI connectors, rebuilding damaged pads, replacing surface-mounted components, resolving shorts, repairing traces, and performing BGA rework when appropriate. These jobs require controlled heat, magnification, test equipment, and the judgment to know when a board can be restored safely.

It also keeps repair options open for systems that many locations simply decline. A shop without board-level capability may label a console “not repairable” because it cannot replace the entire motherboard economically. That does not automatically mean the console is beyond repair. It may mean the failure is beyond that shop’s tooling or experience.

Amazing Technology Group keeps complex diagnostics and repair work in-house, giving customers a practical option when their console needs more than an off-the-shelf part. The goal is not to make every repair sound easy. The goal is to identify what failed, explain the available options, and complete work that is built to last.

What to Do Before Bringing in Your Console

A little preparation protects both your equipment and your data. If the system still boots, back up saved data when possible and remove any game disc. Record the exact behavior: Does it shut down immediately or only after gaming? Is there a beep, flashing light, error message, or no response at all? Has it been dropped, exposed to liquid, or worked intermittently before failing?

Do not keep cycling power on a console that smells burnt, gets unusually hot, or has known liquid exposure. Do not force an HDMI cable into a damaged port. And avoid attempting a repair with a household soldering iron, a heat gun, or a video tutorial that skips the diagnostic steps. Modern console boards are dense, heat-sensitive, and easy to damage permanently without the correct equipment.

Bring the power cable and any relevant accessories if they may be involved in the issue. For controller problems, bring the controller itself and explain whether the fault occurs wired, wirelessly, or both. Clear details help technicians reproduce intermittent failures and reduce the time spent chasing symptoms that only appear under certain conditions.

Questions Worth Asking a Console Repair Shop

Before authorizing work, ask whether the shop performs diagnostics before replacing parts, whether difficult work is completed in-house, and what happens if the original issue turns out to involve board damage. Ask for a clear estimate and whether the repair is covered by a workmanship warranty.

You should also expect a straightforward explanation in plain English. A good technician can discuss voltage rails, HDMI circuits, and board damage when needed, but they should also be able to tell you what happened, what repair is recommended, and why it is the best path for your system. Technical skill and customer communication belong together.

Your console does not need a guess, a temporary workaround, or a rushed replacement decision. It needs careful testing and a repair plan based on what the hardware is actually doing. When the diagnosis is right, you have the best chance of getting back to your games with a system you can trust.

Categories
Uncategorized

Riverside Console Repair That Fixes the Real Fault

A console that will not power on, will not display video, or shuts down halfway through a game is more than an inconvenience. It can mean lost saves, a ruined weekend, and the fear that an expensive system is headed for the trash. Riverside console repair should start with finding the actual failure, not guessing at the first part that looks suspicious.

Modern PlayStation and Xbox systems are compact, high-density computers. Heat, liquid damage, worn ports, power faults, failed storage, damaged HDMI circuits, and controller issues can produce similar symptoms. A real repair begins with diagnosis so you know whether the fix is practical before spending money on replacement hardware.

What a Proper Console Diagnosis Looks Like

A console can look completely dead for several different reasons. A failed power supply, damaged charging or power circuit, shorted component, bad HDMI encoder, corrupted storage device, or failing motherboard can all prevent normal startup. Replacing a single part without testing may temporarily change the symptom, but it does not always solve the root cause.

A technician should inspect the system, confirm the reported issue, and test the relevant circuits and components. That process may include checking power rails, examining ports under magnification, testing video output behavior, checking cooling performance, and evaluating internal storage or software-related failure points. The goal is straightforward: identify what failed, determine whether it can be repaired reliably, and give the customer clear options.

This matters most when the failure is not obvious. For example, a PS5 with no display is not automatically an HDMI port repair. The port may be physically damaged, but the problem could also involve the HDMI circuit, a connector trace, or another board-level issue. Similarly, an Xbox that powers on and immediately shuts off may have a thermal, power, or motherboard fault. Symptoms point the way, but testing confirms the answer.

Riverside Console Repair for Common Failures

Some console problems are common enough to recognize quickly, but they still deserve careful work. Ports and connectors are especially vulnerable because they take repeated physical stress. HDMI ports can bend, crack, loosen from the board, or lose the tiny internal connections required for clean video output. A loose port is not a job for glue or a quick adjustment. It often requires removal, pad inspection, trace repair when needed, and precise soldering of a replacement connector.

Power and startup faults are another major category. You may see a console that does nothing when the power button is pressed, turns on briefly and shuts down, flashes a light without booting, or repeatedly attempts to start. The right repair depends on the findings. In some cases, an external component can be replaced. In others, the fault is on the main board and requires component-level troubleshooting.

Overheating is often misunderstood. A loud fan does not always mean the fan itself is bad, and a shutdown warning does not automatically mean fresh thermal paste will fix it. Dust buildup, poor heat transfer, a failing fan, blocked airflow, damaged cooling hardware, or a deeper sensor or board issue may be involved. Cleaning and maintenance can help when the cooling system is otherwise healthy. If the system continues to overheat after service, it needs more complete diagnosis.

Storage and software failures also require judgment. A console that boots into safe mode, freezes during updates, reports corrupted data, or fails to load games may have a recoverable software issue. It may also have failing internal storage or a hardware fault affecting the storage system. Factory resetting a console before evaluating the problem can erase data and may not fix the underlying failure. When saved data matters, stop experimenting and get the system assessed first.

Why Board-Level Repair Can Save a Console

Many shops are set up for quick part swapping. That approach works for simple repairs, but it has limits. If a replaceable module does not solve the issue, or if the damaged part is part of the motherboard itself, the job may be declined or labeled unrepairable.

Board-level repair takes more skill, equipment, and time. It can involve micro-soldering, trace restoration, connector replacement, short detection, component testing, and BGA-related work where appropriate. It is not always the cheapest path, and not every board is economically repairable. Severe corrosion, extensive multilayer board damage, unavailable components, or a repair cost close to replacement value can change the decision.

Still, this level of work is often what makes the difference for a console with a damaged HDMI circuit, lifted pads, failed charging circuit, liquid damage, or another fault that cannot be fixed by dropping in a standard replacement part. Amazing Technology Group keeps complex diagnostics and repair work in-house, giving customers a better chance at a practical repair instead of an automatic replacement recommendation.

Controllers Deserve More Than a Temporary Fix

A console may be healthy while the controller is the real problem. Stick drift, weak batteries, broken USB-C ports, unresponsive buttons, trigger failures, connection problems, and damaged charging circuits can make a controller feel unusable. Replacing the controller may be the right call if it is heavily worn or the repair cost does not make sense. But for premium controllers and otherwise solid hardware, repair can be the better value.

Stick drift is a good example. Cleaning may help in limited situations, especially when debris is interfering with movement. It will not permanently restore a worn potentiometer or damaged stick mechanism. A proper evaluation separates a temporary cleanup opportunity from a component that needs replacement.

What to Do Before Bringing in Your Console

Do not keep forcing a console to power on if it has liquid exposure, a burning smell, repeated shutdowns, or visible port damage. Continued use can turn a localized failure into more extensive board damage. Unplug it and avoid opening the system if you are not equipped to handle delicate internal connectors and static-sensitive components.

Bring the power cable and the affected controller when they may be relevant to the problem. For video issues, it also helps to explain whether the console was moved, dropped, or connected to a different display before the failure started. Describe what the system does in order: no light, blue light, brief startup, fan spin, error message, no video, or shutdown. Small details can shorten the diagnostic path.

If your console still boots, back up what you can before repair. Cloud saves and external backup options vary by platform and subscription status, so do not assume every save is protected. If the system will not boot or is unstable, avoid repeated resets, updates, and repair videos that could make data recovery or diagnosis harder.

Choosing Repair or Replacement

The best answer depends on the model, the condition of the console, the type of failure, and the cost of the confirmed repair. A recent console with a damaged HDMI port or repairable power fault is often worth fixing. An older system with major liquid corrosion and multiple failures may be harder to justify. The key is getting a diagnosis that gives you a real choice instead of selling you a guess.

Ask whether the issue has been verified, whether the repair is component-level or a standard part replacement, and whether related damage was found. Clear answers build confidence. Vague promises, flat-rate quotes without diagnosis, and claims that every no-power system has the same fix should raise questions.

Your console is not disposable just because it stopped working. With careful testing, skilled soldering, and an honest assessment of cost versus value, many systems that seem finished can get back to doing what they were built to do: run your games reliably.