Computer Repair - Game Console Repair - Electronics Repair - Micro Soldering | !!! Now Open from 8am to 10pm Mon - Thurs =) !!!

Categories
Uncategorized

How to Recover Files After Motherboard Failure

A dead motherboard can make a perfectly good computer look like total data loss. It is not. In many cases, the files are still sitting safely on the storage drive, and the real job is figuring out how to access that drive without making the situation worse. If you are searching for how to recover files after motherboard failure, the first thing to know is this: the motherboard failing does not automatically mean your SSD or hard drive failed too.

That distinction matters. A board-level power fault, damaged charging circuit, failed BIOS, bad capacitor, liquid damage, or shorted component can stop a system from turning on while the drive itself remains readable. The right recovery path depends on whether the storage device is healthy, encrypted, physically damaged, or tied to the original system in a way that complicates access.

How to recover files after motherboard failure without making it worse

Before touching anything, stop trying to power the machine on over and over. Repeated startup attempts can turn a simple board failure into a storage problem if the fault is sending unstable power through the system. That is especially true after liquid damage, electrical surge events, burning smells, or visible corrosion.

If the computer recently failed after a spill, drop, lightning strike, or overheating event, leave it off. Do not plug in random chargers, do not swap power supplies unless you know they are correct, and do not keep forcing boot attempts just to see if it comes back. A failed motherboard is one problem. A damaged drive on top of that is a much more expensive one.

Your first question should be simple: is the data stored on a removable drive that can be tested outside the machine? On many desktops and a good number of laptops, the answer is yes. On some ultrabooks, tablets, and certain Apple devices, storage may be soldered, encrypted, or otherwise more complicated.

Start by identifying the type of storage

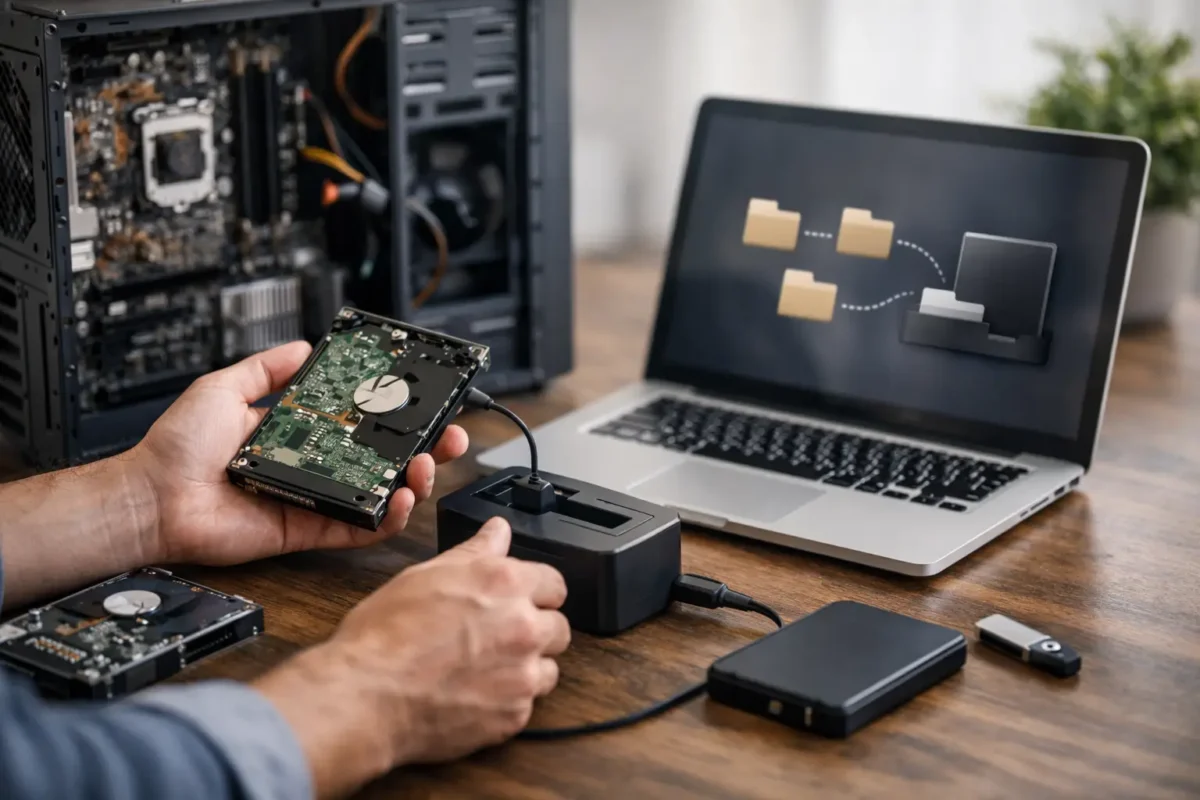
If the device uses a standard 2.5-inch SATA SSD or hard drive, recovery is often straightforward. You remove the drive, connect it to another known-good computer with the proper adapter or dock, and check whether the files are accessible.

If it uses an M.2 SATA or M.2 NVMe SSD, the same basic idea applies, but the adapter has to match the drive type. This is where people make mistakes. An M.2 drive is a physical form factor, not a guarantee of compatibility. SATA and NVMe are different, and using the wrong enclosure or adapter can waste time and create confusion.

If the storage is soldered to the board, or the device uses hardware-based encryption tied to the motherboard or security chip, simple drive removal may not work at all. In those cases, board-level repair may be the fastest route to getting the system operational long enough to extract the data.

Signs the drive itself may still be healthy

A healthy drive paired with a bad motherboard usually looks like this: the computer does not power on, does not POST, shows no display, or shuts off immediately, but there were no previous signs of file corruption, clicking noises, missing folders, or extremely slow read and write behavior.

If the drive was working normally right up until the motherboard failure, that is a good sign. It does not guarantee success, but it improves the odds.

Signs the storage may also be damaged

If you heard clicking from a hard drive, saw repeated blue screens, got SMART warnings, experienced severe lag when opening files, or noticed folders disappearing before the board failed, assume there may be two problems, not one. That changes the recovery approach. In that situation, avoid DIY tools that write to the drive, avoid reinstall attempts, and do not initialize or format anything just because Windows prompts you.

The safest DIY recovery path

If you are comfortable opening the device and the storage is removable, disconnect all power first. On a laptop, that means unplugging the charger and, when possible, disconnecting the internal battery before handling the drive.

Remove the SSD or hard drive carefully and inspect it. You are not looking for perfection. You are looking for obvious damage like burns, cracked connectors, corrosion, or impact damage. If the drive looks physically damaged, stop there. Physical media damage is not the moment for trial and error.

If the drive looks normal, connect it to another computer using a quality enclosure, dock, or direct internal connection. Ideally, use a system you trust and a stable power source. Once connected, do not rush to copy everything manually if the drive is acting strangely. If the drive mounts normally and file browsing is smooth, start copying your most important files first – business records, irreplaceable photos, project files, accounting data, and anything with no backup.

If the drive shows up but access is slow, freezes, or triggers read errors, that is a warning sign. The best next step is usually creating a full sector-by-sector image before doing more file-level work. Imaging reduces wear on a failing drive and gives you a safer working copy. If you do not have the tools or experience for that, this is where professional help starts making financial sense.

When encryption changes the game

A lot of recoveries fail for one reason: the files are there, but the data is encrypted.

BitLocker on Windows can block access if you do not have the recovery key. FileVault on Mac systems can do the same if credentials are missing. Some business laptops also use TPM-based protections or company-managed encryption policies that tie access to the original system environment.

That means removing a healthy SSD from a dead machine may still leave you locked out. The drive is fine. The data is present. But without the proper key, password, or repaired motherboard environment, you may not be getting in.

This is one of those cases where motherboard repair and data recovery overlap. Sometimes the smartest move is not extracting the drive first. It is repairing the board just enough to restore controlled access to the original operating system and then moving the data out safely.

Why board-level repair can be the better recovery method

A lot of shops jump straight to replacement. That is not always the best answer when data matters.

If the motherboard has a repairable power issue, damaged charging circuit, failed fuse, shorted rail, or other component-level fault, repairing the board can bring the machine back long enough to recover files without fighting adapters, permissions, or encryption problems. For certain systems, especially specialized laptops, custom business machines, gaming rigs, and devices with integrated storage behavior, this approach is often cleaner and faster.

That is where real diagnostics matter. A parts-swapping shop may declare the board dead and stop there. A team that handles board repair in-house can isolate the actual fault and tell you whether a temporary functional repair is possible for data extraction. That is often the difference between replacing hardware and actually solving the problem.

Cases where you should skip DIY and call a professional

Some situations are not worth experimenting on. If the motherboard failed after liquid exposure, electrical surge, smoke, burning odor, or visible charring, there is too much risk in home testing. The same goes for drives that are encrypted, physically damaged, not detected at all, or making unusual sounds.

You should also avoid DIY recovery if the files are business-critical, legally sensitive, or time-sensitive. Losing family photos hurts. Losing payroll data, tax records, client files, or active project work can be much worse. In those cases, the cheapest option is not always the least expensive outcome.

For customers dealing with failed desktops, laptops, or workstations, a proper shop should explain the path clearly: diagnose the board, determine whether storage is healthy, identify encryption barriers, then choose between board repair, drive extraction, imaging, or full data recovery procedures. That is the practical sequence.

What not to do after motherboard failure

Do not reinstall the operating system onto the original drive. Do not initialize an unrecognized disk just because your computer asks. Do not run random recovery apps against a physically failing drive. Do not keep plugging and unplugging an unstable SSD into different adapters hoping one will magically fix it.

Also, do not assume no power means no data. That mistake leads people to replace the whole machine and forget the files are still recoverable. In many motherboard failure cases, the storage survives just fine.

What a successful recovery usually looks like

Best case, the drive is healthy, removable, and readable on another machine. You copy the files, verify them, and then decide whether the original computer is worth repairing.

Middle case, the drive is healthy but encrypted or difficult to access outside the original system. The motherboard gets repaired enough to boot, the data gets backed up, and then you make the hardware decision from there.

Hard case, both the board and storage have issues. That is when imaging, advanced diagnostics, and recovery lab methods become necessary. It is more work, but still far from hopeless.

If you are wondering whether your files are gone for good, do not let a dead motherboard answer that question by itself. The better question is whether the storage can still be safely accessed – and in a lot of cases, it can. The smartest move is the one that protects the data first and worries about the hardware second.

Categories
Uncategorized

Data Recovery: What to Do First

One bad click, a dead laptop, a dropped external drive, or a console that suddenly stops reading storage – that is usually how data recovery becomes urgent. When the files are family photos, business records, music libraries, project files, or client data, the wrong next step can make a recoverable problem much worse.

That is why the first rule is simple: stop using the device if the missing data matters. Continued use can overwrite deleted files, worsen corruption, or turn a failing drive into a complete failure. A lot of recoveries are won or lost in the first hour, not because the damage was impossible, but because the device kept running while someone tried random fixes.

What data recovery actually means

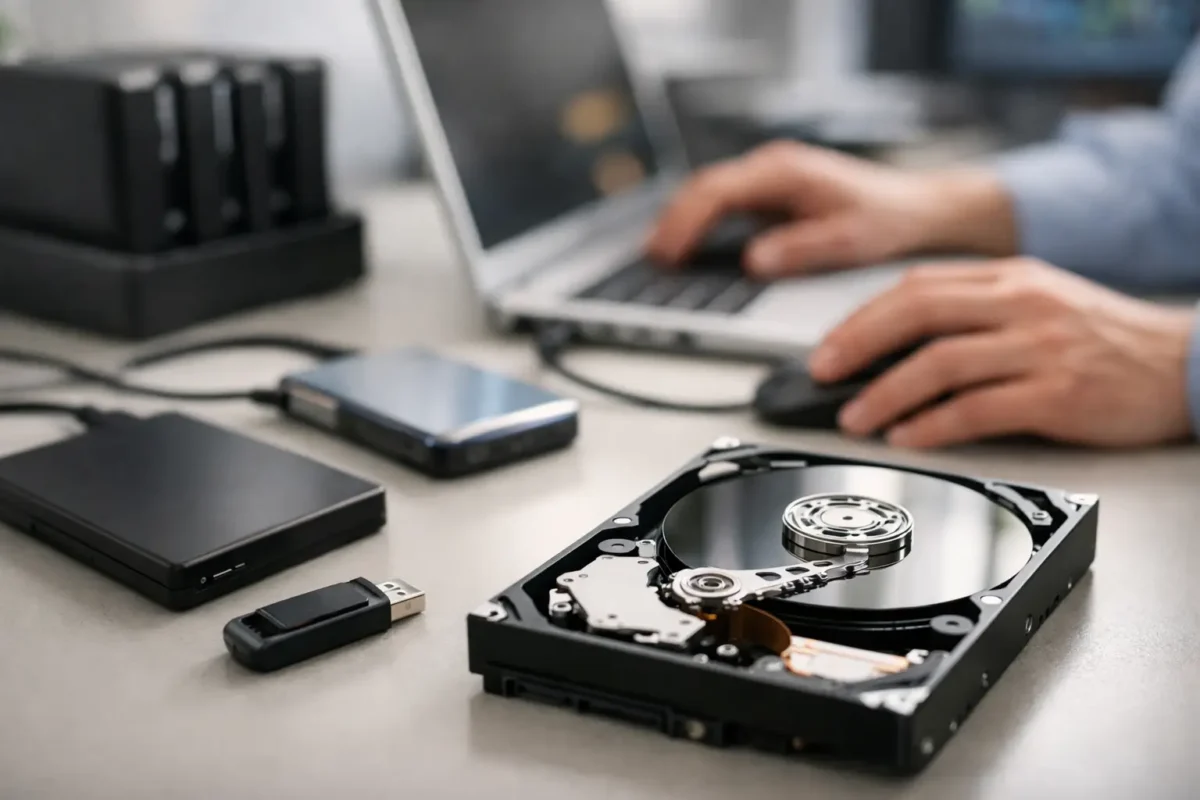
Data recovery is the process of retrieving inaccessible, deleted, corrupted, or unreadable files from storage media. That can include hard drives, SSDs, USB flash drives, SD cards, RAID arrays, laptops, desktops, and some embedded storage devices inside specialized equipment.

Not every case is the same. Sometimes the data is still there and the file system is damaged. Sometimes the drive electronics have failed. Sometimes the operating system will not boot, but the storage itself is still healthy. In more serious cases, the drive has bad sectors, firmware issues, physical damage, or a board-level fault that requires real diagnostics before anyone should touch the data.

This is where people often get bad advice. If a shop only knows how to swap parts, it may treat every failure like a replacement job. But storage problems do not work that way. The device might be replaceable while the data is not.

The most common causes of data loss

Deleted files are only one piece of the puzzle. Accidental formatting is common, especially with external drives and SD cards. File system corruption can happen after improper shutdowns, failed updates, malware, or power loss. Mechanical hard drives can suffer head crashes, motor failure, or platter damage. SSDs fail differently – controller issues, degraded flash memory, firmware faults, or sudden no-detect problems are more typical.

There are also device-specific cases that catch people off guard. A laptop with liquid damage may still have recoverable storage even if the machine itself is dead. A gaming PC with motherboard failure may look like a total loss when the actual data is fine. A DJ controller, production workstation, or business system may hold irreplaceable settings, recordings, databases, or project assets even though the hardware problem starts somewhere else on the board.

That is why careful diagnosis matters. You are not just asking, “Can this device be fixed?” You are also asking, “What is the safest path to the data?”

What not to do during data recovery

The biggest mistake is continuing to use the affected device like normal. Saving new files, installing recovery software, running updates, or repeatedly rebooting can all reduce the odds of a clean recovery. If the drive is making unusual noises – clicking, grinding, repeated spin-up attempts – shut it down immediately. Mechanical damage gets worse fast.

Another common mistake is opening a drive at home. Hard drives are not designed for kitchen-table repair. Dust, static, and improper handling can destroy media surfaces that might have been recoverable in controlled conditions.

People also lose data by trusting the first software tool they find. Recovery software can help in some logical failure cases, but it is not a universal solution. If the drive has physical failure, unstable sectors, controller damage, or intermittent detection, software can push it over the edge. The tool is not the problem by itself. The problem is using it on the wrong kind of failure.

When software recovery can work

If a file was recently deleted, the recycle bin was emptied, or a partition was accidentally formatted without major reuse of the device, software-based recovery may be possible. The best cases are clean logical issues on otherwise healthy storage.

Even then, the process should be controlled. The recovered data should never be saved back onto the same drive. The device should be connected in a way that reduces write activity, and the recovery should start with imaging whenever possible. In plain terms, the goal is to work from a copy, not the original, because every read from a failing device carries some risk.

For business users, this matters even more. A workstation with accounting files, customer records, or operational documents is not the place for trial and error. The value of the data usually exceeds the cost of proper handling.

When professional data recovery is the better move

If the drive is not detected, disconnects randomly, makes noise, overheats, suffered impact damage, has liquid exposure, or belongs to a system with board-level failure, it is time to stop experimenting. The same goes for encrypted drives, RAID systems, and storage tied to specialized workflows where the files have high value or tight deadlines.

Professional data recovery starts with diagnosis, not guesses. A capable shop will determine whether the issue is logical, electrical, firmware-related, or mechanical. That changes the method completely. In some cases, the right move is to stabilize the device electronically. In others, the drive needs imaging with hardware tools designed to handle bad sectors safely. In still others, the host device has failed while the storage can be removed and accessed independently.

This is where in-house technical depth matters. A team that understands board repair, power rails, controller behavior, and component-level failure has more options than a shop that only replaces assemblies. Sometimes the shortest path to the data is not a generic recovery program. It is repairing the hardware enough to access storage safely.

How the process should work

A solid data recovery process is straightforward. First comes intake and symptom review. What happened, what device is involved, and what changed right before the failure? Then comes diagnosis. The storage and the surrounding hardware need to be evaluated without taking unnecessary risks.

After that, the next step should be clear authorization. You should know whether the issue appears logical or physical, what the recovery path looks like, and what the cost range is before major work begins. Once approved, the technician performs the least invasive recovery method that makes sense for the condition of the device. That may mean imaging, file extraction, board-level repair, connector repair, or controlled access to damaged media.

Finally, recovered data should be verified and returned on known-good storage. If a provider cannot explain this process plainly, that is a red flag.

Data recovery for home users and businesses

For home users, the priority is often sentimental or personal value. Photos, tax records, school files, creative work, and saved game data can all matter more than the hardware they came from. For small and mid-sized businesses, the pressure is different but just as real. Lost spreadsheets, project folders, databases, QuickBooks files, user profiles, and shared drive content can stop operations cold.

The good news is that many cases are recoverable if they are handled early and correctly. The bad news is that panic leads people to keep trying things that make the damage worse. That is why a practical, disciplined approach beats a rushed one every time.

If you are in Riverside County and dealing with a failed laptop, external drive, desktop, or business machine, working with a repair team that already handles advanced diagnostics and board-level electronics can save time and reduce unnecessary risk. Amazing Technology Group Inc. operates in exactly that lane – hard problems, real troubleshooting, and repairs done with the data in mind.

How to protect yourself after recovery

The best time to think about backup strategy is right after a successful recovery, when the cost of losing data is still fresh. One backup is better than none, but it still leaves gaps. Local backups are fast and useful. Cloud backups add off-site protection. For business systems, versioned backups matter because corruption and ransomware are different problems than simple deletion.

A backup plan does not need to be fancy. It needs to be consistent, tested, and separate from the device you use every day. If your files only exist in one place, you are one accident away from another emergency.

Data loss feels personal because it usually is. The fix starts with staying calm, powering down when necessary, and getting the problem diagnosed before guesswork does more damage. When the files really matter, the smartest move is not doing more. It is doing the right thing first.

Categories
Uncategorized

Why Is My Gaming PC Crashing So Often?

A gaming PC that crashes in the middle of a match usually leaves a trail. The problem is figuring out whether that trail points to heat, power, memory, storage, drivers, or a failing board-level component. If you have been asking, why is my gaming PC crashing, the answer is rarely random. Systems crash for reasons, and the pattern matters.

Some machines crash only under load. Some reboot with no warning. Some freeze, throw a blue screen, or shut off like someone pulled the plug. Those differences are useful. They help narrow down whether you are looking at a software issue, an unstable overclock, a cooling problem, a power delivery problem, or a hardware failure that needs deeper diagnosis.

Why is my gaming PC crashing under load?

If your PC is stable on the desktop but crashes when a game starts, when the GPU ramps up, or when the CPU gets pushed, start with the parts that work hardest under load.

Heat is one of the most common causes. A CPU or GPU running too hot may throttle first, but if temperatures keep climbing, the system can freeze, restart, or shut down. Dust-packed heatsinks, dried thermal paste, failing fans, weak case airflow, and poorly mounted coolers all show up here. Laptops do this too, but desktop gaming rigs often hide the problem longer because they have more airflow until they do not.

Power delivery is another big one. A failing power supply can cause sudden restarts, black screens, or shutdowns during gaming because that is when the system draws the most current. This does not always mean the PSU is undersized. It can also mean aging capacitors, unstable rails, poor-quality units, bad modular cables, or motherboard VRM issues. When a machine powers off instantly under load, power becomes a prime suspect.

Then there is instability from overclocking. Factory overclocks, manual CPU tuning, GPU overclocks, undervolts, and XMP or EXPO memory profiles can all be part of the problem. Plenty of systems look stable for light use but fall apart in games because gaming creates mixed, sustained loads that expose weak settings. Backing everything down to stock is not glamorous, but it is one of the fastest ways to separate tuning problems from failing hardware.

The most common causes of gaming PC crashes

Drivers are high on the list, especially GPU drivers. A clean driver install can solve crashes that started after an update, a new game install, or a hardware swap. That said, blaming drivers too quickly can waste time. If the system has graphical artifacts, random restarts, or crashes across multiple operating systems or test environments, the problem may be deeper than software.

RAM issues are another frequent cause. Bad memory, unstable memory profiles, or marginal motherboard memory support can create blue screens, game crashes, file corruption, and weird behavior that looks unrelated. Memory problems can be inconsistent, which is why they are so frustrating. One day the PC works. The next day a game crashes three times in ten minutes.

Storage problems also get overlooked. A failing SSD or corrupted game files can cause crashes during loading, texture streaming, or updates. If the boot drive is developing errors, the symptoms can spread beyond gaming into Windows instability, slow startup, and failed updates. Storage failure does not always announce itself loudly at first.

Motherboard faults are less common than bad drivers or overheating, but they are real. Damaged power phases, failing capacitors, chipset issues, bad PCIe slots, or BIOS-level instability can all produce stubborn crashes. This is where part-swapping starts to get expensive if diagnosis is not done carefully.

What to check first before replacing parts

Start simple and work in order. First, watch temperatures while gaming. If CPU or GPU temps are climbing into dangerous territory, stop there and fix cooling before chasing other theories. Clean the system, verify fan operation, reseat the cooler if needed, and make sure airflow is not blocked.

Next, return the BIOS to known-stable settings. Disable manual overclocks. If memory is running on XMP or EXPO, test with that profile off. You may lose some performance temporarily, but stability matters more than a benchmark score when you are troubleshooting.

After that, update with purpose, not panic. Update the BIOS only if the board manufacturer specifically addresses stability, memory compatibility, or CPU support. Update chipset and GPU drivers from the correct sources. If crashes began right after a driver update, rolling back may be smarter than pushing forward.

Then check Windows logs and crash behavior. A blue screen with an error code tells a different story than a hard power-off. Event Viewer is not perfect, but it can still help point toward driver faults, kernel power events, or repeated device issues.

At this stage, test memory and storage. Run a proper memory test and check drive health. If errors show up, do not keep gaming and hope for the best. Unstable RAM and bad storage often get worse, and they can take your data with them.

When the GPU might be the problem

If crashes happen only in games, especially visually demanding ones, the graphics card deserves attention. Watch for artifacting, driver timeouts, black screens, fan irregularities, and crashes that line up with high GPU temperature or power draw.

Not every bad GPU is fully dead. Some fail intermittently because of cracked solder joints, VRAM issues, overheating, or power delivery faults on the card itself. In those cases, a simple driver reinstall will not fix much. The same goes for cards that work on the desktop but crash the second 3D load starts.

This is also where generic repair shops often hit a wall. They may tell you to replace the card because they do not perform deeper electronics diagnosis. Sometimes replacement is the right move. Sometimes the failure is repairable at the board level. It depends on the exact fault, the value of the card, and whether the issue is isolated to a repairable component.

Why is my gaming PC crashing with no blue screen?

No blue screen usually points to a hard shutdown, sudden restart, or freeze severe enough that Windows never gets a chance to report the error. That often shifts suspicion toward power, motherboard faults, overheating, or serious GPU instability.

A machine that simply turns off can indicate PSU failure, thermal protection, or a short. A machine that freezes with audio stutter may suggest GPU, RAM, or board instability. A machine that reboots instantly can be power-related, but it can also come from unstable CPU settings.

This is why the exact crash behavior matters. Crashing is a general symptom. The way it crashes is the clue.

When software is the real issue

Not every gaming PC crash means bad hardware. Corrupted game files, anti-cheat conflicts, background utilities, RGB software, monitoring tools, bad Windows updates, and driver leftovers can all destabilize a system.

The key is consistency. If only one game crashes, start with that game. Verify files, remove overlays, and test clean startup conditions. If every game crashes and synthetic stress tests also fail, hardware moves much higher on the suspect list.

Fresh Windows installs can help, but they should not be the first move every time. Reinstalling the OS without testing hardware can hide the real issue for a short time or waste hours without fixing anything.

When to stop troubleshooting and get a real diagnosis

If you have already cleaned the system, checked temperatures, removed overclocks, tested memory, verified storage, and updated the right drivers, but the crashes keep happening, it is time for deeper diagnostics. That is especially true if the PC hard shuts off, shows artifacting, fails multiple component tests, or behaves differently from one boot to the next.

At that point, guessing gets expensive. Swapping a PSU, then RAM, then motherboard, then GPU is not a strategy. It is a pile of receipts. Proper diagnosis means isolating the failing subsystem, checking power behavior, validating thermals, testing components under controlled load, and, when needed, inspecting for board-level faults that ordinary shops miss.

For gamers in Riverside County dealing with repeated crashes, this is the kind of problem Amazing Technology Group handles every day – not just part replacement, but actual fault tracing and repair when the hardware is worth saving.

A crashing gaming PC is frustrating, but it is usually not mysterious forever. If you follow the symptoms instead of guessing, the system will tell you what is failing. The sooner you catch it, the better your chances of saving both the hardware and the data on it.